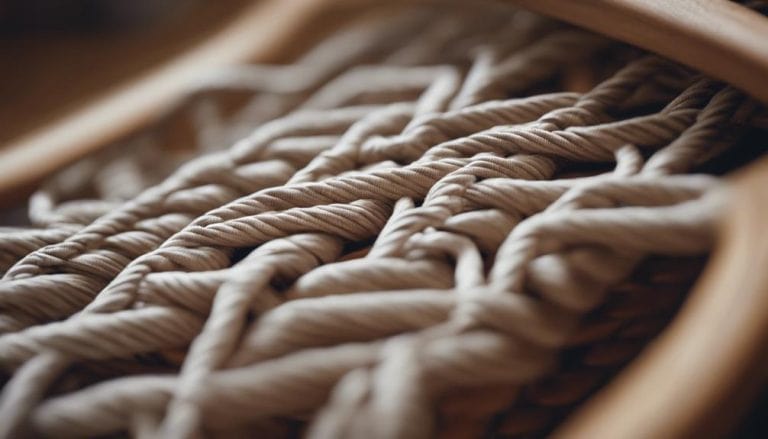
Tutorial for Danish Cord Weaving
I’ve always wondered if Danish Cord Weaving could transform a simple chair into a statement piece. The intricacies of this weaving technique seem to hold a secret to elevating furniture design.
As I started exploring the tutorial, I was surprised by the level of detail provided in each step. How they unravel the art of weaving Danish cord leaves me eager to put theory into practice and see how this ancient craft can breathe new life into my home décor.
Looking for a tutorial on Danish cord weaving? Check out online resources for step-by-step instructions and helpful tips.
Key Takeaways
- Danish cord weaving involves looping through nails, starting with two and ending with four pairs.
- Ensure chair stability, proper tension, and decorative weaves for a secure and personalized finish.
- Use L-shaped nails, adjust weave with tools, trim ends neatly, and re-seat nails for added support.
- Implement regular cleaning and preservation practices to maintain the durability and visual appeal of Danish cord weaving.
Materials Needed
The first step to complete the Danish cord weaving tutorial is gathering the essential materials needed. Regarding cord types and weights, Danish cord is available in laced and unlaced styles, typically sold by kilogram. For a single-chair project, a one-kilogram spool is usually sufficient.
However, larger spools are also available if you plan on working on multiple projects. Around 42 feet or 14 yards of Danish cord is generally used for weaving. Understanding the weaving techniques and patterns is crucial for a successful project. The process involves looping the material through nails for security and starting back wraps on the right side.
L-shaped Danish nails hold the material in place, with chairs having a single panel underneath for weaving. The weaving begins with two pairs and ends with four pairs, requiring only a few tools like a hammer, clamp, snips, pliers, and a screwdriver. These tools are essential for a smooth weaving experience.
Understanding Danish Cord Weaving
Having gathered the essential materials needed for Danish cord weaving, let’s now delve into the intricate process of weaving using laced or unlaced cords sold by the kilogram. Danish cord weaving has a rich history, originating in the early 20th century as a durable and visually appealing alternative to traditional upholstery.
This technique finds modern applications in traditional and contemporary furniture design. To master Danish cord weaving, attention to detail is paramount. Advanced techniques involve starting with two warp strands and ending with four pairs, creating a sturdy panel beneath the chair seat.
Maintaining proper tension and following a serpentine pattern while weaving ensures a secure and neat finish. Common mistakes to avoid include uneven spacing of warp strands and messy gaps on the back rail, which can detract from the overall aesthetic. You can achieve a professional-looking Danish cord weave with minimal tools like a hammer, clamp, snips, pliers, and a screwdriver, along with a hook tool for intricate weaving.
Preparing Your Chair or Stool
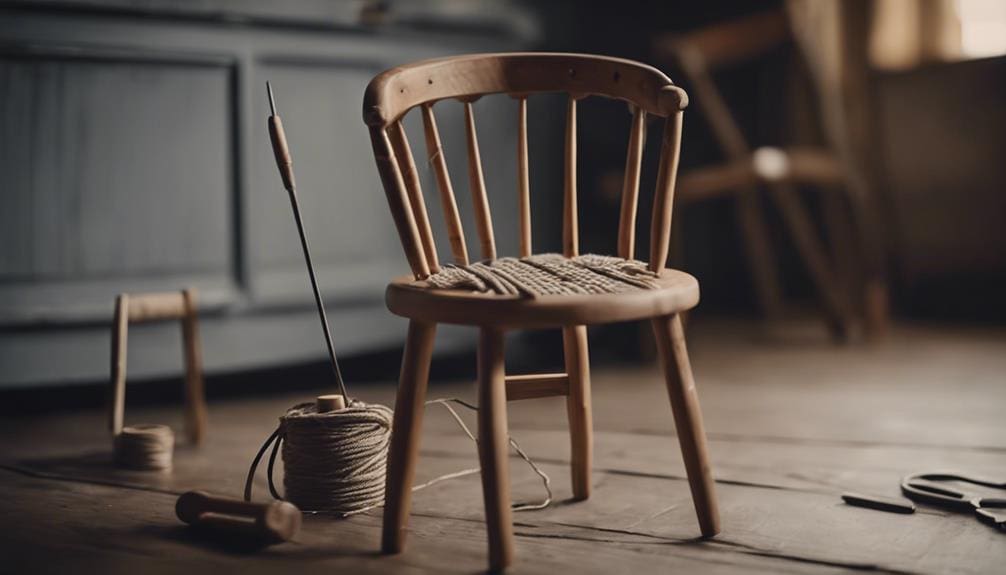
Before commencing the Danish cord weaving process, ensure your chair or stool is thoroughly cleaned and debris-free.
Here are some essential steps to prepare your chair for the weaving process:
- Chair inspection: Check the stability of the chair legs and frame to avoid wobbling during weaving.
- Frame preparation: Position your chair on a stable surface like a workbench for a secure weaving space.
- Nail maintenance: Inspect the chair for loose or protruding nails that could interfere with the weaving process.
- Cushion removal: Remove any existing seat material or cushion to prepare the frame for Danish cord weaving.
- Workspace setup: Create a comfortable environment by ensuring proper lighting and adequate space for maneuvering during the weaving process.
Weaving the Danish Cord Pattern
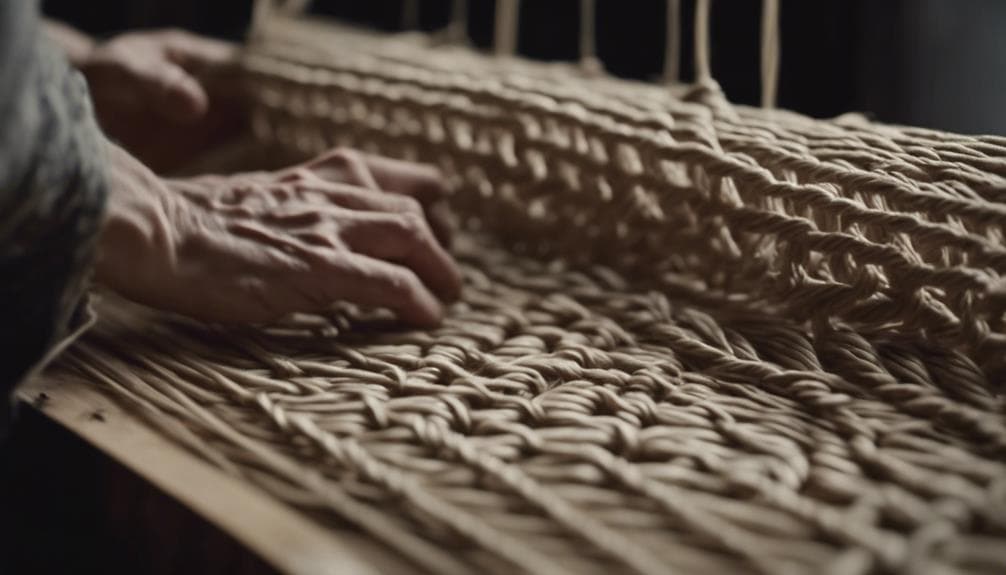
After ensuring that your chair or stool is properly prepped and ready, weaving the Danish Cord pattern begins by securing the material through L-shaped nails on the chair frame. Weaving Danish cord involves creating intricate, decorative weaves by looping cord pairs over and under the warped strands in a serpentine pattern.
As you weave, remember to maintain taut but not overly tight tension to ensure a secure and even weave. To enhance the visual appeal, consider exploring color variations in the cord for a personalized touch. A hook tool or pliers can be handy to adjust the weave and maintain proper spacing between strands, ensuring a professional finish.
Once you reach the end, clip the cord neatly, re-seat nails for added support, and ensure a clean and tightly woven pattern. This attention to detail will result in a beautifully woven Danish cord pattern that looks stunning and provides durability and comfort.
Finishing Touches and Maintenance
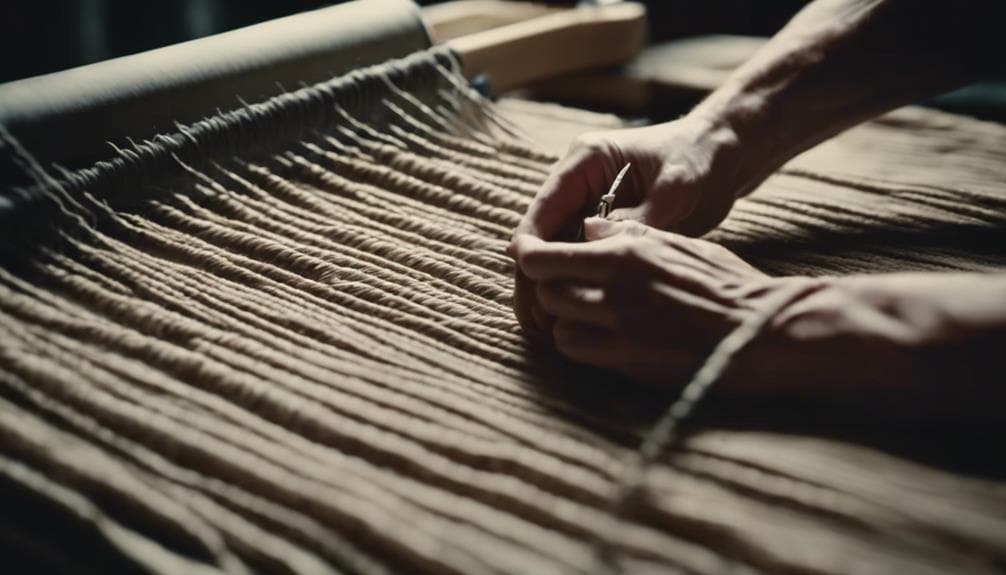
Proper finishing touches and ongoing maintenance are essential to ensure the longevity and visual appeal of your Danish cord weave. Attention to detail during the final adjustments is crucial for achieving a professional and well-crafted result.
Here are some key finishing techniques and maintenance tips to help you preserve your Danish cord weave:
- Use a screwdriver to create space: This step allows for neatly looping the cord at the end of the weaving process.
- Clip the cord end: Trimming the cord end cleanly provides a polished finish to the weave.
- Re-seat all nails: Ensuring all nails are secure and properly seated adds extra support to the structure of the weave.
- Mind the nail angle: Hammer nails mostly straight up or backward to avoid damaging the material.
- Regular cleaning and preservation: Keep your Danish cord weave looking its best by implementing proper cleaning and preservation strategies.
Inspiring Danish Cord Weaving Projects
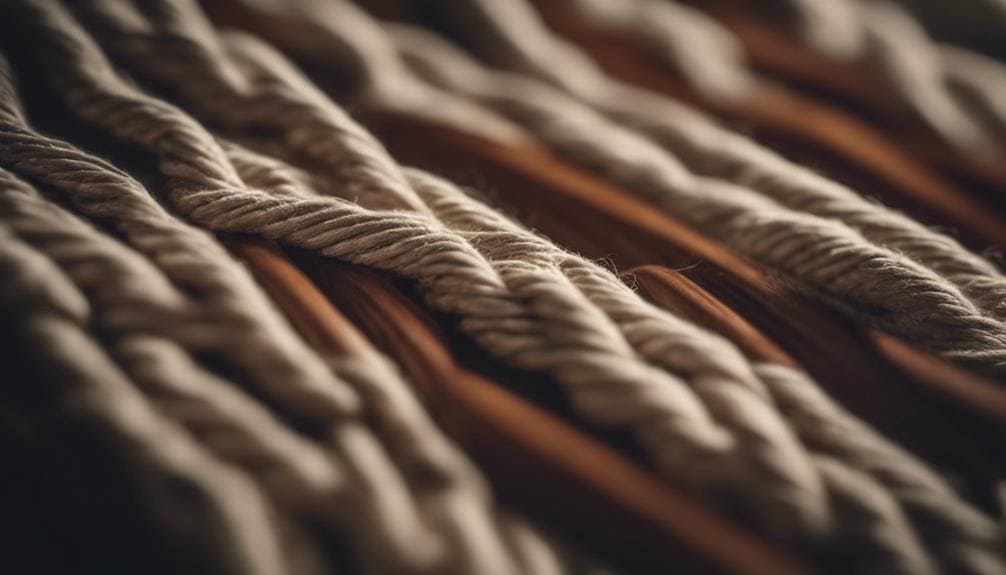
Embark on a journey of creativity and craftsmanship with various inspiring Danish cord-weaving projects that showcase the versatility and beauty of this traditional technique. When it comes to Danish cord weaving, the possibilities are endless. Get ready to explore creative patterns and experiment with color customization to bring your unique vision to life.
Whether you’re looking to revamp a simple chair seat or tackle a more intricate furniture piece, Danish cord weaving offers a range of options for DIY enthusiasts. Customizing colors, patterns, and designs allows you to add a personal touch to your projects, making each creation one-of-a-kind.
To elevate their aesthetic appeal, consider incorporating Danish cord weaving into projects like stools, benches, and ottomans. Exploring different weaving techniques can unlock the potential for truly unique and personalized creations. Let your imagination run wild as you delve into the world of Danish cord weaving and unleash your inner artist.
Frequently Asked Questions
What Is the Nail Spacing for Danish Cord Weaving?
For Danish cord weaving, nail spacing is crucial. I place L-shaped Danish nails 1 inch apart for even tension. Proper spacing ensures a secure and professional finish. I pay attention to detail for a sturdy weave.
Which Is Better Laced or Unlaced Danish Cord?
In my weaving journey, I’ve found that laced Danish cord offers a polished finish but limits customization. Unlaced cord, though more cost-effective, allows creative freedom in design. Choosing between them concerns personal preference and the project’s desired aesthetic.
How Much Danish Cord Do I Need?
Estimating lengths and selecting colors for Danish cord can be tricky. I recommend around 42 feet for a standard chair. Larger spools are handy for multiple projects. Remember, proper tension and spacing are key for a polished look.
What Is the Diameter of a Danish Cord?
Do you wonder about the diameter of the Danish cord? It ranges from 1/8 to 3/16 inch, impacting weaving techniques and final results. Thicker cords offer strength and a substantial look, while thinner ones provide delicacy and flexibility.
Conclusion
In conclusion, weaving Danish cords onto chairs is like threading a needle with precision and care. By following the tutorial’s guidance on materials, techniques, and finishing touches, you can create beautifully woven patterns that enhance the look of your furniture and provide durability and support. Remember to pay attention to detail and maintain even tension throughout the weaving process for a successful outcome. Happy weaving!


