Rush Reed Basket Weaving Tutorial
Exploring the art of rush reed basket weaving opens up a realm of creative and enriching craftsmanship. Weaving each strand together to form a functional and aesthetically pleasing basket is practiced with patience and precision.
As I guide you through the initial steps of selecting the right rush reed and setting up your weaving space, you will soon discover the joy of creating something unique with your hands.
You’ll learn traditional techniques for creating beautiful baskets in a Rush Reed Basket Weaving Tutorial. This hands-on experience teaches you the art of weaving with natural materials.
Key Takeaways
- Choose the right rush reeds for strength and flexibility.
- Maintain consistent tension for structural integrity.
- Add decorative elements like beads and feathers for flair.
- Finish with shaping, trimming, and proper care for longevity.
Materials Needed
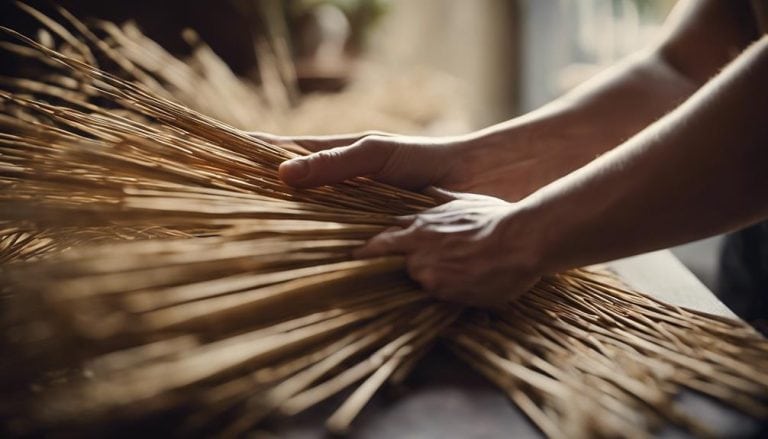
To begin your rush reed basket weaving journey, gather rush reeds, scissors, a tape measure, a large-eyed needle, and a bucket of water. Step one involves soaking the rush reeds in water, which enhances their flexibility and makes them easier to weave. Step two involves cutting the rush reeds to the desired length using scissors.
Ensuring uniform lengths is crucial for creating a neat and structured basket. Rush reeds are chosen for their durability and flexibility, which are essential for successful weaving projects. The tape measure is indispensable for maintaining consistency in the lengths of both the spokes and weaving materials.
Lastly, the large-eyed needle is vital in threading the rush reeds through the intricate weaving pattern, allowing for a seamless construction process. With these materials, you can embark on your rush reed basket weaving venture with power and precision.
Choosing the Right Rush Reed
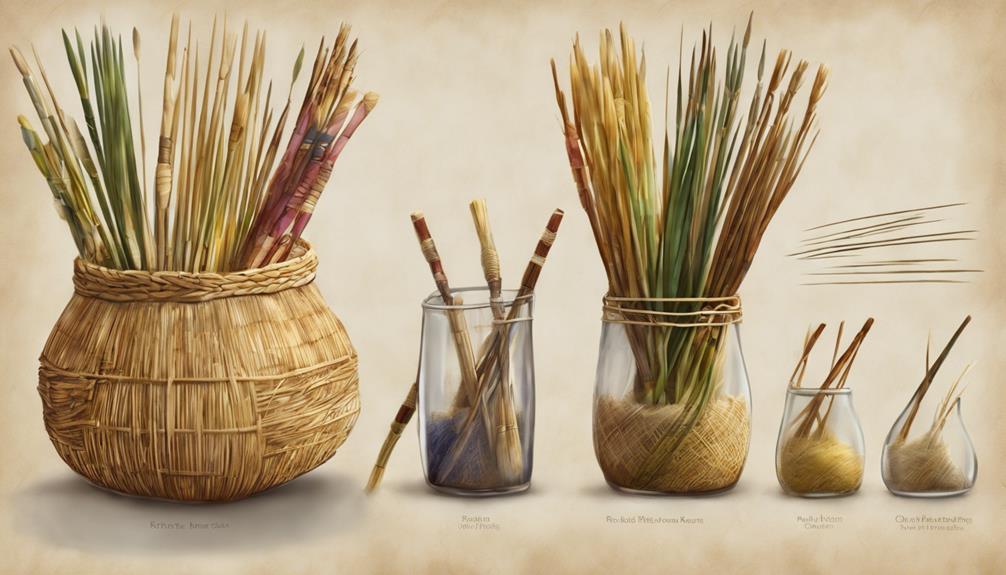
As we progress in our rush reed basket weaving tutorial, the crucial step of selecting the right rush reed sets the foundation for a successful and aesthetically pleasing basket creation. The first step is to consider the types of rush reeds available, such as bulrush, cattail, and sweetgrass, each offering unique qualities for weaving. To help you make an informed decision, here is a comparison table showcasing the characteristics of two common rush reeds:
| Rush Reed | Qualities |
|---|---|
| Bulrush | – Strength and durability |
| – Ideal for creating sturdy baskets | |
| – Available in various thicknesses | |
| Cattail | – Flexibility and ease of weaving |
| – Adds a natural aesthetic to baskets | |
| – Suitable for intricate designs |
When choosing rush reeds, ensure you select two pieces that match your desired basket size, color, and texture. Consider the availability and sustainability of rush reeds in your area to make an eco-conscious choice. Now that you understand the importance of selecting the right rush reed, let’s move on to preparing your weaving space.
Preparing Your Weaving Space
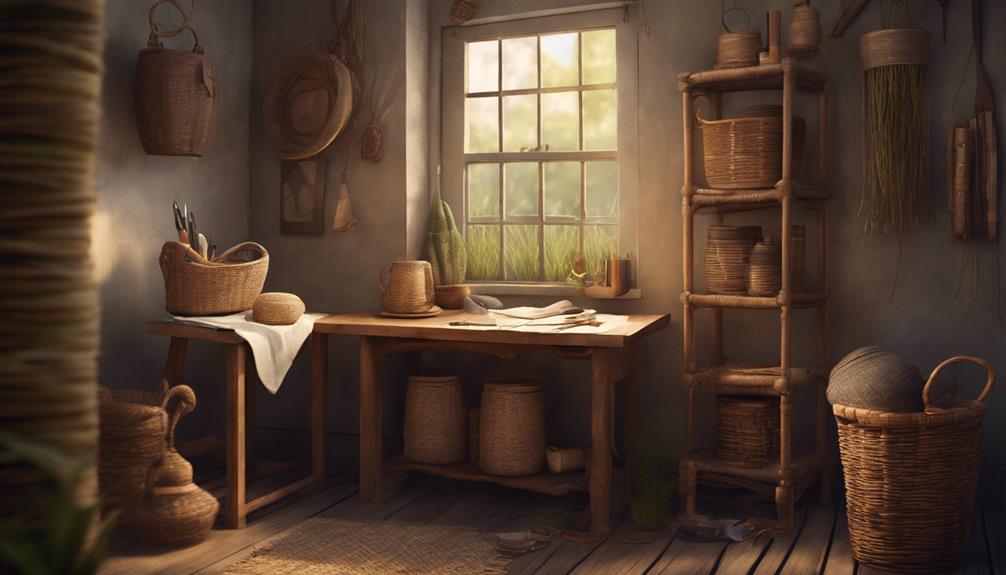
For optimal weaving conditions, ensure that your chosen space is well-lit and provides ample room for comfortable movement during the basket-making process.
Here are some essential tips to prepare your weaving space effectively:
- Lighting Tips, Space Organization: Position your workspace near a window or use bright overhead lighting to ensure clear visibility while weaving.
- Arrange your materials and tools in an organized manner to maximize efficiency and prevent unnecessary clutter.
- Comfort Essentials, Tool Arrangement: Place a cushion or mat on the floor to provide comfort during extended weaving sessions.
- Keep your tools within arm’s reach to maintain a smooth workflow and avoid disruptions.
- Debris Prevention, Ventilation Control: Lay down a protective covering or a tarp under your work area to catch any debris or spills.
- Ensure proper ventilation in the room by opening windows or using a fan to maintain a fresh and comfortable environment for weaving.
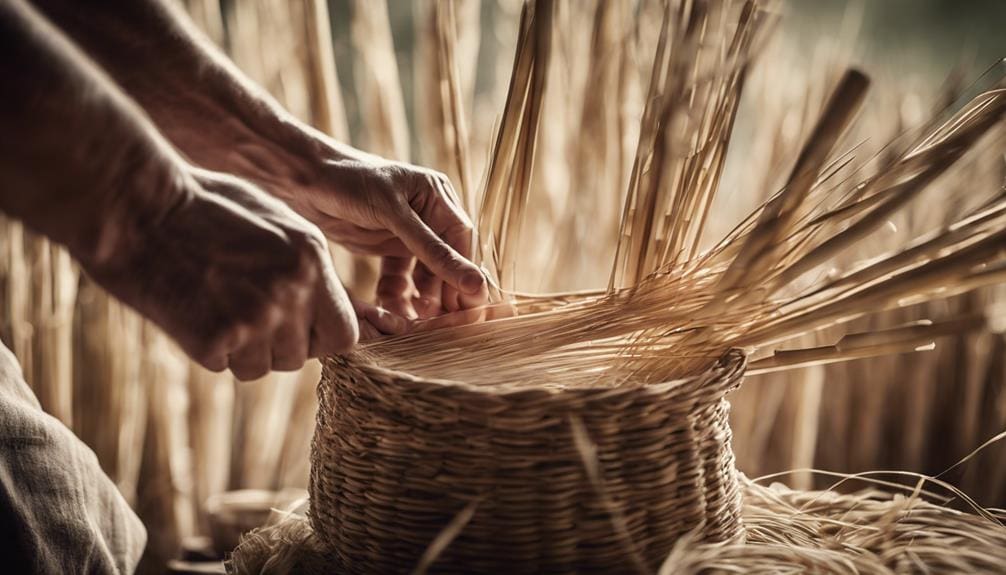
Basic Basket Weaving Techniques
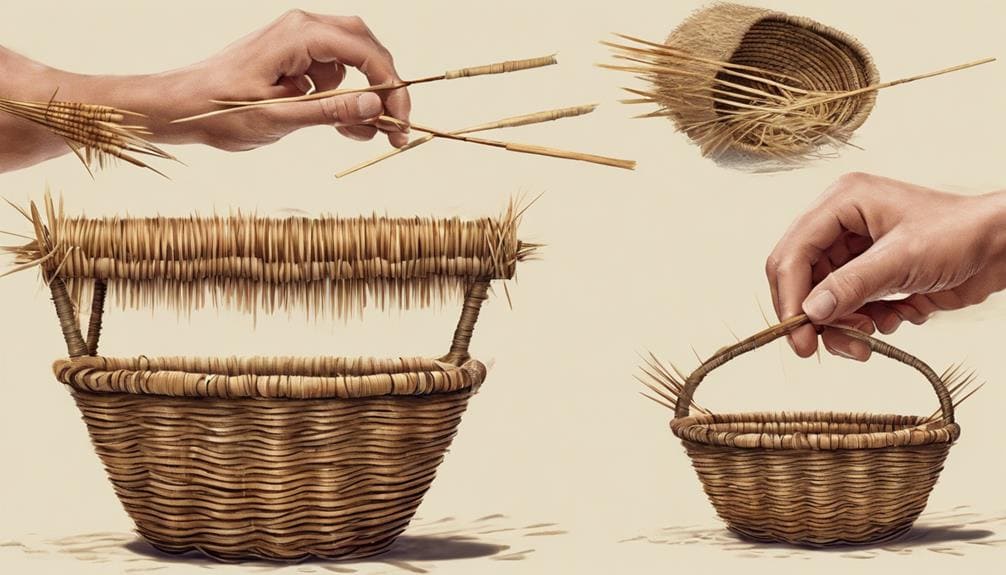
Positioning yourself comfortably in front of your rush reed materials, let’s dive into the basic basket weaving techniques that will guide you through creating your own intricate designs. When working with rush reeds, it’s essential to master the foundational weaving techniques to ensure a strong and visually appealing finished product.
Here are some key tips and advice to elevate your weaving skills:
| Weaving Tips | Design Inspiration |
|---|---|
| Keep your tension consistent throughout the weaving process to maintain structural integrity. | Experiment with different weaving patterns to create unique and eye-catching designs. |
| Start with a sturdy base by weaving a tight circle with your rush reeds before building the walls of the basket. | Incorporate different colors of rush reeds to add depth and visual interest to your basket. |
| Use a packing tool to compress the weavers tightly together for a professional finish. | Play with various shapes and sizes to create baskets that suit your needs and style. |
Adding Decorative Elements

Let’s enhance the visual appeal of your basket by incorporating decorative elements such as colored reeds, beads, or feathers. To make your basket truly stand out, consider the following:
- Bead Embellishments: Integrate beads of various sizes and colors into the weaving pattern to add a touch of elegance and texture.
- Feathers and Reeds: Incorporate natural elements like feathers or thin reeds to create a whimsical or rustic look, depending on your design aesthetic.
- Colorful Weaving Techniques: Experiment with colorful weaving techniques like creating patterns with different colored reeds or using contrasting shades to make certain sections pop.
Finishing Touches and Care Tips

To ensure your rush reed basket maintains its shape and durability, follow these essential finishing touches and care tips. After completing the weaving process, soak the basket in water to enhance flexibility for shaping. Once shaped, pull each spoke tightly over the next to the right and down to secure the top firmly. To maintain a neat finish, poke the spokes back into the inside of the basket. Trim any excess ends with scissors for a polished appearance. Make sure all spokes are tucked inside and neatly trim any protruding ends for a well-finished look.
For stain removal and preservation, gently spot clean with a damp cloth and mild soap. When not in use, consider storing the basket in a cool, dry place away from direct sunlight to prevent fading and maintain its color vibrancy. If repairs are needed, carefully weave in new rush reeds to mend any damaged areas. To display your finished basket, showcase it on shelves or use it as a centerpiece to add a touch of elegance to your space. By following these care tips, your rush reed basket will remain a beautiful and functional piece for years to come.
Showcasing Your Finished Baskets
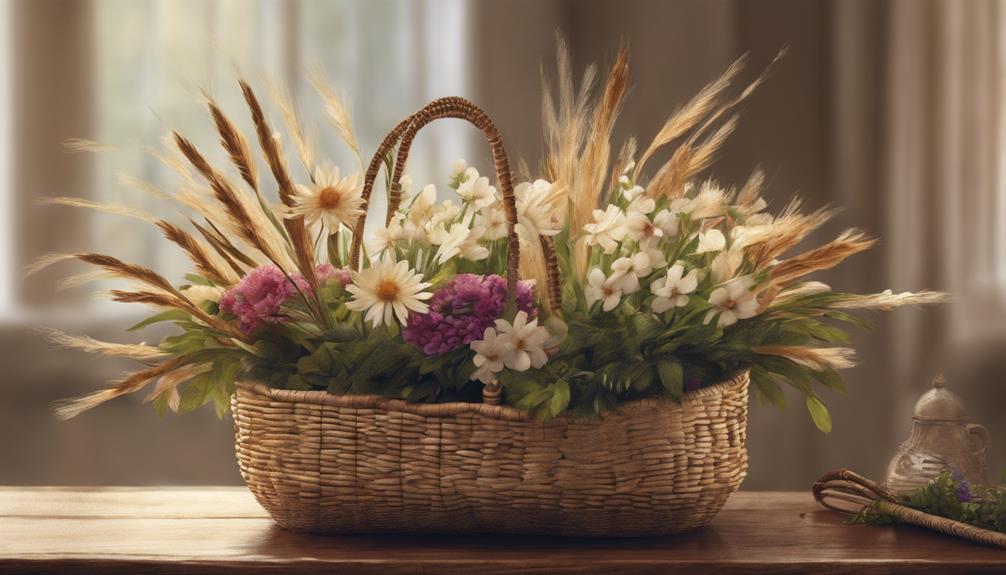
Consider showcasing your finished baskets by capturing high-quality photos in natural light to highlight their intricate details. To effectively market your creations and engage customers, follow these strategies:
- Photography Tips: Use natural light to bring out the textures and colors of your baskets. Experiment with different angles to showcase each piece’s unique features.
- Online Sales: To attract potential buyers, create a visually appealing online portfolio or gallery. Provide detailed descriptions of each basket, including materials, weaving techniques, and the story behind the design.
- Display Techniques: Participate in promotional events or craft fairs to showcase your baskets in person. Use creative display techniques to make your booth stand out and attract customers. Encourage interaction by allowing customers to touch and feel the baskets, emphasizing the quality and craftsmanship of your work.
Frequently Asked Questions
How Long to Soak Reeds for Basket Weaving?
I soak reeds for basket weaving based on thickness. Thicker reeds benefit from 4-8 hours, while thinner ones need 30 minutes to 2 hours. Soaking in warm water increases flexibility, making weaving easier and less prone to breakage.
How Do You Prepare Rushes for Weaving?
To prepare rushes for weaving, I begin by harvesting and drying them. Next, I split and twist the rushes for flexibility. I then dye and decorate them as needed. These steps create a strong and beautiful material for basket weaving.
What Are the 4 Techniques of Basket Weaving?
Four techniques of basket weaving include twining, coiling, plaiting, and wicker weaving. Twining involves twisting two weavers diagonally, coiling uses a continuous strand, plaiting weaves flat strips in an over-under pattern, and wicker weaving creates baskets using woven wicker.
What Are Rush Baskets Made Of?
Rush baskets are made of natural materials like rush stems, which are a sustainable and eco-friendly choice. These traditional crafts blend artistic designs with functional decor, showcasing the strength, durability, and flexibility of rush, harvested from wetlands.
Conclusion
I hope you enjoyed learning how to create your own rush reed basket! Did you know that basket weaving has been practiced for thousands of years, with evidence dating back to ancient civilizations like the Egyptians and Native Americans? It’s a timeless craft that allows you to express your creativity and create functional works of art. Keep practicing and experimenting with different techniques to perfect your basket weaving skills!