How to Weave With Rush Reeds
Weaving with rush reeds is like navigating a complex puzzle, each strand interlocking to create a cohesive whole. The intricate process involves precision and patience, from selecting the right rush reeds to perfecting weaving patterns.
As I guide you through the steps of this ancient craft, you’ll uncover the secrets to creating stunning woven pieces that stand the test of time. So, let’s unravel the art of weaving with rush reeds together, one strand at a time.
To weave with rush reeds, start by soaking them in water to make them pliable, then use a basic over-under weaving technique to create your desired pattern. Rush reeds are versatile for crafting baskets, mats, and other woven items.
Key Takeaways
- Select rush reeds based on aesthetic and durability preferences, matching the size to the chair frame.
- Prepare and maintain weaving tools for optimal performance and easy access during weaving sessions.
- Master basic weaving patterns like twining and braiding, exploring wicker weaving for sturdy weaves.
- Experiment with advanced techniques, intricate designs, and decorative elements for unique and refined weaving outcomes.
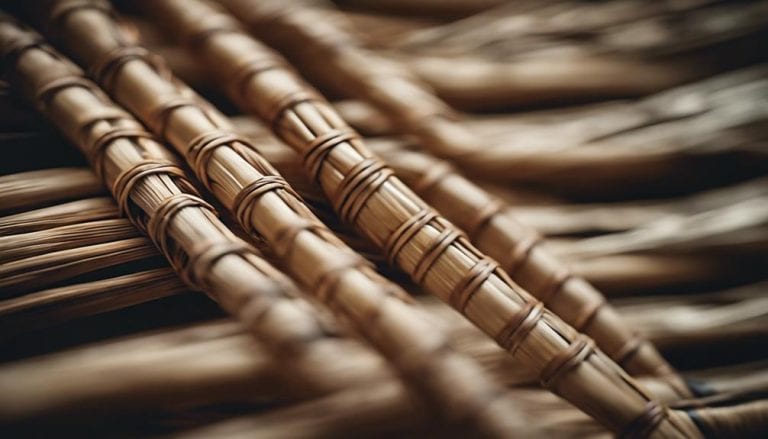
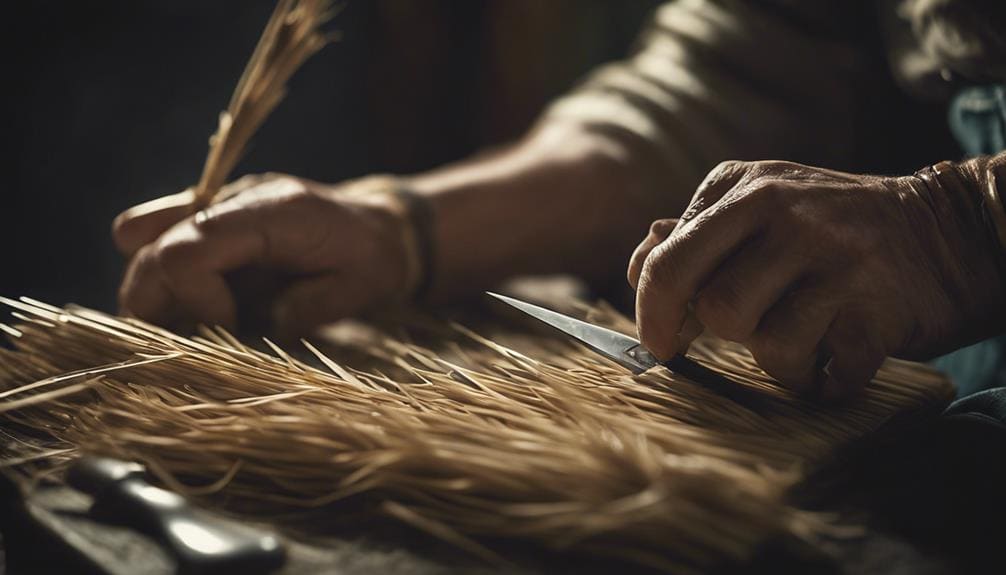
Selecting the Right Rush Reeds
When choosing rush reeds for your weaving project, opt for natural ones to achieve a traditional aesthetic and feel. Natural rush reeds bring a sense of authenticity and warmth to your weaving, enhancing the overall look of your project. Consider the weaving process and the outcome you desire when selecting rush reeds. Paper fiber rush reeds can be a suitable choice for a more durable option, offering a synthetic alternative that maintains strength and longevity.
Additionally, the shape of the rush reeds can influence the texture and appearance of your weaving project. Whether you choose flat or round rush reeds, each will lend a different visual and tactile quality to your final piece.
Remember to match the size and thickness of the rush reeds to the chair frame and weaving style you are working with to ensure a seamless and cohesive result. Smooth, defect-free rush reeds are crucial for a polished finish, so inspect them carefully before beginning your weaving process.
Preparing Your Weaving Tools
After carefully selecting the right rush reeds for your weaving project, the next crucial step is preparing your weaving tools to ensure a smooth and successful weaving process.
- Tool Maintenance and Organization: Before diving into your weaving project, it’s essential to inspect and maintain your tools. Ensure your hammer, screwdriver, needle-nose pliers, and snips are in good condition and ready for use. Organize your tools in a manner that allows for easy access during the weaving process, promoting efficiency.
- Tool Function and Efficiency: Familiarize yourself with the purpose of each tool in the rush weaving process. Understand how the fiber rush brush, chair frame, wood glue, and shellac coat contribute to the overall outcome of your weaving project. Knowing how to use each tool effectively will streamline the weaving process and enhance the quality of your final product.
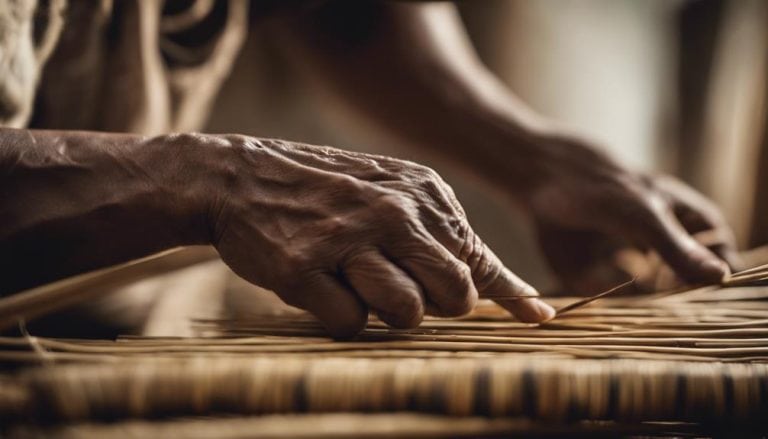
Learning Basic Weaving Patterns
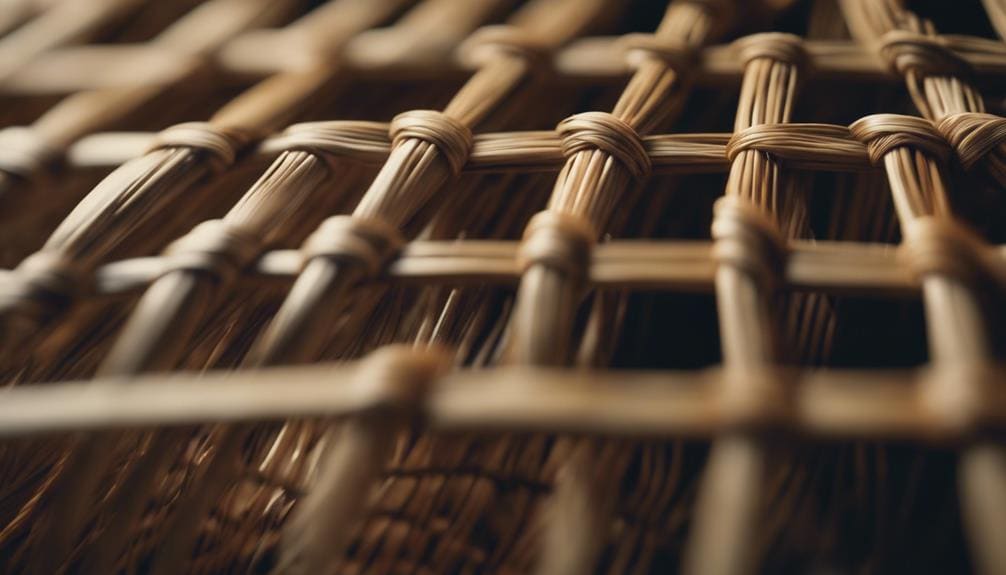
As a weaver delving into rush reed weaving, mastering basic weaving patterns is fundamental to unlocking a world of creative possibilities. Techniques like twining, braiding, and wicker weaving are essential building blocks.
Twining involves weaving two strands in a spiraling pattern, creating a sturdy weave ideal for mats and baskets. Braiding rush reeds allow for intricate designs, perfect for adding decorative elements to your projects. Wicker weaving, on the other hand, results in a tight and durable weave suitable for furniture and larger items.
Exploring Advanced Weaving Techniques
To elevate your rush reed weaving skills, it’s time to explore a realm of advanced techniques that will expand your creative horizons and elevate the intricacy of your designs.
Here are three ways to take your rush reed weaving to the next level:
- Experimenting with Color Gradients: Introducing color gradients into your rush reed weaving projects can add a stunning visual dimension. By blending different shades of rush reeds strategically, you can create beautiful transitions and depth within your designs, making them truly captivating.
- Creating Intricate Borders: Designing intricate borders can elevate the overall aesthetics of your woven pieces. Incorporating detailed patterns or unique weaving techniques along the edges can frame your work beautifully, adding a touch of sophistication and refinement.
- Exploring Advanced Weaving Patterns: Delve into complex weaving patterns like twining, walking, and pairing to unlock the potential for creating intricate and visually striking designs. These advanced techniques offer a new level of creativity and challenge, allowing you to push the boundaries of your rush-red weaving skills.
Adding Decorative Elements to Your Weaving
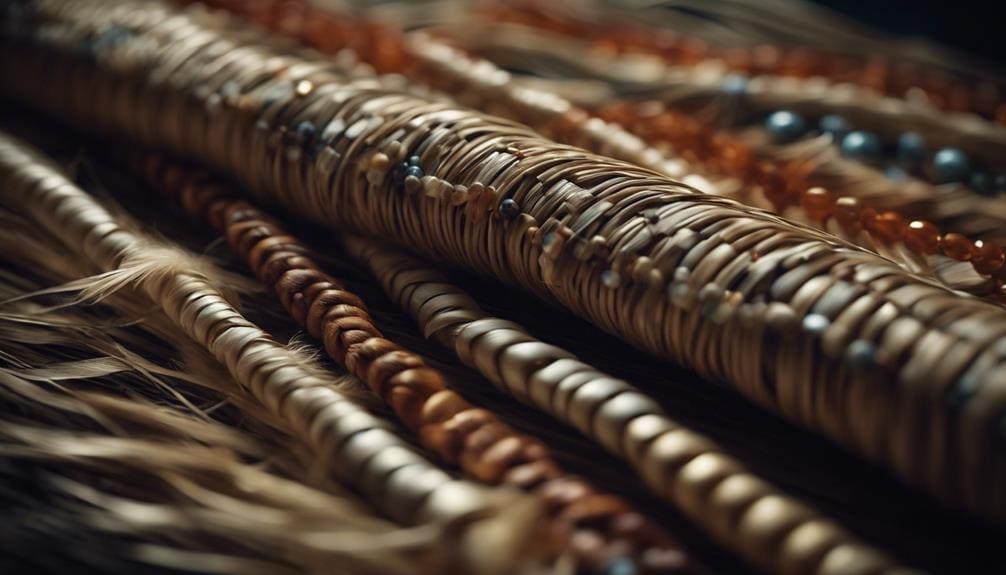
Adding decorative elements to your weaving enhances your rush reed projects’ visual appeal and individuality. By incorporating colorful patterns and embellishment techniques, you can elevate the overall look of your creation. Experiment with different colored rush reeds, ribbons, yarn, or beads to add intricate designs and textures to your weaving.
Additionally, consider incorporating unique textures by mixing various materials and using different weaving techniques. Braids, twists, and knots can serve as beautiful embellishments that enhance the aesthetic of your rush reed project.
These personalized designs showcase your creativity and craftsmanship, making each piece unique. Don’t be afraid to explore different embellishment options and combine them to create a weaving that reflects your unique style. Adding these decorative elements enhances the beauty of your rush reed projects and allows you to express yourself through your craft.
Troubleshooting Common Weaving Issues
When troubleshooting common weaving issues, the key is to carefully inspect for loose or uneven weaving, adjusting tension and ensuring even spacing where necessary.
- Adjusting Tension: Check the tension of your rush reeds regularly throughout the weaving process. If you notice any areas where the tension is too loose, gently pull the rush reeds tighter to create a more uniform weave. Conversely, if the tension is too tight, loosen it slightly to prevent warping or distortion in your woven piece.
- Fixing Spacing: To maintain consistent spacing between your rush reeds, periodically adjust them as needed. If you find areas where the spacing is uneven, carefully push or pull the rush reeds to create a more balanced look. Pay attention to the overall pattern and adjust the spacing to ensure a polished final product.
- Addressing Uneven Weaving: If you encounter sections of your weaving that appear loose or uneven, return to those areas and rework them. Gently manipulate the rush reeds to tighten any open weave, ensuring a cohesive and well-crafted finished piece.
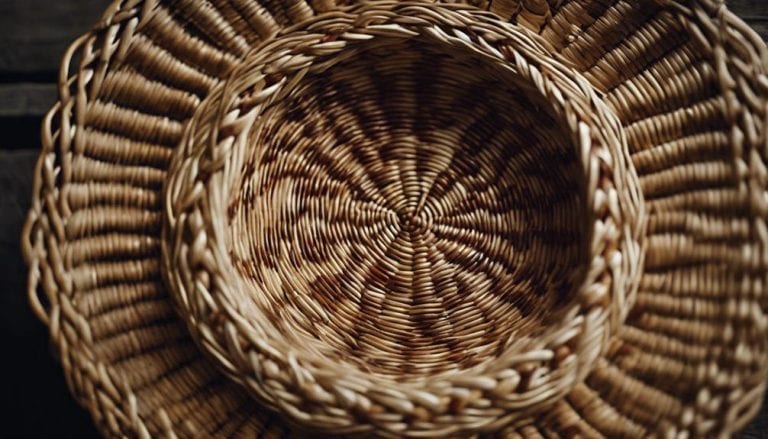
Finishing and Displaying Your Woven Piece

After weaving the rush reeds with precision and care, the next crucial step is to apply a protective clear shellac coat to enhance your woven piece’s final look and longevity. To maintain a smooth finish when applying the shellac, ensure it is done evenly without overlapping.
To achieve a polished appearance, use a wood handle for burnishing the rush reeds. When displaying your woven piece, consider framing techniques and hanging options that complement the overall design. Place the piece in a well-lit area to highlight the intricate weaving patterns and craftsmanship.
Additionally, please protect it from spills and excessive moisture to preserve its quality. For maintenance, regularly dust the piece gently and avoid using harsh chemicals that could damage the rush reeds. Following these steps ensures that your woven rush reed creation remains a stunning focal point in any space.
Frequently Asked Questions
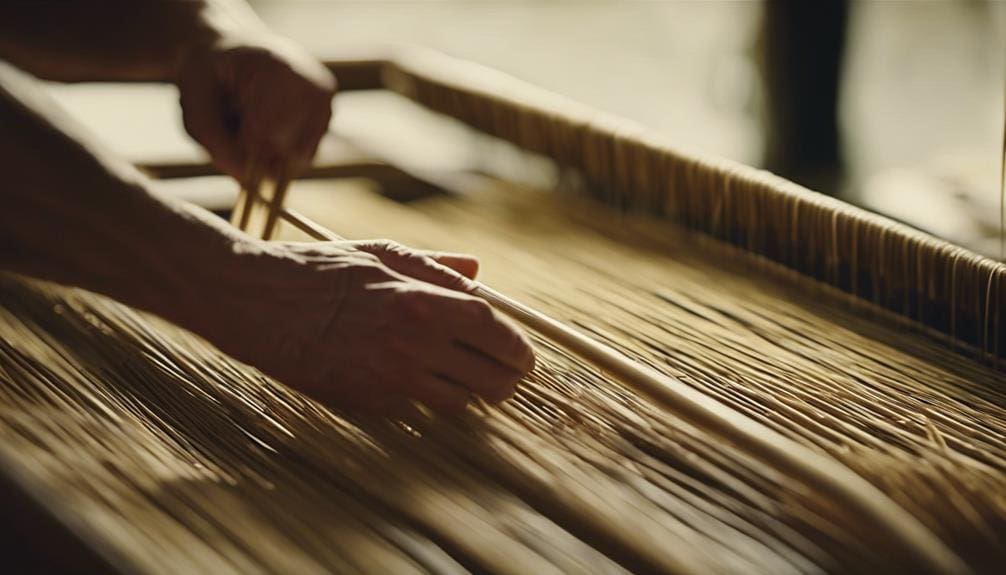
How Long Do You Soak Rush Before Weaving?
I soak rush reeds for 20-30 minutes before weaving. Rush preparation is key; submerge them fully in lukewarm water. Avoid over-soaking to prevent breakage. Adjust soaking time based on reed thickness for optimal flexibility in weaving.
How to Do Rush Weaving?
Weaving rush brings joy to my hands. I share rush weaving techniques and creative designs at workshops, offering beginner tips. It’s a craft of patience and precision, creating functional art with each weave.
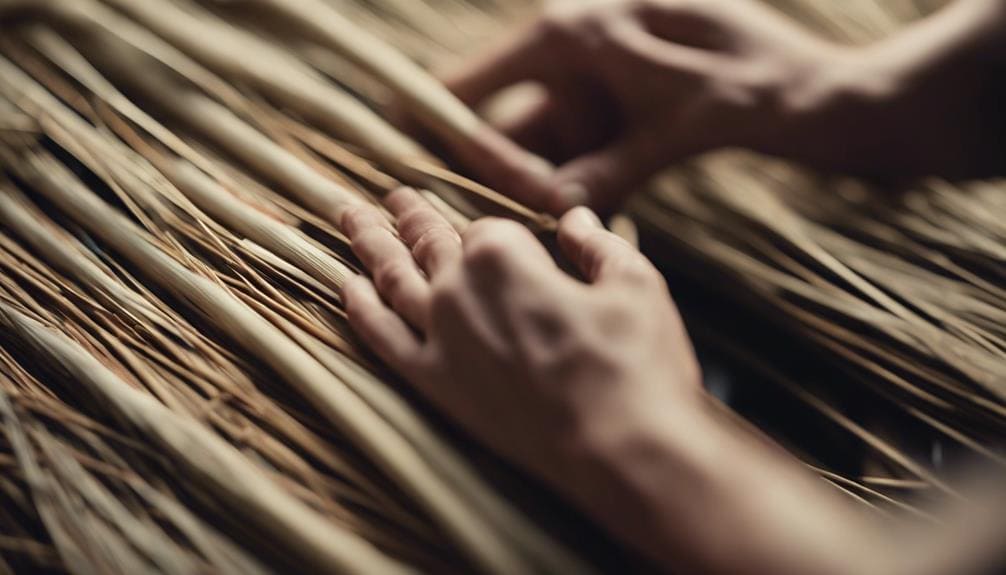
How Do You Prepare Rushes for Weaving?
To prepare rushes for weaving, soak them for 24 hours, ensuring pliability. Remove excess water to prevent mold. Straighten and trim rushes for even weaving. Keep rushes moist while weaving to prevent breakage.
What Is the Difference Between Natural Rush and Fiber Rush?
Ever wondered about the distinction between natural rush and synthetic fiber rush? Natural rush, derived from cattail leaves, offers a traditional aesthetic but demands soaking. In contrast, fiber rush, made from paper strands, is durable, fade-resistant, and ready for weaving.
Conclusion
After mastering the art of weaving with rush reeds, you’ll be amazed at the results you can achieve. Did you know an average rush-red chair can take up to 30 hours to complete? Imagine the satisfaction of creating a beautiful and functional piece of furniture with your own hands. Keep practicing and honing your skills; you’ll be weaving like a pro in no time!