Danish Cord Weaving Techniques Overview
As I dip my toes into the intricate world of Danish cord weaving techniques, I realize it’s akin to unraveling a puzzle, with each strand weaving a tale of craftsmanship and precision. Exploring this art form’s rich heritage and contemporary applications unveils a world where tradition meets innovation, offering a glimpse into a realm where creativity knows no bounds.
I am curious to discover how these age-old techniques have stood the test of time and continue to inspire modern artisans to push the boundaries of design, one thread at a time.
An overview of Danish cord weaving techniques involves intricate patterns and precise methods. Understanding these techniques can lead to the creation of beautiful and durable woven designs.
Key Takeaways
- Danish cord weaving embodies Danish cultural heritage and craftsmanship.
- Traditional and modern techniques combine for intricate designs.
- Secure the cord properly and maintain tension for successful weaving.
- Experiment with patterns, colors, and finishes for contemporary flair.
History of Danish Cord Weaving
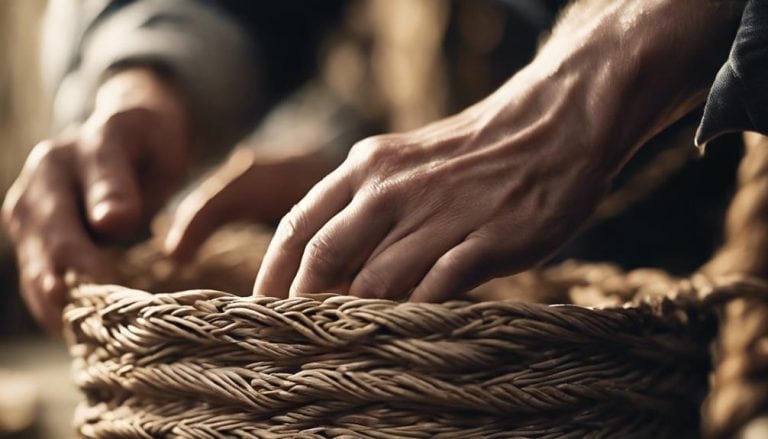
Danish Cord weaving traces its historical roots back to ancient Denmark, which has been vital in constructing traditional Scandinavian furniture for centuries. The origins of Danish cord weaving are deeply intertwined with the cultural significance of craftsmanship and design in Danish history.
This weaving technique not only showcases the ingenuity of Danish artisans but also reflects the practicality and aesthetic values that have been cherished in Scandinavian culture for generations. The process of weaving Danish cord is more than just a method; it represents a connection to the past, where furniture was not only functional but also a form of art.
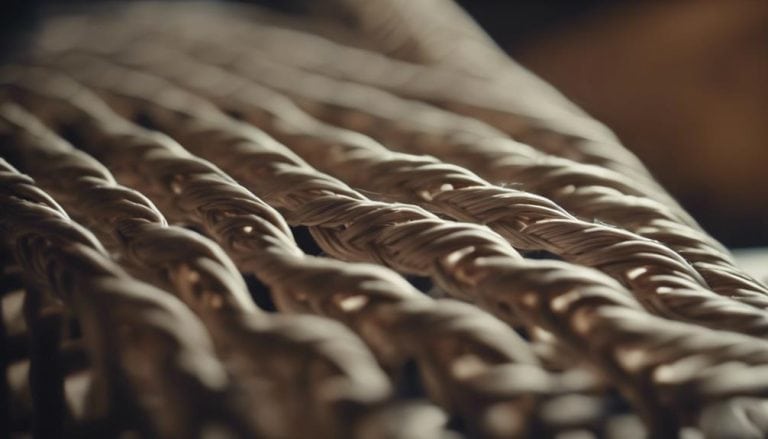
The intricate patterns created through Danish cord weaving speak to the attention to detail and precision that characterize Scandinavian design. As a traditional craft that has stood the test of time, Danish cord weaving is a testament to the enduring legacy of Danish furniture making and its rich cultural heritage.
Materials Needed for Weaving
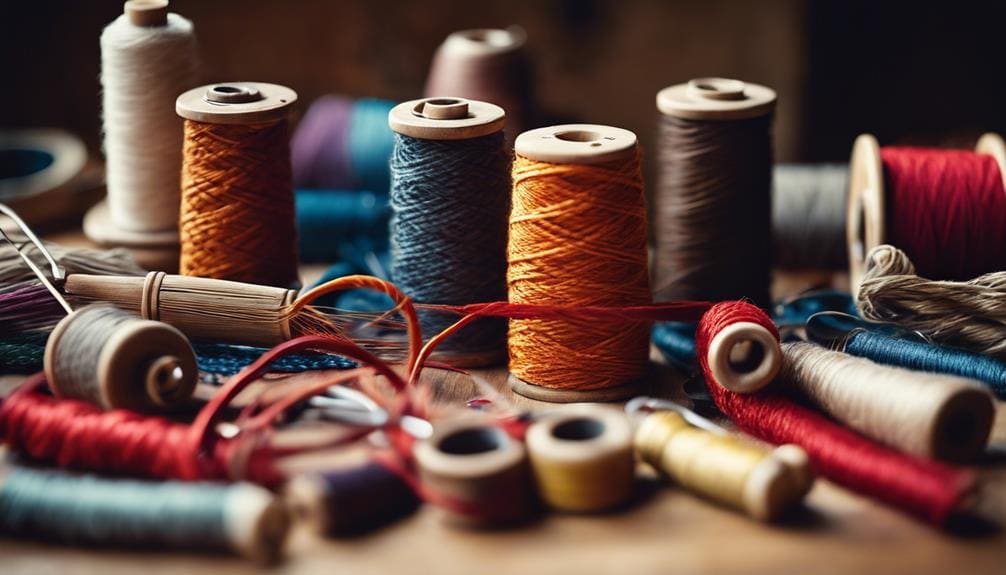
When embarking on the intricate art of Danish cord weaving, one must gather essential materials to ensure a smooth and successful weaving process. The materials needed for Danish cord weaving include:
- Danish nails: These specialized nails are crucial for securing the cord during weaving.
- Squeeze clamp: Used for holding the cord taut while weaving, ensuring even tension throughout the chair seat.
- Tack hammer: Essential for securing nails firmly into the chair frame, preventing any slippage during weaving.
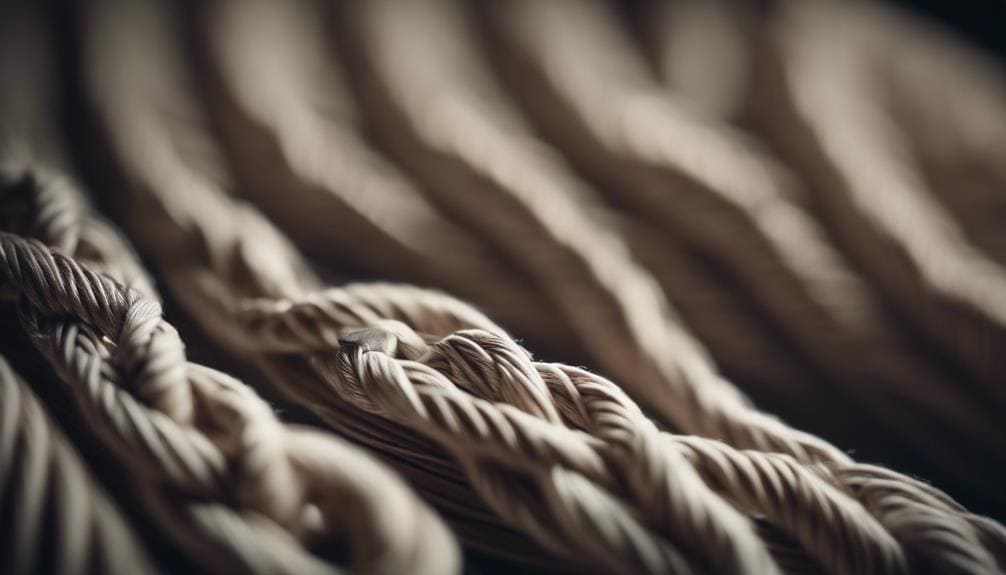
- Unlaced Danish cord: The primary material for weaving, this cord is durable and flexible, ideal for creating intricate patterns and designs on the chair seat.
In addition to these materials, weaving tools like scissors, pliers, and gloves are essential for handling the materials precisely. Cord preparation and maintenance are key aspects of the weaving process, ensuring the cord is properly secured and maintained throughout the project.
Traditional Weaving Techniques
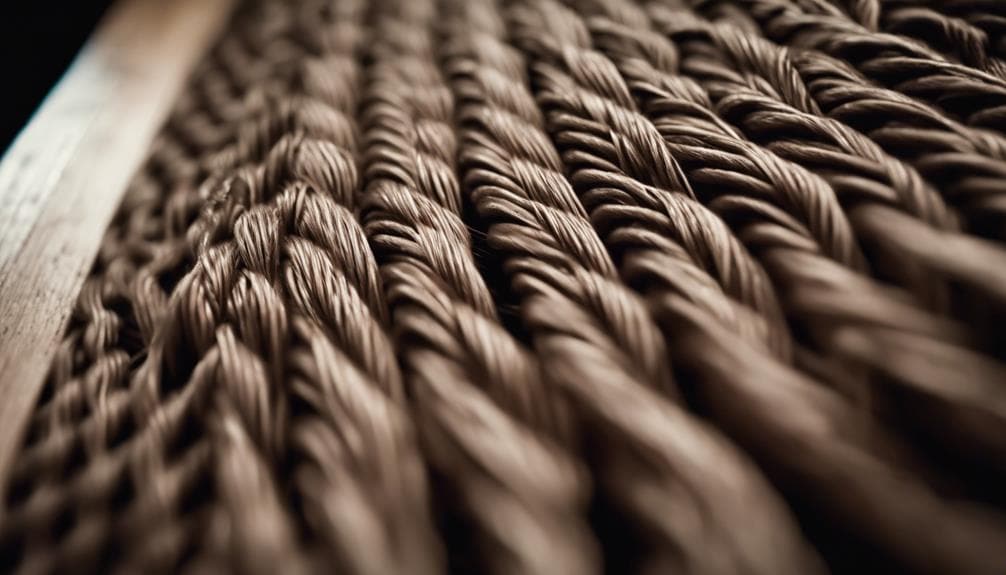
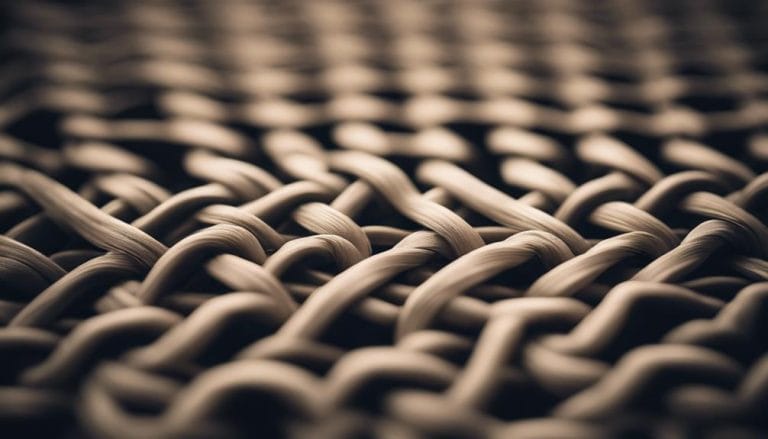
Utilizing centuries-old techniques passed down through generations, traditional weaving methods intricately intertwine craftsmanship and artistry to create enduring pieces of furniture. When it comes to Danish cord weaving, the weaving patterns and innovative designs play a crucial role in the final look of the furniture piece.
Weavers experiment with different patterns to achieve unique textures and visual appeal. Troubleshooting during the weaving process is essential to avoid common mistakes that could compromise the quality of the final product.
| Weaving Patterns | Innovative Designs | Troubleshooting |
|---|---|---|
| Experiment with various patterns to create intricate designs. | Incorporate modern elements into traditional weaving techniques. | Check for even tension throughout the weaving process. |
| Explore geometric patterns for a contemporary touch. | Combine different weaving techniques for a visually striking look. | Ensure proper alignment of the cord to prevent weaving errors. |
| Traditional weaving methods can be adapted to create new and exciting patterns. | Integrate colors to add depth and interest to the weaving. | Address any fraying or unraveling of the cord promptly. |
Step-by-Step Weaving Instructions
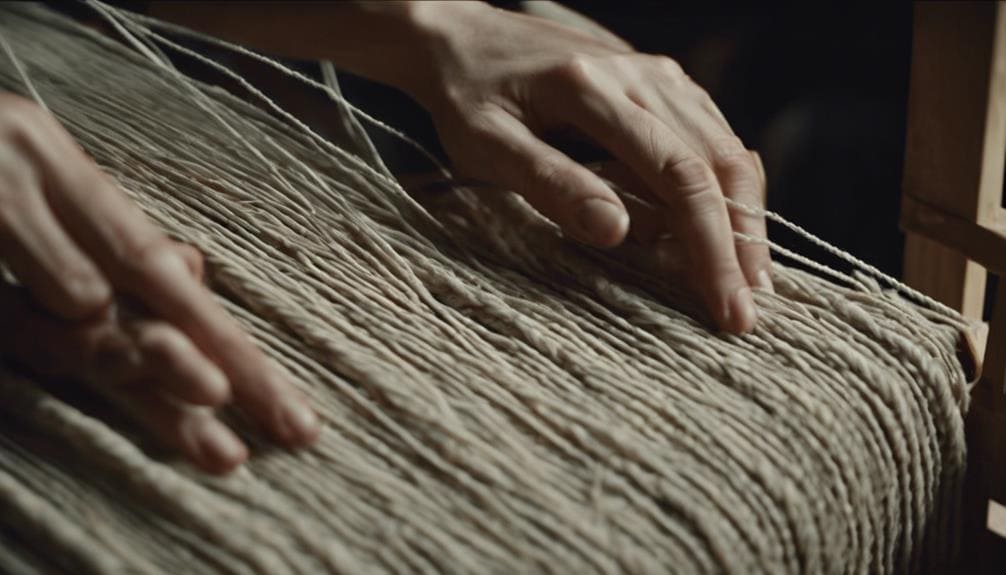
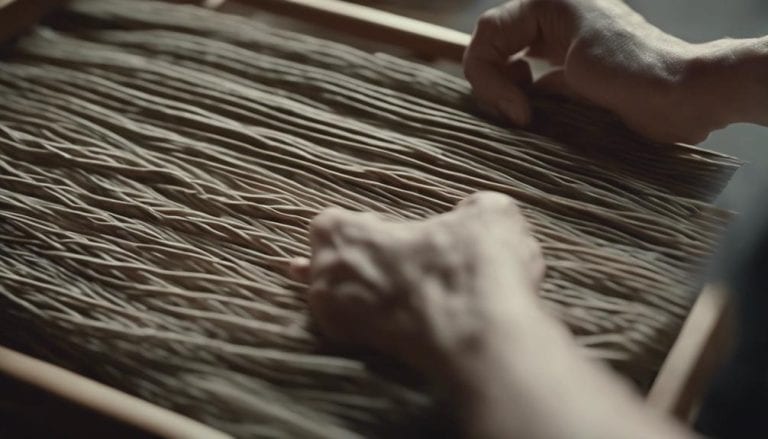
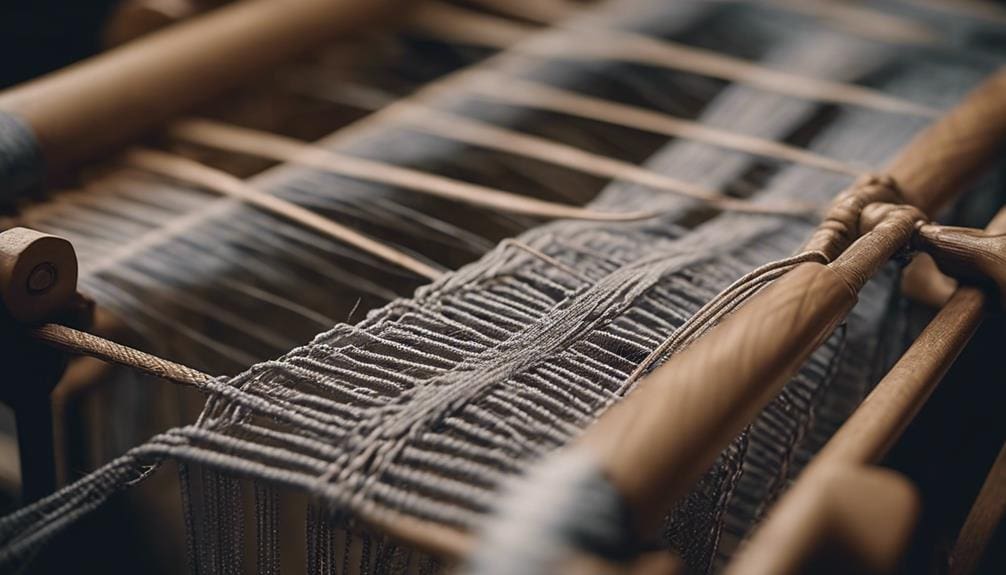
Starting with securing the cord to the chair, the step-by-step instructions for Danish cord weaving involve creating sets of 4 strands for weaving, beginning from the front left. Wrapping the front rail with 5 wraps and crossing over already nailed strands are vital steps.
We then weave from left to right, ensuring the cord is pulled taut but not overly tight to maintain the integrity of the pattern. If necessary, doubling up on nails can provide additional support for the weaving.
- Carefully wrap the front rail with 5 wraps for a sturdy foundation.
- Cross over the already nailed strands to establish the weaving pattern.
- Weave from left to right, ensuring the cord is taut but not overly tight.
- Double up on nails where needed to reinforce the weaving structure.
Exploring advanced patterns and decorative finishes can further enhance the intricacy and beauty of your Danish cord-weaving projects.
Tips for Successful Weaving
Precision and attention to detail are key elements to ensure successful outcomes for optimal results in Danish cord weaving. Maintaining proper weaving tension and warp alignment are crucial aspects that can impact the overall quality of your weaving projects. To help you achieve a seamless weaving process, consider the following tips:
| Weaving Tension | Warp Alignment |
|---|---|
| Apply consistent tension | Ensure even spacing of warp pairs close to rail ends |
| Check tension periodically | Mark front and back rails with centerlines for warp cords |
| Avoid over-tightening | Follow a pattern layout with marks 7⁄8 in. to 1 in. apart |
Frequently Asked Questions
How Do You Do a Danish Cord Weave?
To do a Danish cord weave, start by securing the warp with a cow-hitch knot on the rails for a tight seat. Remembering to mark centerlines on the rails ensures symmetry. For beginners, mastering basic steps is key, while advanced weavers explore intricate patterns.
What Is the History of Danish Cord Weaving?
Delving into the historical significance of Danish cord weaving reveals a rich tapestry of cultural influences. Its roots in Denmark and rise to prominence in the mid-20th century unveil a craft that blends tradition with elegance.
What’s the Difference Between Laced and Unlaced Danish Cord?
When choosing between laced and unlaced Danish cord, consider material options and design variations. Unlaced cord allows for customization, while laced is convenient for beginners. Understanding these differences helps in selecting the best option for weaving projects.
What Is the Nail Spacing for Danish Cord Weaving?
When weaving Danish cord, I set nail spacing close to rail ends for security while ensuring tension control. This method, using double rails, allows the cord to reverse direction without inside nails. Symmetrical weaving requires marking an odd number of centerlines.
Conclusion
In conclusion, mastering Danish cord weaving techniques requires patience, attention to detail, and a creative eye. As the saying goes, “practice makes perfect,” so don’t be discouraged by initial challenges. With dedication and practice, you can create stunning woven pieces that showcase the beauty and durability of this traditional craft. Embrace the process, enjoy the journey, and let your creativity flow through each intricate weave.