Essential Guide to Rush Reeds Basketry
Basketry opens up a realm of creativity and skill-building opportunities by exploring the intricate world of rush reeds. As I navigate through the pages of this guide, discovering the nuances of selecting the best rush reeds and mastering basic and advanced weaving techniques, a sense of anticipation builds.
Each turn of the page promises a deeper insight into this ancient craft, offering a roadmap to creating beautiful and functional baskets. Through this guide, I’m excited to unlock the secrets of enhancing my basketry skills and exploring many inspiring project ideas.
The “Essential Guide to Rush Reeds Basketry” offers valuable tips and techniques for mastering this traditional craft. It also includes step-by-step instructions and creative ideas to enhance your basket weaving skills.
Key Takeaways
- Select and prepare rush reeds carefully for weaving baskets.
- Utilize advanced weaving techniques for intricate designs.
- Enhance baskets with natural dyes and decorative elements.
- Finish baskets by trimming, securing ends, and adding personalized touches.
Selecting the Best Rush Reeds
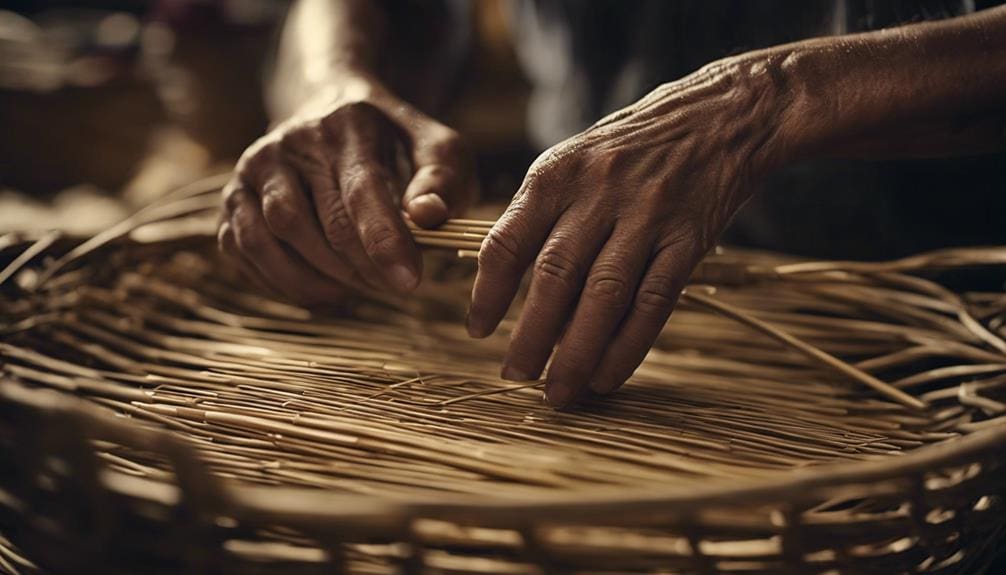
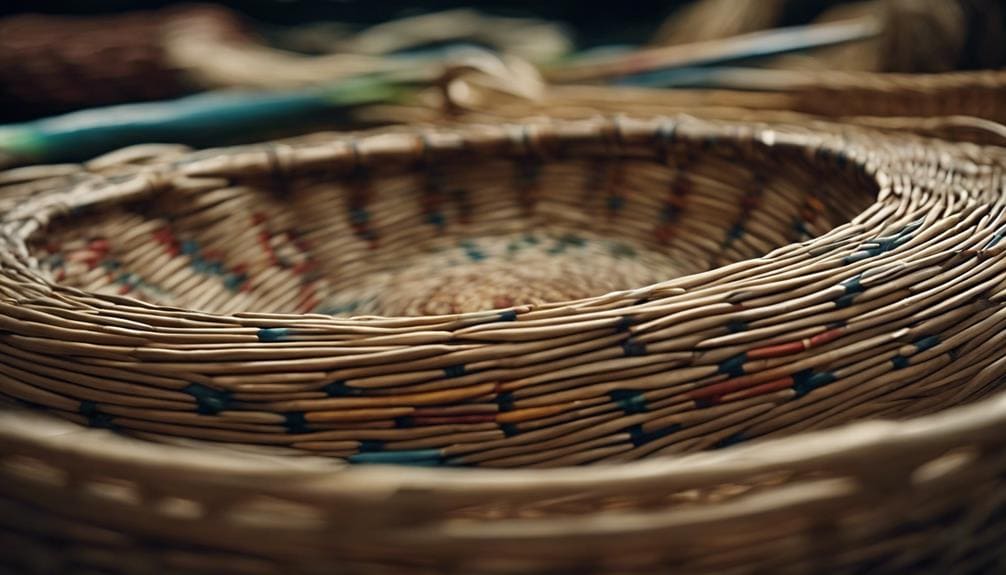
When choosing rush reeds for basketry, it is crucial to carefully inspect for long, straight, and flexible stems to ensure optimal quality and ease of weaving. Harvesting techniques play a vital role in obtaining the best rush reeds. Sustainable practices are key to maintaining wetland ecosystems while gathering materials. Natural dyeing can further enhance the aesthetic appeal of the rush reeds, adding a unique touch to the final basketry creation.
Selecting rush reeds with different textures and colors can also create innovative designs. Proper drying and curing are essential for their flexibility and durability. Quality rush reeds exhibit consistent color, thickness, and texture, making them easier to work with during basket weaving. By choosing rush reeds with minimal damage or discoloration, the overall look of the basket can be elevated to a more polished and professional level.
Tools and Materials Needed

To craft a rush reed basket successfully, one must have a pair of sharp scissors or shears to cut the reeds effectively. When embarking on a rush reed basketry project, the following tools and materials are essential:
- Fresh Reed Selection: Gather fresh rush reeds that are long, smooth, and pliable for weaving intricate patterns.
- Sharp Scissors or Shears: Use these tools to cut the rush reeds to the desired lengths for weaving.
- Warm Water and Basin: Prepare warm water to soak the rush reeds, making them flexible for weaving.
- Drying Area: Hang the rush reeds in bunches in a dark, dry, well-ventilated area to dry for 3-7 days before use.
Having these tools and materials readily available will facilitate the process of reed selection and basket shaping. By ensuring you have the necessary supplies, you set yourself up for success in creating beautifully crafted rush reed baskets.
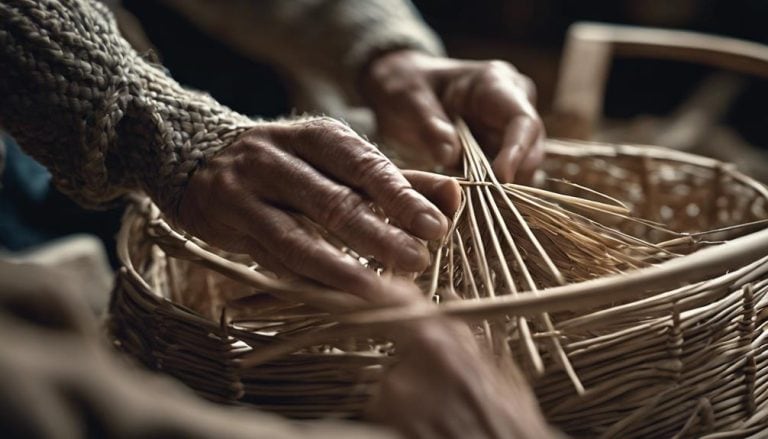
Basic Weaving Techniques

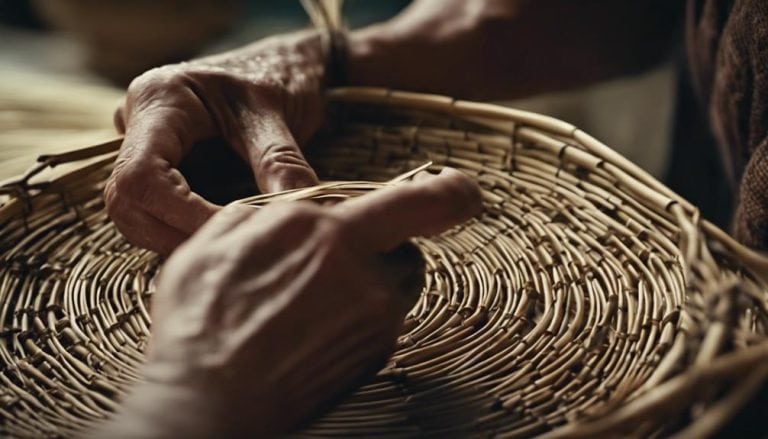
How should rush reeds be prepared before starting the basic weaving techniques in rush reed basketry? Soaking the rush reeds in warm water is crucial to making them pliable for weaving. This step ensures that the reeds are flexible and easier to manipulate during weaving. Once the rush reeds are prepared, weavers typically create a sturdy base or foundation for the basket. This foundation sets the structure for the weaving process and provides a stable starting point for the intricate patterns.
As the weaving progresses, overlapping and interweaving the rush reeds create unique textures and patterns in rush reed basketry. Weavers can experiment with color blending and texture variations to add depth and visual interest to their creations. Proper drying and storing of rush reeds are also essential to maintain quality and ensure they are ready for future weaving projects. Mastering these basic weaving techniques sets the foundation for more complex patterns and designs in rush reed basketry.
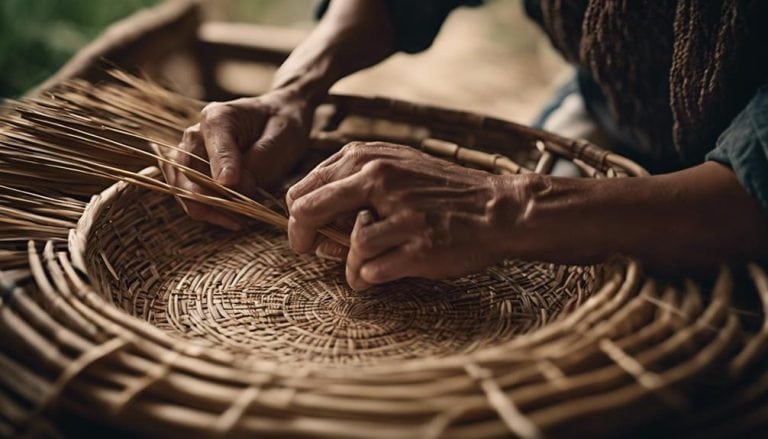
Advanced Weaving Patterns
Having mastered the basic weaving techniques in rush reed basketry, we now venture into advanced weaving patterns, where intricate designs like twill weaves, wickerwork, and hexagonal bases unfold with skilled precision. One can delve into a world of creativity and complexity when exploring advanced rush reed weaving.
Here are some key aspects to consider:
- Geometric Designs: Advanced weaving patterns often involve the creation of intricate geometric designs that challenge the weaver’s skills and precision, resulting in visually stunning baskets.
- Intricate Borders: Incorporating elaborate borders into your rush reed baskets adds a touch of sophistication and elegance, elevating the overall aesthetic appeal of the piece.
- Sculptural Forms: Skilled weavers can manipulate rush reeds to form sculptural shapes and structures, pushing the boundaries of traditional basket weaving and creating unique, eye-catching pieces.
- Personalized Details: Advanced patterns allow for the inclusion of personalized details, enabling weavers to infuse their baskets with individuality and character, making each creation truly one-of-a-kind.
Finishing and Enhancing Your Basket

Enhancing a rush reeds basket involves skillfully incorporating decorative elements like beads, feathers, or ribbon to add a personalized touch and elevate its aesthetic appeal. Consider using colorful dyes on the reeds or incorporating decorative accents like beads along the rim to make your basket stand out. Experiment with weaving patterns to create visually appealing designs that reflect your style.
Finishing Techniques for Rush Reeds Baskets:
| Technique | Description |
|---|---|
| Trimming Excess Reeds | Cut any protruding reeds neatly for a polished look. |
| Tucking Ends Neatly | Ensure all ends are tucked in securely to prevent unraveling. |
| Securing with Glue or Knot | Use glue or a knot to secure the ends for durability. |
Common Mistakes to Avoid

One key mistake to avoid when working with rush reeds for basketry is soaking them for excessive time, making them overly soft and difficult to handle. Here are some weaving tips to help you steer clear of common errors:
- Avoid soaking reeds for too long: Excess moisture can make the reeds soggy and prone to breaking, which is challenging for weaving.
- Ensure reeds are fully dried: Before starting a project, make sure the reeds are completely dry to prevent mold or mildew growth within the basket.
- Watch out for brittle reeds: Be cautious of using too dry or brittle reeds, as they can easily snap during the weaving process.
- Mind the size and thickness: Consistency in the length and thickness of the reeds used is crucial for maintaining the structural integrity of your basket.
Inspiring Rush Reeds Basketry Ideas
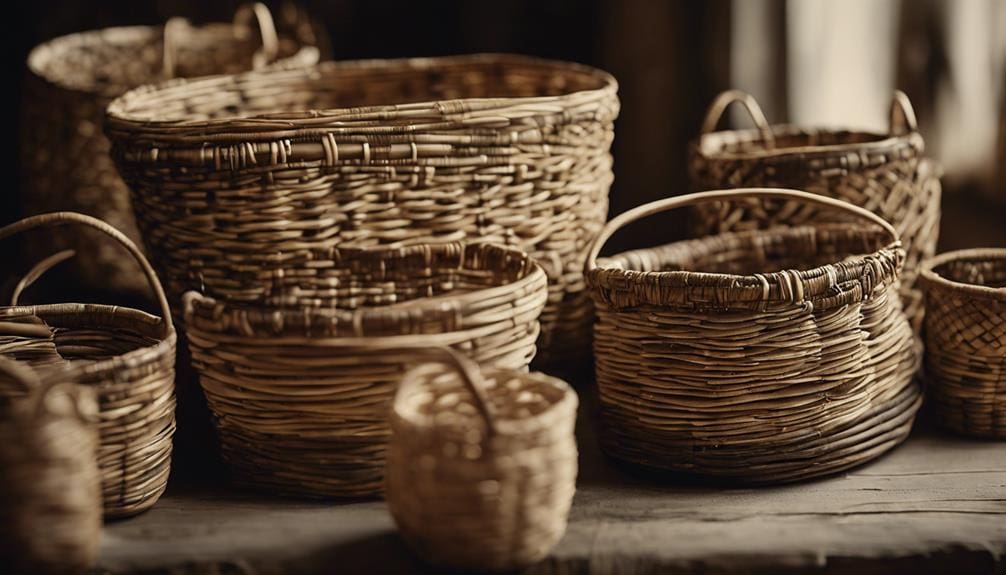
Crafting with rush reeds offers many inspiring ideas for creating unique and functional basketry pieces. One way to enhance your rush reed projects is by incorporating creative embellishments. These could include beads, shells, feathers, or even small trinkets that add a personalized touch to your creations.
Additionally, nature-inspired designs can elevate the beauty of your rush reed baskets. Drawing inspiration from the natural world, you can weave intricate patterns mimicking rivers’ flow, plants’ growth, or the textures of tree bark. To further illustrate the potential of rush reeds basketry, consider the following table showcasing various ideas for your next project:
| Project Type | Description | Inspiration |
|---|---|---|
| Coiled Basket | Utilizes the coiling technique for a sturdy base | Twisting vines in a forest |
| Plaited Placemats | Weaves rush reeds in a traditional plaiting pattern | Ripples in a pond |
| Twined Decorative Item | Combines different colors and textures in a twining technique | Autumn leaves falling |
Frequently Asked Questions
How Do You Prepare Rushes for Weaving?
To prepare rushes for weaving, I gather freshly-cut reeds, tie and dry them for 3-7 days. Cut and soak in warm water for 5-10 minutes. Pat dry, then weave into the project, soaking more reeds as needed for flexibility.
How Long to Soak Reeds for Basket Weaving?
No need to rush, I soak reeds for basket weaving for 5-10 minutes. This ensures they’re pliable but not too soggy, making it easier to weave them into intricate patterns. Mastering this soaking duration is key to perfecting reed weaving techniques.
How Do You Process Reeds for Weaving?
To process reeds for weaving, gather fresh reeds, dry, cut, and soak them. Weave using proper techniques, soaking reeds as needed. Avoid over-soaking to prevent drying out. This ensures flexibility for smooth weaving in rush reeds basketry projects.
What Are the 4 Techniques of Basket Weaving?
Basket weaving encompasses coiling, plaiting, twining, and rib construction techniques. These methods offer diverse patterns and styles, each rooted in rich cultural histories. The significance lies not just in the final product but in the tradition and artistry behind it.
Conclusion
In the world of rush reeds basketry, each woven piece is a unique tapestry of creativity and skill. Just as a basket weaves together different elements to create a cohesive whole, so too does our journey in mastering this craft intertwine various experiences and lessons. Embrace the twists and turns of the weaving process, for it is in these intricate patterns that we find beauty and growth. Let your creativity bloom like a well-crafted basket, weaving together moments of inspiration and dedication.