Guide to Using Rush Reeds in Basketry
As I dip my toes into the vast sea of rush reeds in basketry, I navigate a world of possibilities and traditions waiting to be unraveled. The subtle artistry of weaving these slender strands into functional and beautiful forms intrigues me, beckoning me to explore further.
Stay tuned as we uncover the secrets behind harnessing the potential of rush reeds in basket making, discovering the intricate techniques and timeless allure they hold.
In basketry, a guide to using rush reeds involves soaking them for flexibility before weaving, ensuring a smoother and more pliable process. This preparation step is crucial for creating sturdy and beautifully crafted baskets.
Key Takeaways
- Common and soft rush reeds offer structural diversity for basket weaving.
- Proper processing and selection ensure quality and durability in rush reeds.
- Master basic weaving techniques before exploring intricate patterns and designs.
- Preserve rush reed baskets with care, from finishing touches to storage practices.
Types of Rush Reeds
When selecting rush reeds for basketry, it is essential to consider the specific characteristics of each type, such as the common rush and soft rush varieties. Common rush reeds are distinguished by their tall, cylindrical stems, providing sturdiness to woven baskets.
On the other hand, soft rush reeds feature more flexible and supple stems, making them ideal for intricate weaving patterns and designs. Weaving with rush reeds requires attention to detail and a keen eye for creating unique textures and shapes. These reeds are harvested and processed into long, slender strands, allowing weavers to experiment with different colors and styles.
The natural hues of rush reeds can add a rustic charm to baskets, while dyed reeds allow for vibrant and eye-catching creations. Incorporating rush reeds into basket weaving brings a tactile element and visual interest, elevating the art form and creating stunning, one-of-a-kind pieces.
Selecting the Right Rush Reeds

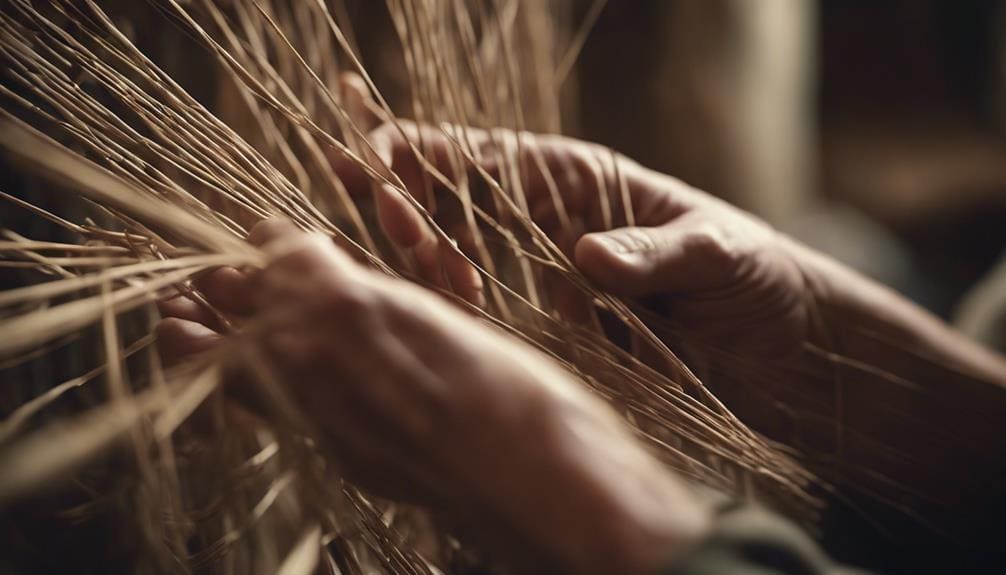
In selecting the right rush reeds for basketry, one must carefully evaluate the length, thickness, and quality required to ensure the final woven piece’s structural integrity and visual appeal. When sourcing rush reeds, prioritize those that meet specific quality criteria such as flexibility and durability.
Opt for rushes with uniform color and texture to maintain consistency in the appearance of the basket. Choosing rushes that have been properly dried to prevent molding or breakage during the weaving process is crucial. Ensure the rushes are free from pests or debris to avoid contamination in the basket-making process.
Proper storage and preservation of rush reeds are essential to maintain their quality. Store rushes in a dry, well-ventilated area away from direct sunlight to prevent them from becoming brittle or discolored. By adhering to these guidelines, you can select rush reeds that enhance your basket weaving experience and result in a high-quality finished product.
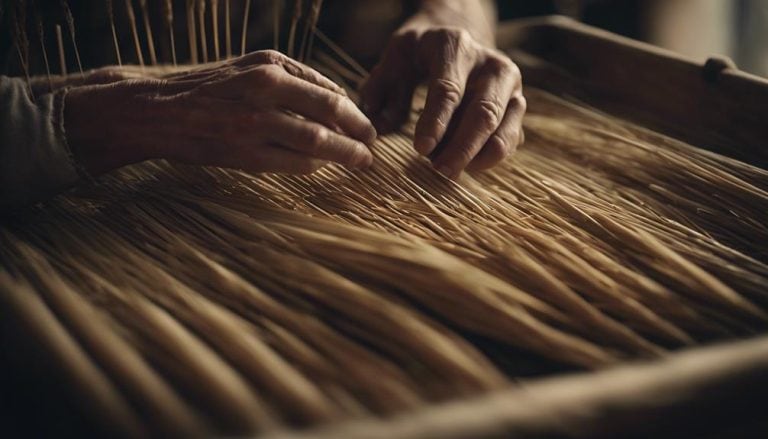
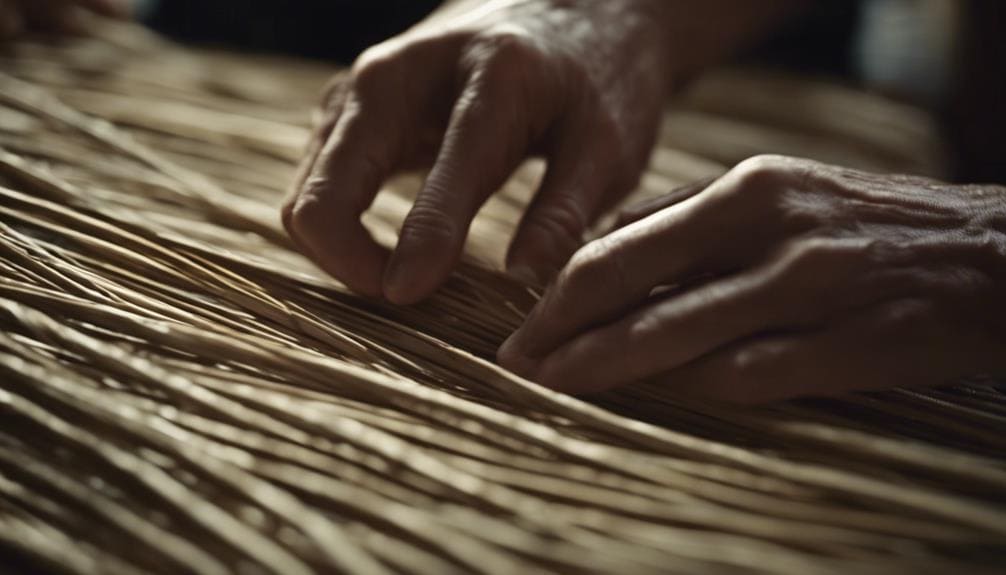
Preparing Rush Reeds for Weaving
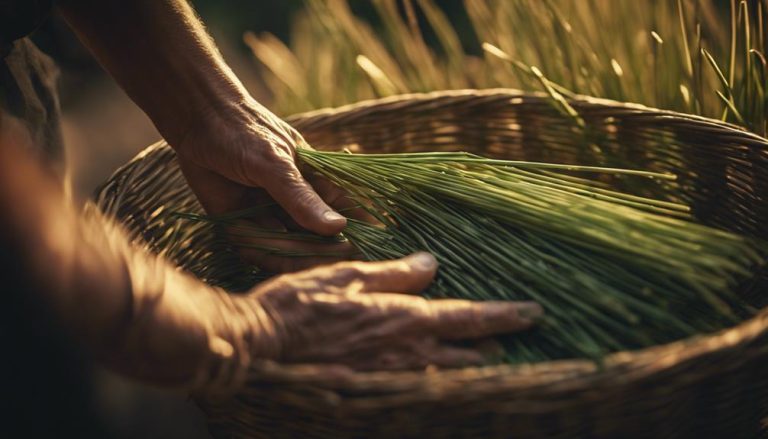
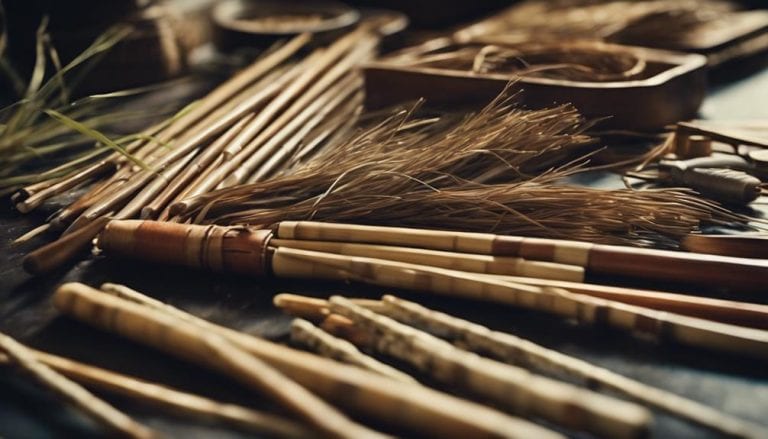
To prepare rush reeds for weaving, gather freshly cut rushes and bundle them for drying. Hang the rush reeds in a dark, well-ventilated area for 3-7 days, ensuring they are fully dried. Once dried, cut the rush reeds to the desired lengths for your basketry projects. To store them, keep the rush reeds in a dry place away from direct sunlight to maintain their quality.
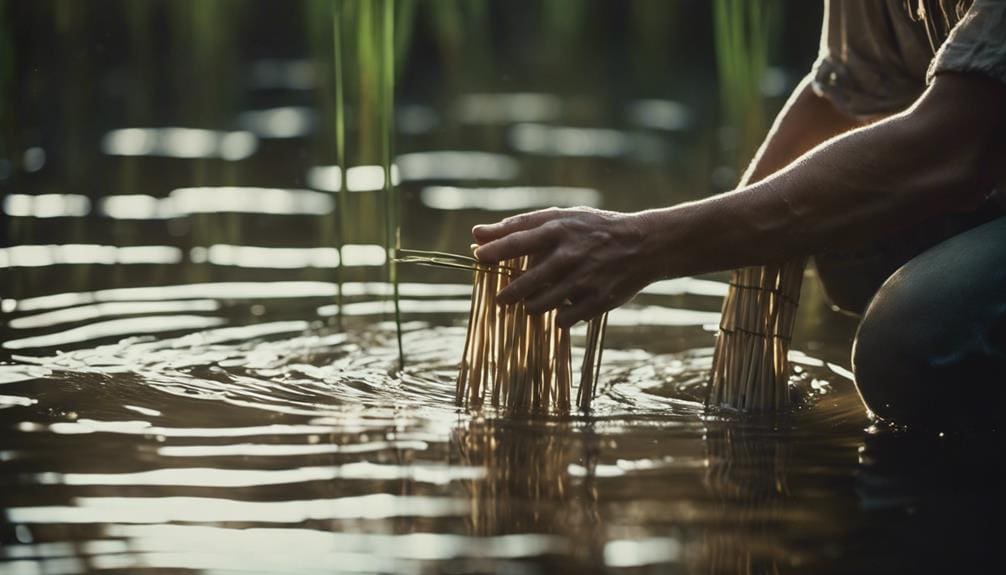
When preparing rush reeds, it’s crucial to soak them in warm water before weaving. This process makes the rush reeds pliable and easier to work with. Remember to soak only one reed at a time to maintain flexibility and prevent it from drying out too quickly during weaving.
Common mistakes in rush reed preparation include not drying them thoroughly, which can lead to mold growth. To troubleshoot, ensure the rush reeds are completely dry before use and store them properly in a dry environment to prevent moisture-related issues.
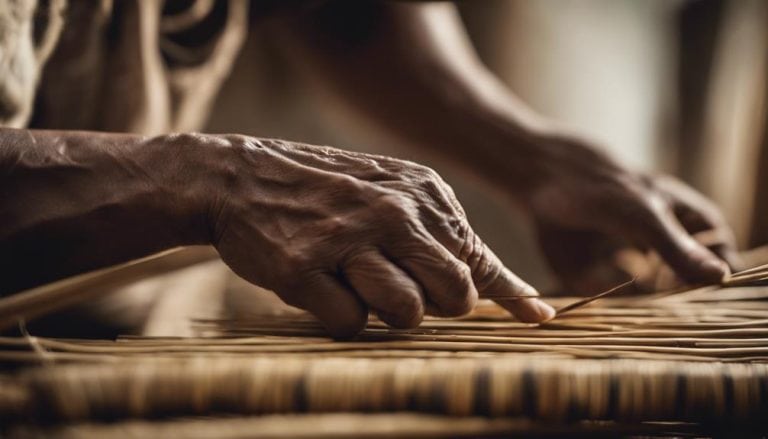
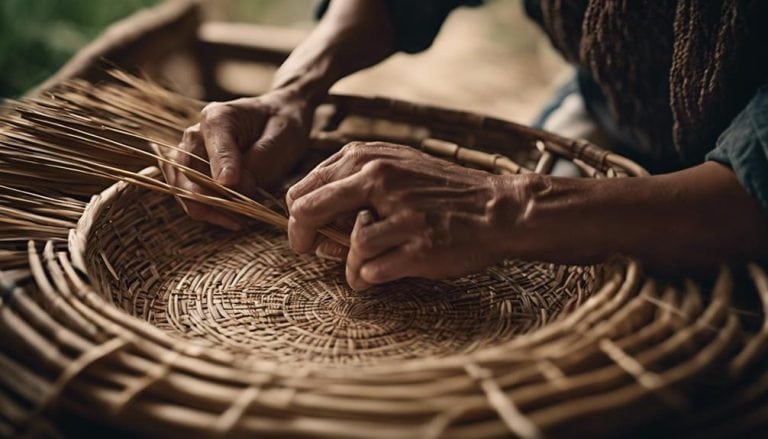
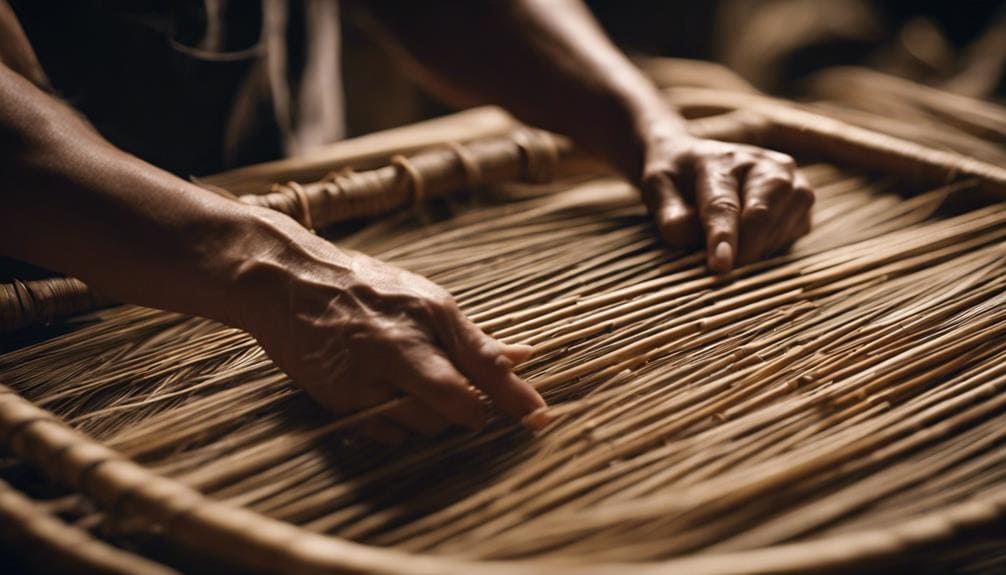
Basic Weaving Techniques
After preparing rush reeds for weaving by drying and soaking them, the next step is to master basic weaving techniques that form the foundation of traditional basket making. Starting with a simple over-under pattern, weaving rush reeds requires attention to detail and precision.
The key to ensuring the durability and longevity of your basket is employing tight weaving techniques throughout the process. By weaving the rush reeds tightly together, you create a sturdy structure that can withstand daily use. As your weaving journey progresses, you can explore advanced techniques to manipulate rush reeds and create intricate designs within your baskets.
These techniques allow for incorporating unique patterns that showcase your skill and creativity. Remember, proper drying of rush reeds post-weaving is crucial to maintain the shape and integrity of your finished basket. By mastering these basic weaving techniques, you lay a solid groundwork for experimenting with more complex patterns in the future.
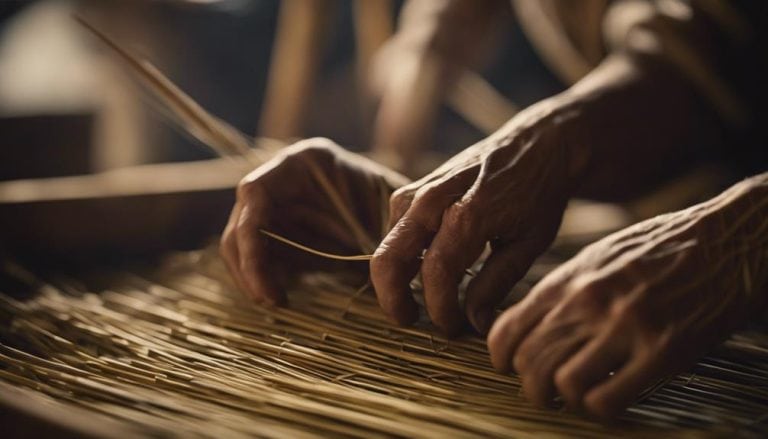
Advanced Weaving Patterns
Exploring advanced weaving patterns in basketry unveils intricate designs and complex techniques that push the boundaries of traditional craftsmanship. These patterns go beyond the basic weaving techniques, incorporating unique shapes, intricate weaving styles, and creative embellishments. Advanced weavers often blend traditional methods with modern innovations, creating stunning and elaborate designs.
Artisans can develop personalized techniques that give their work signature looks by experimenting with different weaving patterns. Mastering these advanced weaving patterns requires dedication, practice, and a deep understanding of basket weaving techniques. Each intricate design offers a new challenge and an opportunity for artistic expression.
Weavers who delve into advanced patterns are constantly inspired to create new and innovative pieces that showcase their creativity and skills. By embracing the complexities of advanced weaving, artisans can truly elevate their craft and produce baskets that are functional and works of art.
Finishing Touches and Care Tips

As an experienced weaver, enhancing rush reed baskets with meticulous finishing touches and implementing proper care practices is crucial to preserving their beauty and longevity. To protect the baskets, apply a thin layer of clear acrylic spray, which serves as a shield against dust and minor scratches.
This protective coating ensures durability and maintains the natural look of the rush reeds. When it comes to maintenance, regularly dusting off the baskets using a soft brush or cloth is essential to keep them looking fresh and vibrant. Additionally, storing rush reed baskets away from direct sunlight is important to prevent any potential fading or damage.
Optimal storage conditions include a cool, dry place that minimizes exposure to moisture, which can lead to mold growth. Remember, avoiding harsh chemicals or cleaners is key to preserving the innate beauty of rush reed baskets and ensuring they remain a timeless piece of art for years to come.
Creative Projects With Rush Reeds

Utilizing rush reeds in basket weaving opens up a world of creative possibilities, allowing for the intricate crafting of unique patterns and designs that exude a natural and rustic charm. When working with rush reeds, I find inspiration in nature’s colors and textures, incorporating them into my projects to create stunning pieces that showcase colorful combinations and weaving techniques. The rush reeds’ versatility in being dyed enables me to experiment with various hues, adding a vibrant and personalized touch to each basket.
To give you a glimpse of the endless creativity rush Reeds offers, here are some project ideas you might want to try:
| Project | Description |
|---|---|
| Colorful Coiled Baskets | Weave rush reeds in bright colors to create coiled baskets bursting with life. |
| Rustic Plant Holders | Craft charming plant holders using natural-toned rush reeds for a rustic feel. |
| Nature-Inspired Mats | Design mats with earthy hues and weave in leaf patterns for a nature-inspired look. |
| Woven Wall Hangings | Create intricate wall hangings by combining rush reeds in various weaving styles. |
| Boho-Inspired Storage Bins | Make stylish storage bins with a bohemian flair using dyed rush reeds. |
Frequently Asked Questions
How Do You Prepare Rushes for Weaving?
To prepare rushes for weaving, I harvest and dry them, then soak them in warm water till pliable. Cut to the desired length for projects. Rushes create sturdy baskets with unique textures. These steps ensure quality results.
How Long Is It To Soak Reeds For Basket Weaving?
Soaking rush reeds for basket weaving benefits their pliability. Keep them in warm water for 5-10 minutes. Don’t oversoak to prevent drying out. Weaving with flexible, not soggy, reeds maintains structural integrity. Pat dry with paper towels before starting.
How Do You Process Reeds for Weaving?
To process reeds for weaving, I gather freshly cut rushes, dry them for 3-7 days, then cut and soak them in warm water for 5-10 minutes. I pat them dry and weave them into baskets.
Does Basket Reed Go Bad?
Yes, basket reeds can go bad over time due to light, moisture, and temperature exposure. Proper storage in a dark, dry place is crucial to extend its shelf life. Regularly inspecting and replacing deteriorated reeds ensures quality preservation in basketry.
Conclusion
After mastering the art of using rush reeds in basketry, I created a stunning water-tight basket that impressed my family and friends. The intricate weaving patterns and sturdy structure showcased the beauty and functionality of rushes in traditional craft. With practice and patience, anyone can create unique and durable baskets using rush reeds, adding a touch of nature to their home decor, or even starting a small business selling handmade creations. The possibilities are endless!