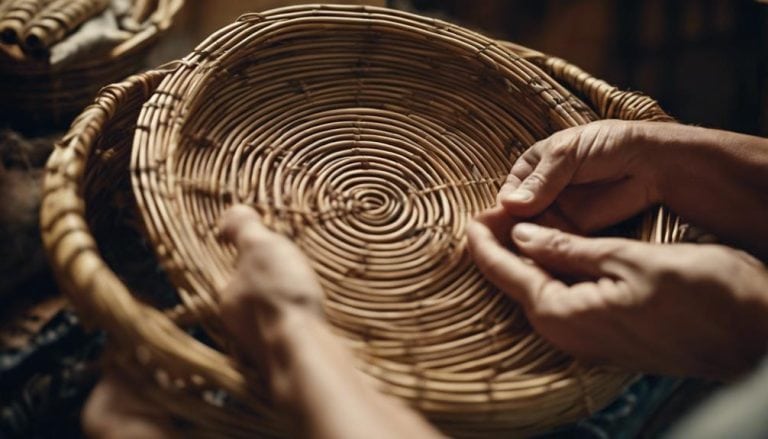
How to Prepare Rattan Cane for Weaving
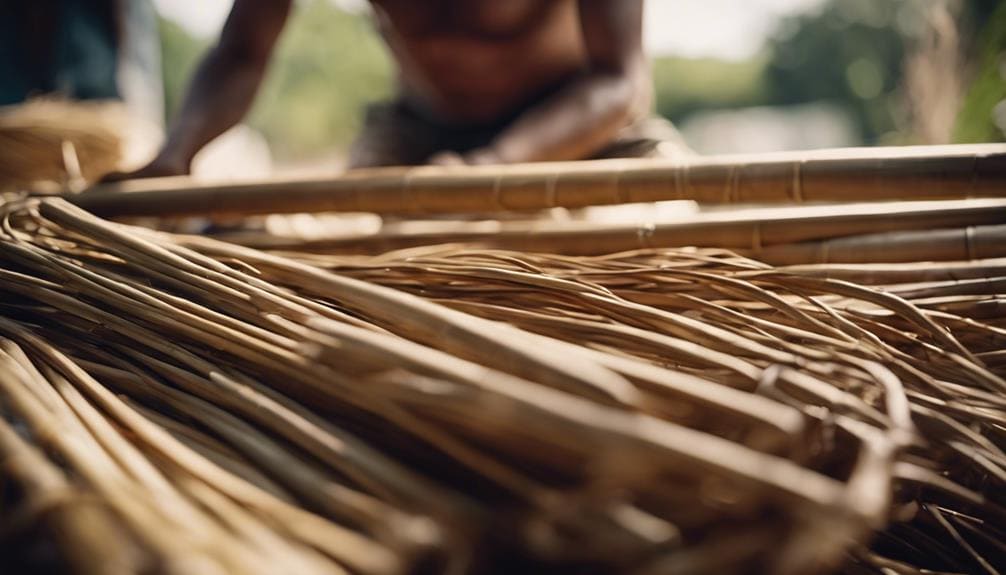
Preparing rattan cane for weaving is akin to tuning a fine instrument before a concert; it’s a crucial step influencing the final performance. I’ve found that the process, from selecting the right cane to ensuring it’s perfectly malleable, is both an art and a science.
It begins with a discerning eye for quality and ends with the cane ready to be transformed under skilled hands. I’ll share some insights into making the preparation seamless and effective, but I’ve discovered a trick that significantly enhances the weaving process. Curious? Let’s unravel this together.
To prepare rattan cane for weaving, soak it in water to make it flexible, then dry it before use. This process helps prevent the cane from breaking during weaving, ensuring a smooth and durable finish.
Key Takeaways
- Choose a rattan cane that is smooth, straight, and flexible for easier weaving.
- Clean and prep the cane by soaking in warm water for at least 30 minutes.
- Sharp tools are used for precise cutting, and fine-grit sandpaper is used to smooth edges.
- Store prepped cane in a cool, dry place away from direct sunlight to prevent damage.
Selecting Quality Rattan
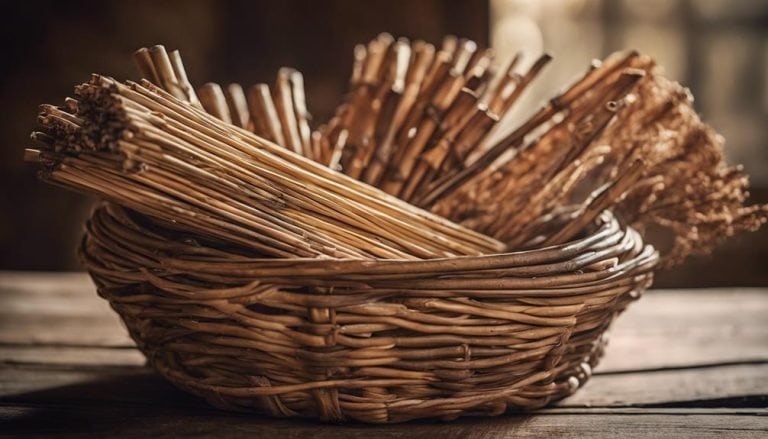
When choosing quality rattan for weaving, it’s crucial to zero in on pieces that are smooth, straight, and devoid of any cracks or splits to ensure the best weaving experience. My journey in rattan sourcing has taught me the importance of inspecting each piece for consistent diameter and natural color. This meticulous selection is not just about aesthetics; it significantly impacts the uniformity and strength of the weaving, translating into basketry patterns that truly stand out.
I’ve learned to steer clear of rattan with rough or uneven surfaces. Such imperfections make the weaving process more challenging and detract from the final piece’s beauty. My color preferences have evolved, leaning towards hues that highlight my intricate weaving techniques.
Ensuring the rattan is flexible and pliable is non-negotiable. This flexibility indicates the right moisture content, making the material easier to manipulate and weave into desired shapes. Any signs of mold, mildew, or discoloration are red flags, as they can compromise both the weaving process and the project’s aesthetic appeal. Being detail-oriented in these aspects has immensely contributed to refining my craft.
Tools and Materials Needed
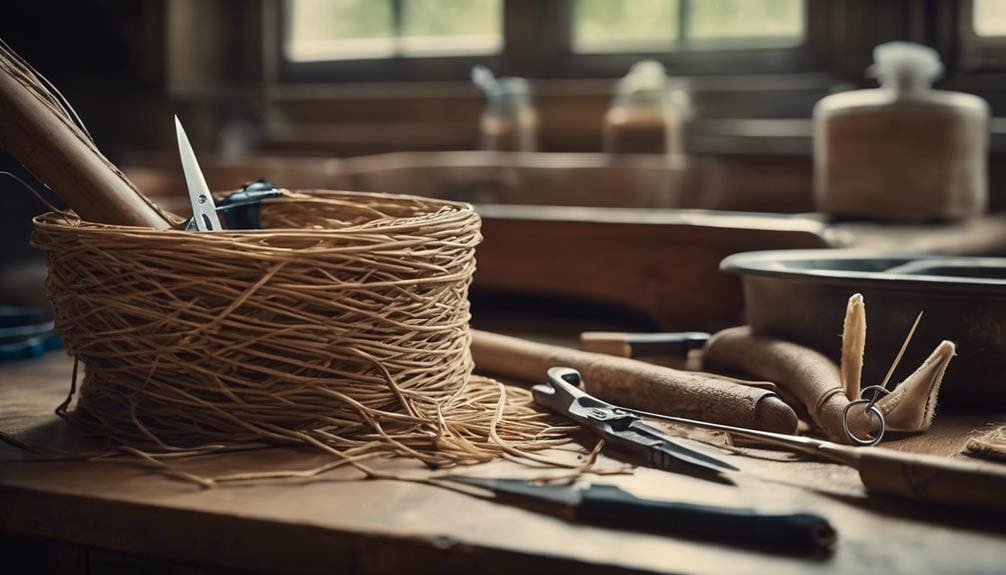
The first step in preparing rattan cane for weaving is to gather the essential tools and materials, including a sharp knife, pegs, round-nosed pliers, and awl. As someone who’s been weaving for years, I’ve learned that having the right equipment is crucial for efficiency and achieving the finest quality in your work. Let me guide you through what you’ll need:
- Rattan cane and water for soaking
- A damp cloth and a clamp clothespin
- Proper tools like pegs and bodkins
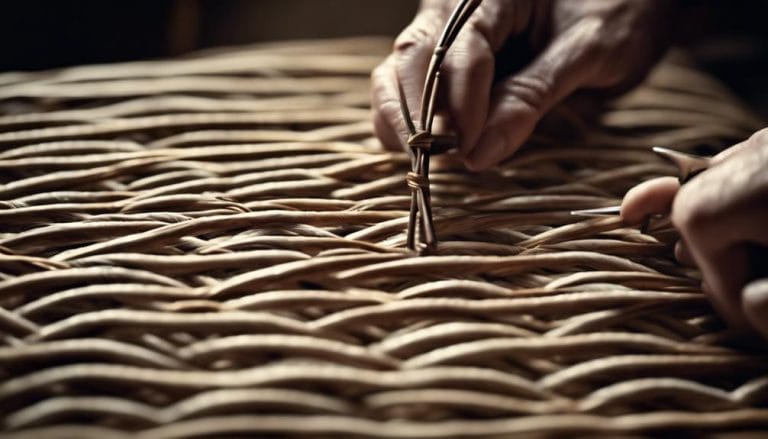
Ensuring your rattan cane is soaked for about 20 minutes makes it pliable, a tip I cannot stress enough. Keep this covered with a damp cloth as you weave to keep the material flexible and easier to handle. Tools like pegs and bodkins are not just additions but essential for shaping techniques that elevate your weaving. They help create tight, consistent weaves, which are fundamental for any project.
Cleaning and Stripping the Cane
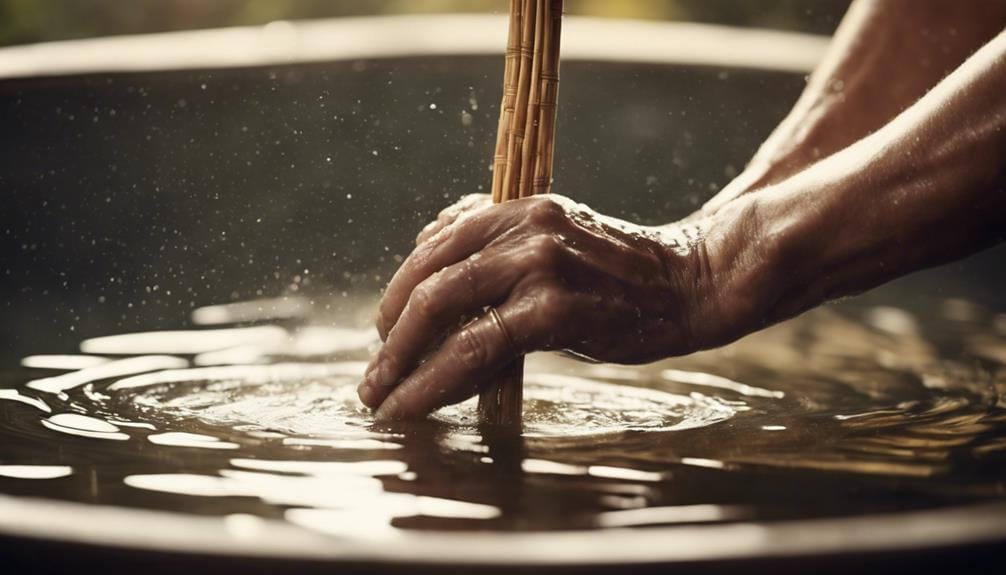
After ensuring you have the right tools and your rattan cane is adequately soaked, cleaning and stripping the cane to prepare it for weaving is crucial. Initially, I use a soft brush or a vacuum with a brush attachment to remove dust and debris gently. This step is essential to preserve the natural color and integrity of the rattan fibers. For more stubborn dirt or grime, a damp cloth with mild soap does the trick, ensuring I avoid harsh chemicals that could damage the fibers.
Meticulous attention to detail is key when it comes to stain removal techniques and repairing splits. I often find fine-grit sandpaper or a chemical stripper designed for delicate materials indispensable for stripping old finishes or paint, gently coaxing the cane back to its raw beauty without compromising its strength. It’s a delicate balance between maintenance tips and preserving the cane’s natural appeal.
Here’s a quick guide to remember:
| Process | Tips |
|---|---|
| Cleaning | Use a soft brush, vacuum, and mild soap |
| Stripping | Fine-grit sandpaper, delicate chemical stripper |
| Maintenance & Repair | Avoid harsh chemicals; repair splits carefully |
Ensuring the rattan cane is completely clean and stripped before weaving enhances the aesthetic and durability of the final product.
Cutting to Size
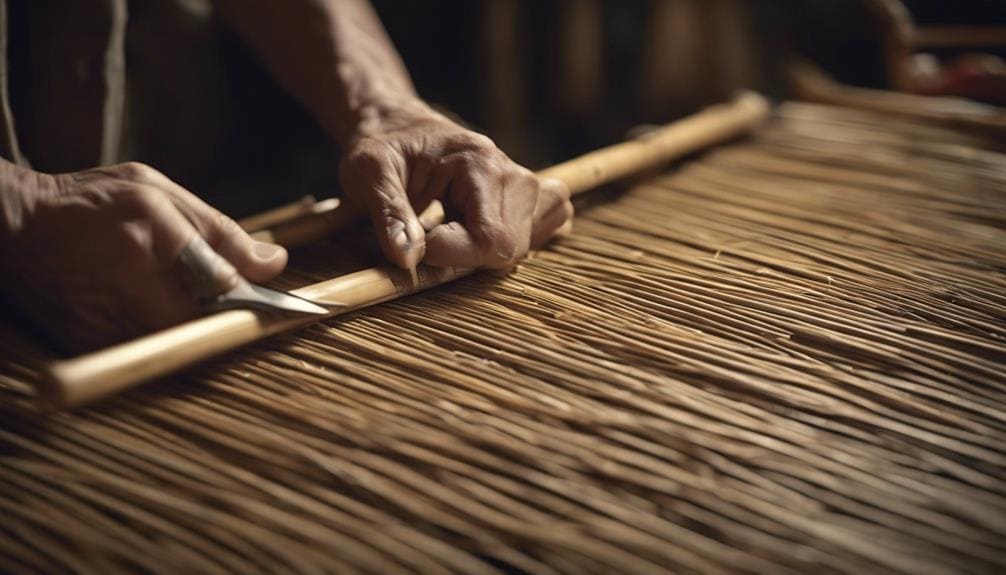
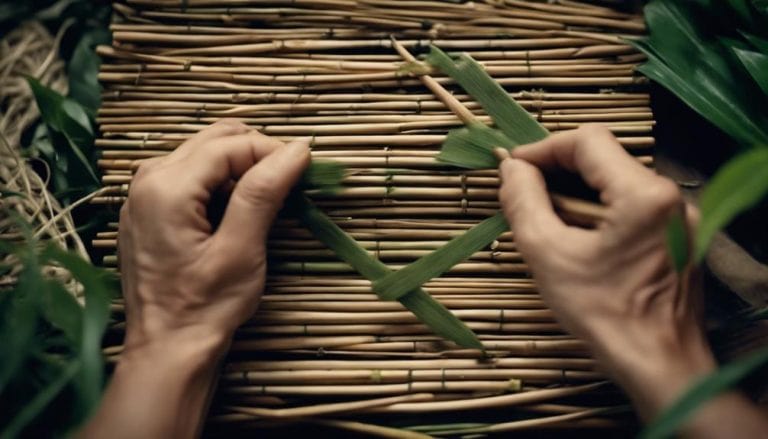
Precision in measuring and marking the rattan cane ensures the next step in preparation, cutting to the desired size, is executed flawlessly. I’ve found that meticulous attention to detail at this stage sets the foundation for the weaving process, influencing both the ease of weaving and the quality of the finished product.
Regarding cutting techniques, I prefer using sharp pruning shears for thicker canes and a fine-toothed saw for more delicate adjustments. Ensuring the cut is clean and straight is crucial, as well as aligning the tool perpendicular to the cane’s fibers to avoid splintering. After cutting, I always smooth out rough edges with sandpaper, prioritizing rattan care to ensure the material remains pristine and snag-free during weaving.
To engage further, consider these points:
- Cutting techniques are pivotal in preserving the integrity of rattan and ensuring seamless weaving patterns.
- Rattan care during cutting impacts your design options’ overall quality and durability.
- Design options expand significantly with precision cutting, allowing for intricate patterns and detailed workmanship.
In my experience, mastering the cutting phase is essential for anyone serious about exploring the full potential of rattan weaving.
Soaking and Softening
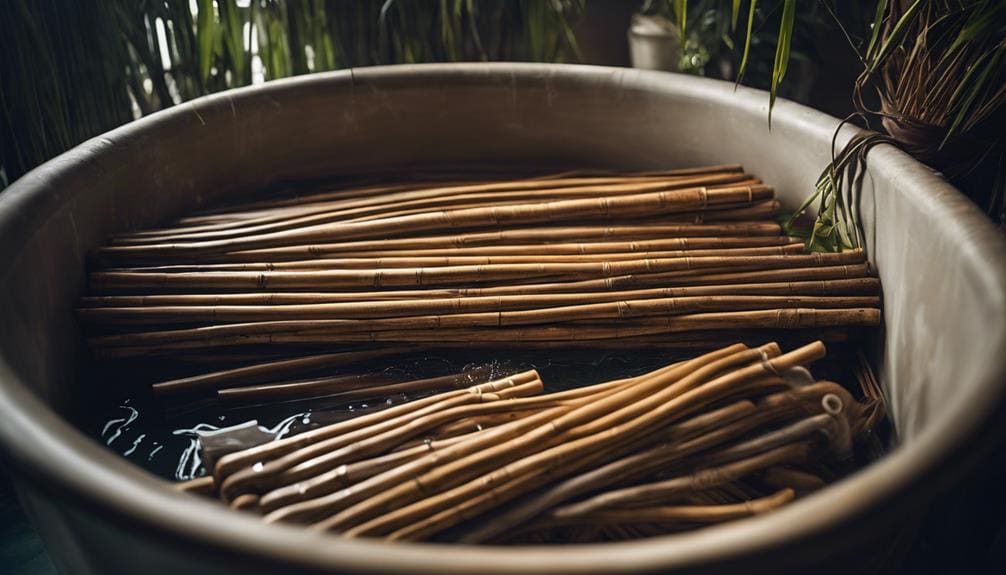
Submerging rattan cane in warm water for a minimum of thirty minutes transforms its rigidity, making it significantly more pliable and conducive to intricate weaving. As I’ve learned through my experiences, this step is crucial in preparing the cane for any project. I always ensure the cane is fully submerged in a container that’s spacious enough to accommodate its length without forcing it to bend or break. This attention to detail is paramount for even softening throughout.
While the cane soaks, I periodically check its flexibility. This isn’t just a routine step; it’s a moment to connect with the material and understand its readiness to be transformed into creative designs. Once the cane has softened, its flexibility is enhanced, reducing the likelihood of breakage as I manipulate it into various weaving techniques. This preparation phase is not just about making the material workable; it’s about setting the stage for the finishing touches that will define the piece’s craftsmanship.
Incorporating maintenance tips into this process is also essential. Properly softened cane not only supports the durability of the final piece but also ensures that the designs remain vibrant and intact over time.
Drying and Storage Preparation
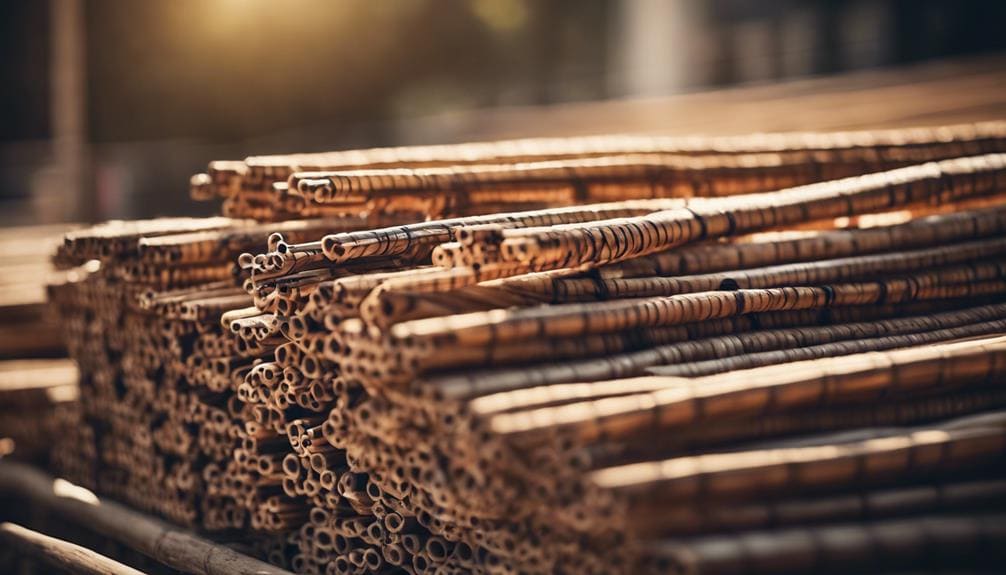
Ensuring the rattan cane is thoroughly dried in a breathable environment is crucial to prevent the onset of mold and preserve its weaving quality. After the soaking process, I always lay out the rattan in a space where airflow is maximized, a technique I’ve refined over years of practice. This careful approach aids in mold prevention and ensures the cane retains its desired properties for weaving.
To further engage with the specifics, here are my go-to strategies:
- Mold prevention and ventilation: I place the cane on a raised surface in a well-ventilated area, avoiding cramped or damp locations that could hinder the drying process.
- Sunlight exposure and flexibility maintenance: While direct sunlight is too harsh, I opt for a spot that receives indirect sunlight, fostering gentle drying and helping maintain the cane’s flexibility.
- Regular checks: I habitually inspect the cane for any signs of moisture or damage, ensuring it’s in perfect condition for storage or immediate use.
Storing the dried cane away from direct sunlight in a cool, dry place is my final step, safeguarding its pliability. This meticulous drying and storage preparation ensures the rattan remains ready for any weaving project I embark on.
Frequently Asked Questions
How Long to Soak Rattan Before Weaving?
I’ve found soaking my rattan in warm water for 20-30 minutes before starting my projects works best. This water temperature and drying time balance ensures flexibility without over-softening. It’s a technique that’s served me well.
Do You Have to Soak Cane Webbing?
Yes, soaking cane webbing is essential for maintenance and ensuring its flexibility. For those seeking alternatives, consider synthetic webbing, but nothing matches the authentic feel and durability of properly prepared rattan cane.
How Do You Soften a Cane?
To soften a cane, I always soak it in warm water for about 20-30 minutes, considering environmental considerations by using just enough water. This method ensures the cane’s flexibility, making maintenance much easier.
What Is the Difference Between Cane Wicker and Rattan?
Navigating the maze of materials, I’ve learned that rattan’s heart beats sustainability, while cane wicker’s hands weave strength. Rattan offers the vine’s soul; cane, its skin – each essential for mastering wicker techniques.
Conclusion
After meticulously preparing the rattan cane, I’m always amazed by the transformation. A fascinating statistic to ponder is that a single cane can weave up to 10 square feet of intricate patterns, showcasing the efficiency of this material. Through careful selection, cutting, soaking, and drying, I ensure each strand’s supreme quality for weaving. The process, while technical, enhances the cane’s pliability, ensuring my weavings are not only beautiful but durable. Proper preparation is the cornerstone of exceptional craftsmanship in rattan weaving.

