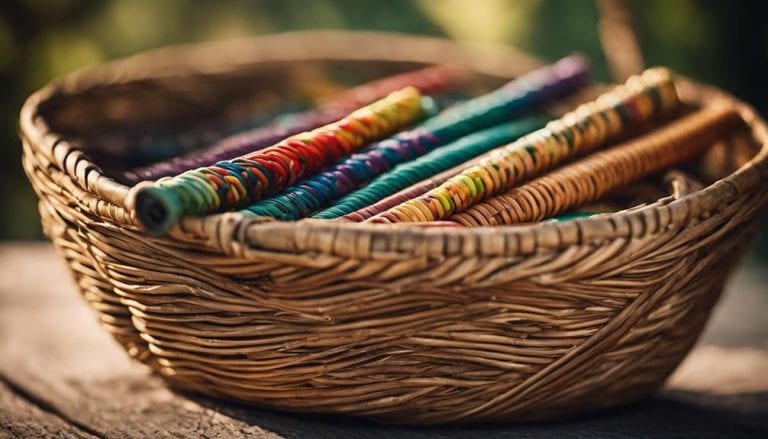
How to Use Rattan Cane in Weaving
Did you know that over 70% of handmade furniture enthusiasts have experimented with rattan cane weaving at some point? I’ve always found this statistic intriguing, considering the technique’s complexity and the skill required to master it. My journey with rattan cane began years ago, and I’ve learned that its versatility can’t be overstated.
However, the real magic lies in understanding the basics and gradually advancing to more intricate patterns and applications. Stick around, and I’ll share some insights and tips that could transform your approach to this traditional craft, potentially elevating your projects to a new level.
To use rattan cane in weaving, start by soaking it in water to make it flexible, then weave it through the warp and weft of your project. This process allows the rattan cane to bend easily and create intricate patterns in your weaving.
Key Takeaways
- Soak rattan cane in water to enhance pliability before weaving.
- Use various tools like sharp knives and pliers for precise cane manipulation.
- Start with simple weaving patterns and gradually advance to intricate designs.
- Preserve rattan creations by protecting them from direct sunlight and moisture.
Preparing Your Cane
Before weaving, I always cut my rattan cane into manageable lengths of no more than 3 yards to ensure easy handling. This initial step is crucial for a smooth weaving process, allowing me to maintain a rhythm without the cane becoming unwieldy. Once cut, I immerse the cane in cold water for about 30 minutes, a step that drastically improves its flexibility. It’s a simple yet transformative technique that turns the rigid cane into a pliable material, eager to conform to my creative whims.
After soaking, I gently wipe the cane dry, then work it between my fingers, further enhancing suppleness. This tactile engagement connects me to my material and prepares it for the intricate dance of weaving. To ensure it remains in prime condition, I drape a damp cloth over the cane when it’s not in use, hanging it neatly on a hook. This cane maintenance ritual preserves moisture, preventing it from drying out and becoming brittle.
Exploring rattan dyeing techniques has opened up new creative avenues in my work. By experimenting with natural dyes, I’ve found ways to infuse my pieces with vibrant hues, adding another layer of beauty and personal touch. This intimate relationship with my material, from maintaining it to coloring, makes each woven piece uniquely mine.
Essential Weaving Tools
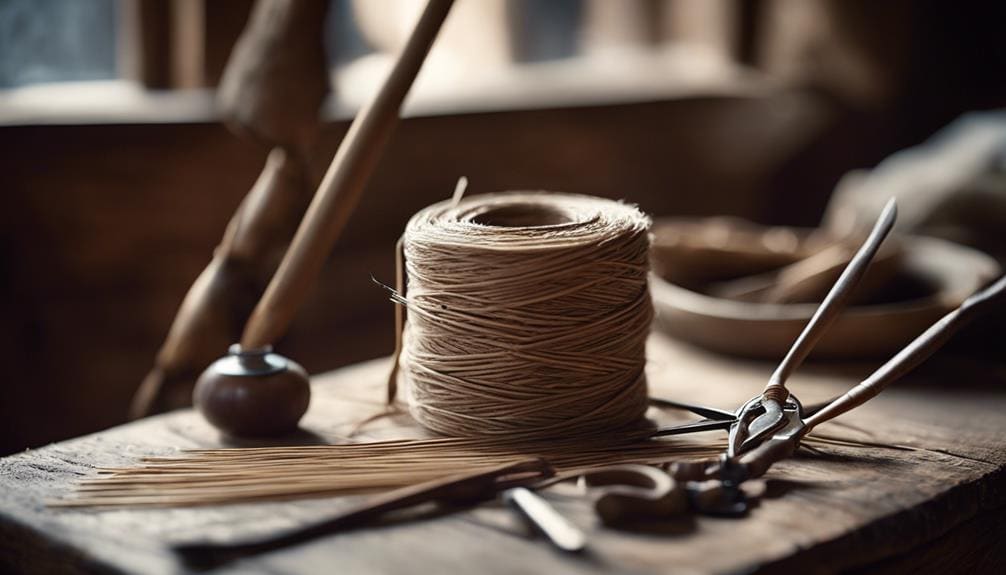
Having prepared the cane, it’s crucial to turn our attention to the tools that make weaving not just possible but a precise and enjoyable craft. From my years of experience, I’ve learned that the right tools enhance the weaving process and ensure the final piece’s longevity and beauty.
Here’s a closer look at the essential tools for cane weaving:
- Sharp Knife: Essential for cutting and shaping the cane. I always emphasize tool maintenance here; a well-sharpened knife ensures clean cuts, reducing material waste. Ergonomic design is vital to prevent hand fatigue during long weaving sessions.
- Peg and Round-Nosed Pliers: The peg holds the cane in place, while the pliers are indispensable for bending the cane without breaking it. Both tools should be sourced from materials that guarantee durability and offer tool safety features.
- Awl and Bodkins: An awl creates precise holes in the wooden base, and bodkins are invaluable for intricate weaving patterns. These tools require regular maintenance to keep them sharp and efficient.
- Blunted Chisel: A safer alternative to a rapping iron, especially when used with protective tape. It secures the cane firmly, a testament to the importance of tool safety and material sourcing in achieving a flawless weave.
Basic Weaving Techniques
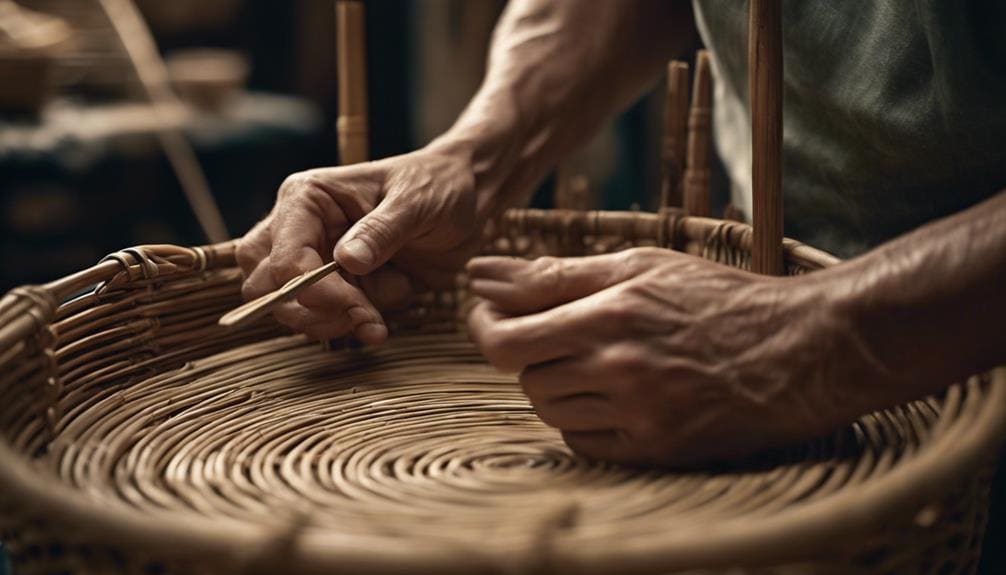
To master the craft of rattan cane weaving, it’s essential to familiarize oneself with the basic techniques that form the foundation of this intricate art. The Rattan cane’s flexibility and durability offers a canvas for forgiving and challenging weaving. The journey begins with soaking the cane in water, a step that transforms it into a pliable material ready for manipulation. This preparation is crucial, as it allows for the creation of tight, structured weaves that maintain their shape and integrity once dried.
Starting with simple patterns, I weave the rattan cane in and out of stakes or ribs, establishing an almost meditative rhythm. This foundational method is the bedrock upon which more advanced weaving techniques and creative cane designs are built. It’s a process that demands patience and precision, qualities that are rewarded as the weave becomes fixed and the vision of a decorative weaving project comes to life.
As I progress, the possibilities of rattan cane art unfold before me, each basic technique mastered serving as a stepping stone toward more elaborate, decorative weaving projects. The satisfaction of transforming simple cane strips into beautiful, functional pieces is unparalleled, marking the beginning of a journey into the depths of rattan cane artistry.
Advanced Cane Patterns
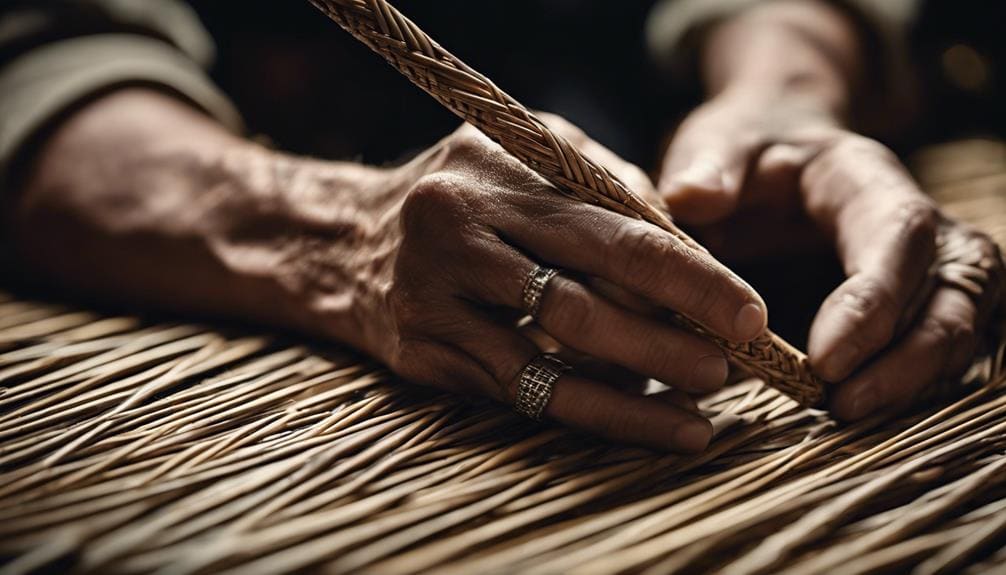
After mastering the foundational techniques of rattan cane weaving, I’m ready to tackle advanced patterns like herringbone, twill, and hexagonal weaves. Diving into these patterns, I’ve found that they require a steady hand and keen eye and open up a world of creativity through color combinations and intricate designs. Here’s how I approach them:
- Plan the Design: Before I start, I sketch my pattern, deciding on the weave and color scheme. This step is crucial for maintaining pattern consistency.
- Prepare the Cane: I select canes of varying thickness and color to add depth. It’s all about the right materials.
- Weave with Precision: The key here is weaving tension. Too tight, and the cane may snap; too loose, and the pattern loses its shape. I maintain a consistent tension throughout my work.
- Practice Patience: These intricate designs take time. I’ve learned to enjoy the process, allowing the pattern to emerge slowly.
Through dedication and attention to detail, I’ve created stunning pieces that showcase my skill. It’s a fulfilling journey, where each weave brings me closer to mastering the art of rattan cane weaving.
Crafting a Cane Stool
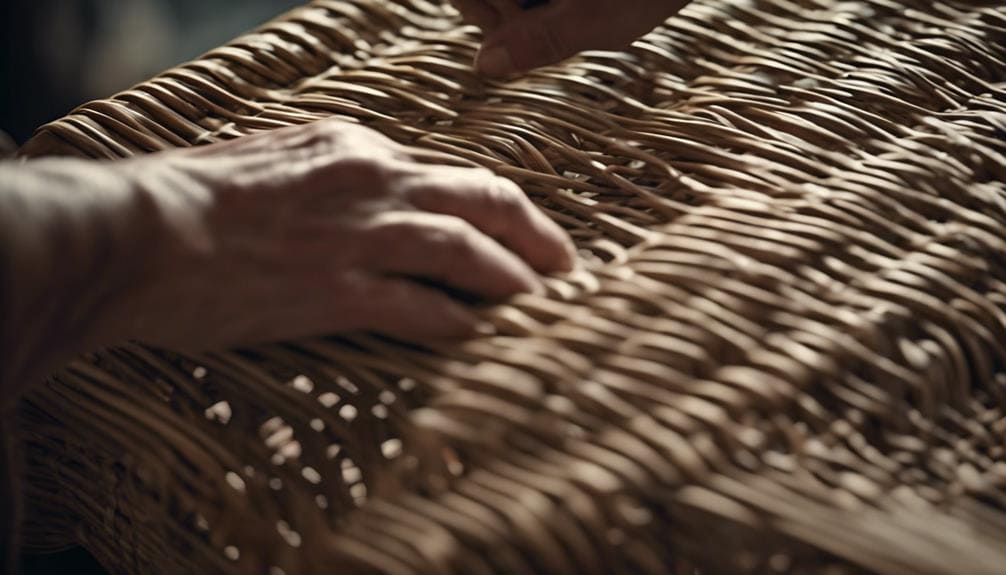
Crafting a cane stool begins with selecting a robust wooden base and meticulously marking evenly spaced holes around its perimeter for the cane insertion. This initial step is critical, setting the foundation for a piece of functional cane furniture and a statement in rattan decor. I’ve learned through experience that this precision in preparation mirrors the attention to detail required throughout the crafting process.
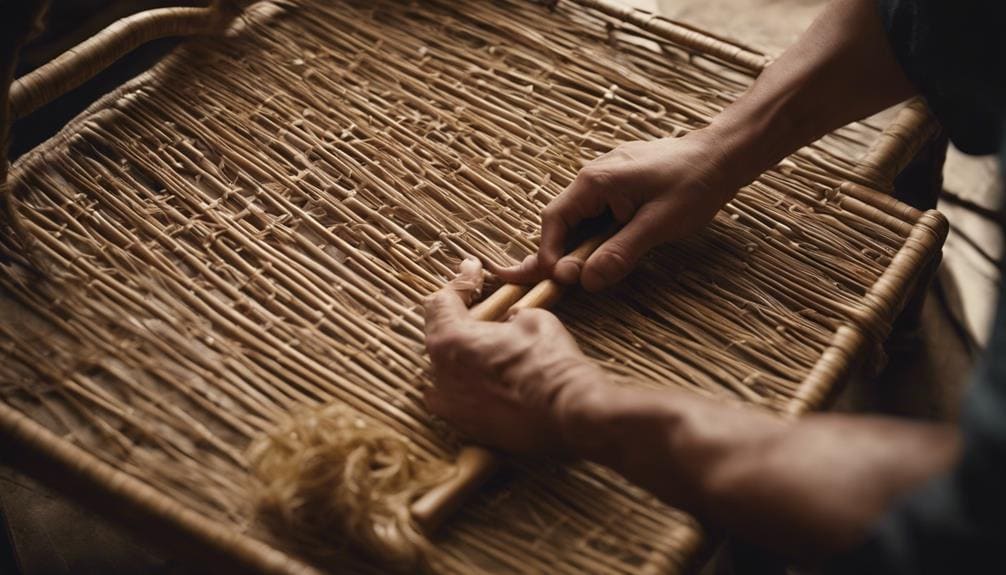
Next, I soak the rattan cane in water, ensuring it’s pliable enough to weave through the prepared holes without breaking. This softening process is a delicate balance; too short a soak won’t do, yet over-soaking can weaken the fibers. I start weaving in traditional patterns like Randing or Waling, focusing on creating a sturdy and aesthetically pleasing seat structure. The rhythm of weaving becomes almost meditative, each movement deliberate and each strand securely placed.
As I near completion, I use a peg and bodkin to adjust the tension, ensuring the cane is tightly woven and secure. Trimming any excess cane and tucking the ends neatly, I stand back to admire my work. The final step is allowing the stool to dry completely, solidifying its durability and readiness to be a cherished piece of cane furniture in someone’s home.
Weaving Chair Seats
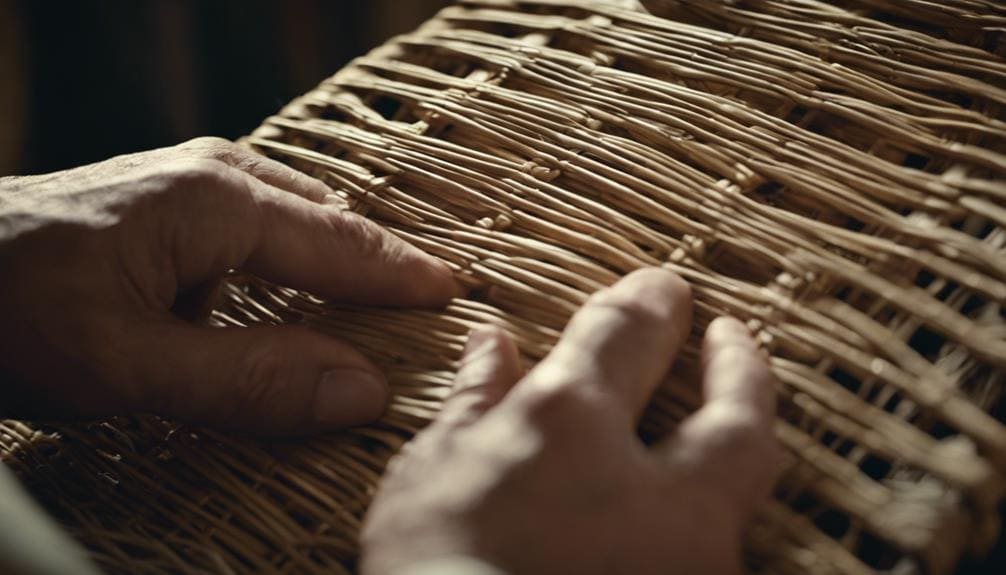
Moving from crafting a cane stool, I now focus on the intricacies of weaving chair seats with a rattan cane, a process that requires a keen eye and skilled hands. The journey from a bundle of raw rattan to a beautifully woven chair seat embodies rattan maintenance and creative cane crafts, showcasing rattan artistry through traditional weaving techniques.
Here’s a glimpse into my method:
- Preparation: I soak and dry the rattan to ensure it’s pliable. This step is crucial for weaving ease and flexibility.
- Weaving Patterns: Selecting a pattern—Randing, Pairing, Slewing, Waling, or Braiding—I weave precisely, ensuring each strand beautifully converges with the next, creating a sturdy and aesthetically pleasing chair seat.
- Securing the Weave: Using essential tools like a sharp knife, pegs, round-nosed pliers, and awls, I meticulously peg the rattan in place, weaving evenly to avoid any twisting or uneven tension.
- Finishing Touches: To complete the chair seat, I neatly edge the cane panel with a beading cane, enhancing the seat’s durability and aesthetic appeal.
This process, steeped in tradition and refined through practice, not only celebrates the beauty of rattan but also honors the meticulous craft of weaving.
Caring for Rattan Creations

To ensure your rattan creations remain pristine and durable, adopting a meticulous care routine that includes gentle cleaning and protection from environmental elements is essential. I’ve found that using a soft brush or cloth is the best way to gently remove dust and dirt, keeping the natural beauty of the rattan intact. It’s crucial to avoid exposing these pieces to direct sunlight or extreme temperatures, as this can lead to fading or cracking, diminishing their charm and resilience.
In my experience, applying a thin coat of clear lacquer or varnish protects the rattan from moisture. It helps maintain its appearance, ensuring it stays as captivating as the day it was woven. I always recommend keeping rattan furniture indoors or in covered areas to shield it from moisture and humidity, which can cause significant damage over time.
Furthermore, rotating rattan items periodically has proven effective in ensuring even light exposure and preventing uneven discoloration. This practice, part of rattan care and preservation, along with considerate rattan maintenance and storage, guarantees that your beloved creations will stand the test of time, remaining a source of pride and joy in your home.
Frequently Asked Questions
How Long to Soak Rattan Before Weaving?
Soaking rattan for 2-24 hours works best before weaving. It’s crucial to adjust based on thickness. No specific soaking temperatures or drying methods are needed; keep it moist to maintain pliability.
How Do You Prepare Cane for Weaving?
I start by picking the right cane, ensuring it’s not too thick. I cut it into short lengths, soak it to make it pliable, and keep it under a damp cloth for flexibility.
What Is The Difference Between Rattan and Cane?
I’ve learned that the key difference between rattan and cane lies in their use; rattan’s sustainability makes it an ideal raw material, while the cane’s flexibility suits intricate weaving. Each offers unique benefits for crafting.
Do You Have to Soak Cane Webbing?
Yes, I’ve found soaking cane webbing essential before weaving. It prevents it from cracking and makes dry weaving techniques much smoother. Keeping it damp ensures the patterns form nicely, making the process more intimate and fulfilling.
Conclusion
After meticulously preparing my cane and mastering basic and advanced weaving techniques, I’ve transformed raw rattan into stunning stools and chair seats. Each piece, a testament to patience and skill, echoes the ancient craft of weaving, a true anachronism in our fast-paced digital age. Caring for these creations ensures their longevity, reminding me to appreciate the slower, methodical processes in a world that often forgets the beauty of craftsmanship. This weaving journey has taught me a craft and a new way of seeing.

