Best Methods for Rush Reed Crafting
I know rush reed crafting can seem daunting, but with the right methods, it can be a rewarding experience. Selecting the right rush reeds is crucial for the quality of your creations.
However, mastering weaving patterns and utilizing essential tools are equally important steps. As we delve into the intricacies of rush reed crafting, we will uncover advanced weaving tips and tricks that can elevate your creations to the next level.
Stay tuned to discover how proper preparation techniques and finishing touches can make all the difference in your rush-red crafting journey.
The best methods for crafting rush reeds involve soaking the rushes, weaving them tightly, and drying them thoroughly for durability and flexibility. These steps ensure a quality rush reed product suitable for various crafts and projects.
Key Takeaways
- Select appropriate rush types for desired project outcomes.
- Master various weaving techniques to enhance craftsmanship.
- Utilize essential tools for efficient rush reed crafting.
- Apply finishing techniques and maintenance for longevity.
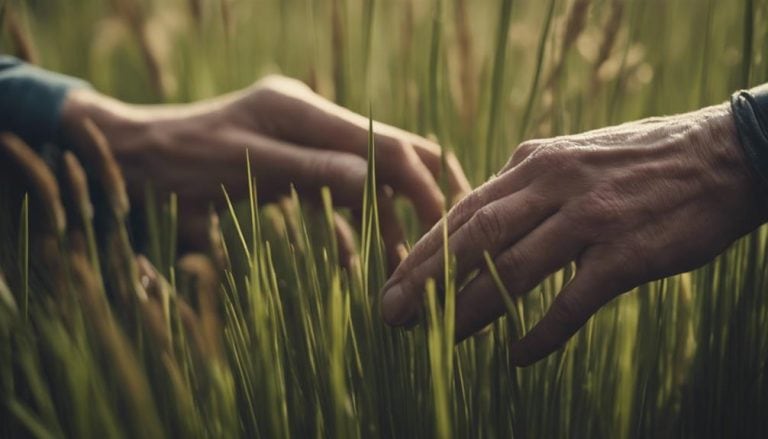
Selecting the Right Rush Reeds
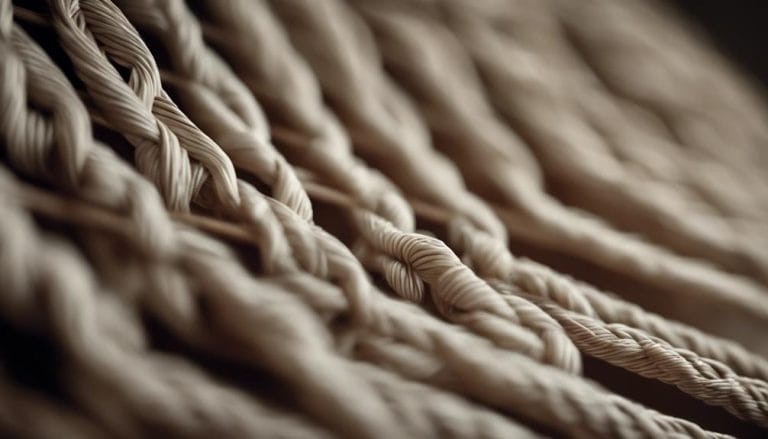
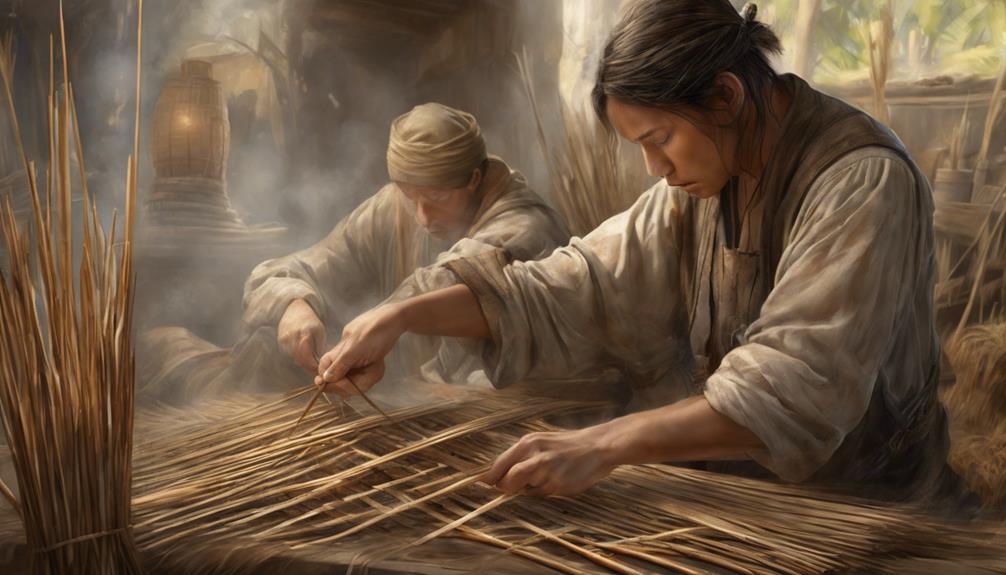
When embarking on rush crafting endeavors, artistry begins with the careful selection of the finest rush reeds to bring creativity to life. The essence of craftsmanship lies in the precision of selecting the perfect cut reeds, each promising to become a masterpiece.
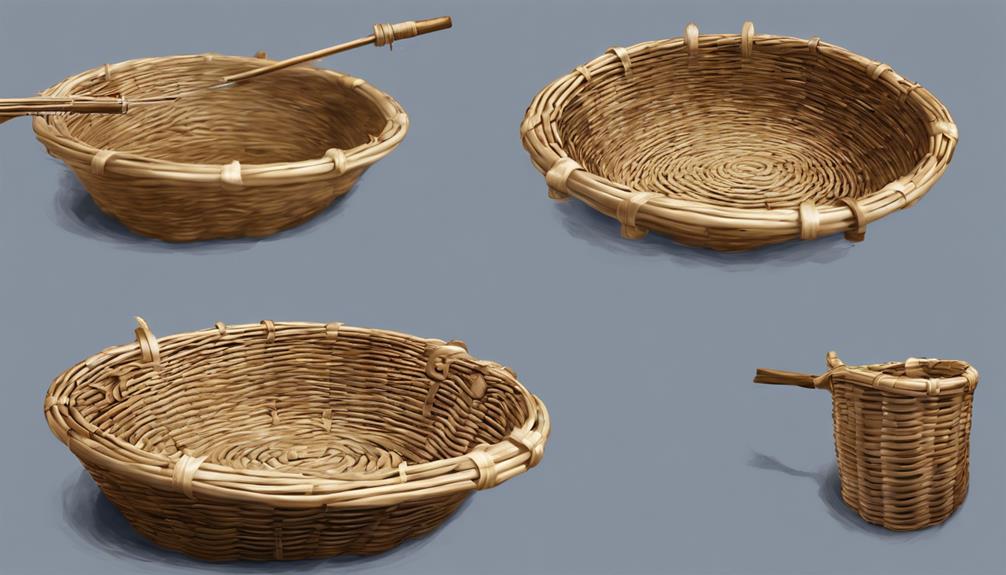
With its pliability and weaving suitability, soft rush beckons to be transformed into intricate baskets that exude elegance and strength. Conversely, field rush is a testament to durability, ideal for crafting robust ropes and cords that withstand the test of time.
The thickness and length of these cut reeds aren’t mere details but pivotal factors determining the outcome of the weaving project. Opting for rush reeds with straight, uniform fibers ensures a consistent weaving experience, where each strand contributes seamlessly to the tapestry of artistry. As I carefully choose fresh rushes, I facilitate flexibility and manipulation, setting the stage for crafting excellence.
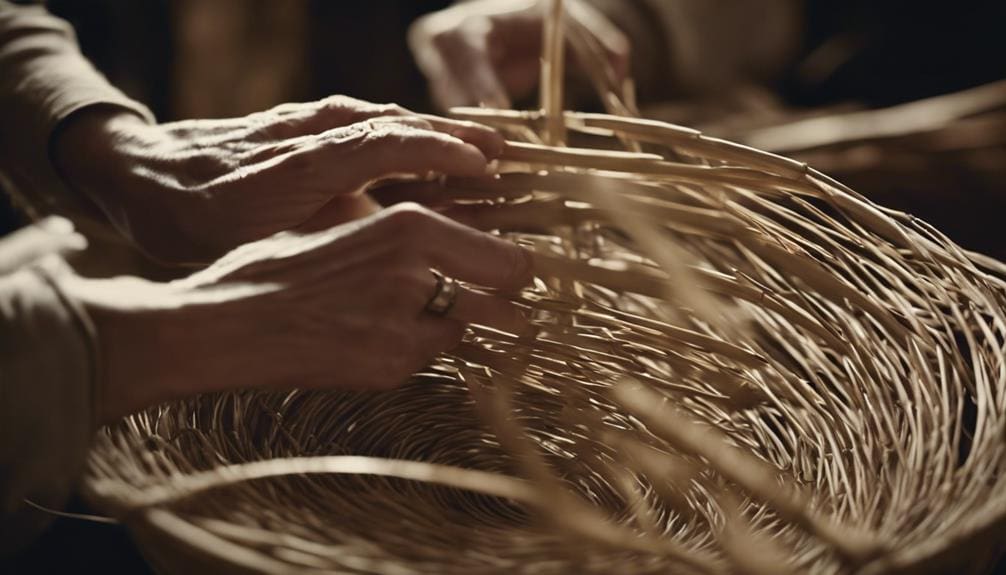
Mastering Weaving Patterns
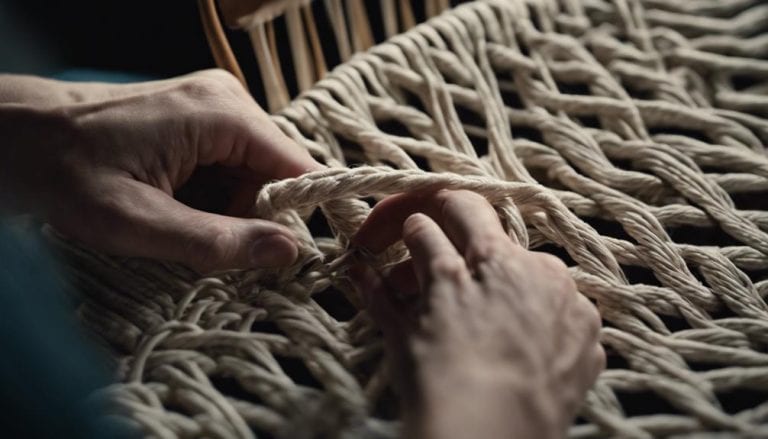
How can one unlock the true artistry of rush reed crafting if not by mastering the intricate weaving patterns that breathe life into sturdy and beautiful creations? Weaving patterns in rush reed crafting are like the veins of a masterpiece, dictating its strength, elegance, and functionality. To truly excel in this craft, one must delve into the depths of weaving patterns, understand their nuances, and embrace their challenges.
Here are five key elements to consider when mastering these intricate designs:
- Variety: Explore various weaving patterns to expand your skills and creativity.
- Precision: Pay close attention to detail to ensure each weave aligns perfectly, enhancing the piece’s overall quality.
- Consistency: Maintain a consistent tension throughout your weaving to create a uniform and sturdy structure.
- Innovation: Don’t be afraid to experiment with new patterns and techniques to push the boundaries of traditional rush reed crafting.
- Artistry: Infuse your style and flair into your weaving patterns, creating unique and captivating rush-red creations that showcase your mastery of the craft.
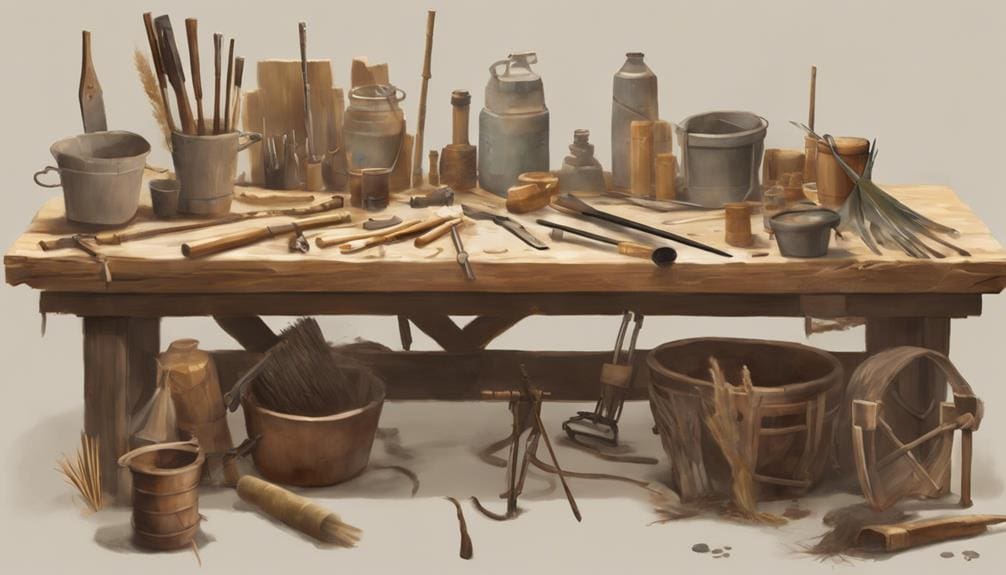
Essential Tools for Rush Reed Crafting
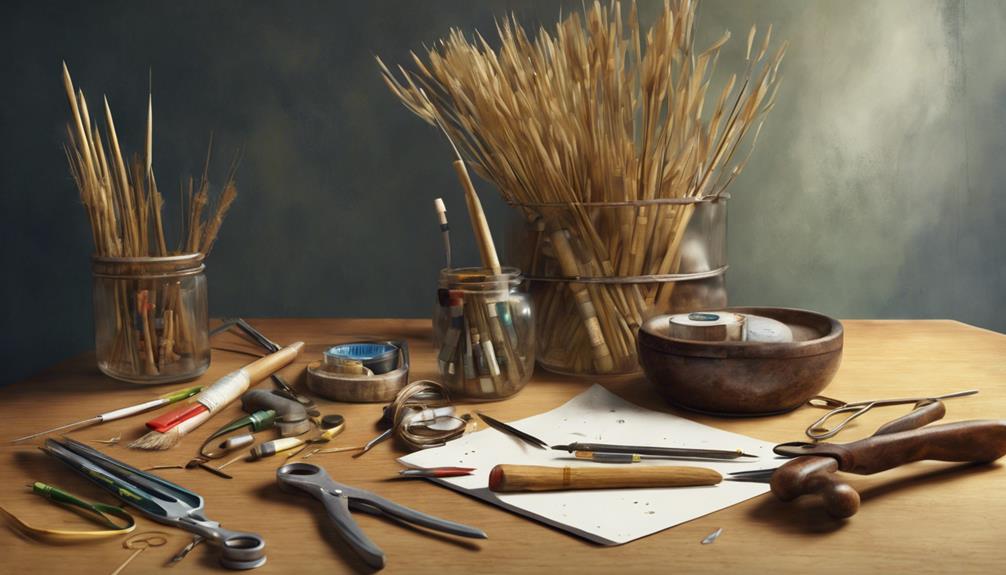
To truly bring forth the essence of rush reed crafting, one must wield the essential tools with finesse and precision, ensuring each cut and weave is a brushstroke in the canvas of creation. When working with Reed Mace, a sharp knife becomes a trusted companion, allowing precise cuts to accurately size rushes. Alongside the knife, a sturdy pair of scissors proves indispensable in trimming and shaping rushes for intricate weaving projects, ensuring every detail is crafted with intention.
In rush reed crafting, twine or cord emerges as a vital tool, binding rushes together to form durable cordage or exquisite baskets. The choice of a flat work surface or table can’t be overlooked, providing a stable foundation for the delicate dance of creation to unfold. For those seeking to elevate their craft, optional tools like a rush splitter stand ready to aid in the meticulous preparation of rushes for specific weaving techniques, unlocking new realms of artistry in the world of rush reed crafting.
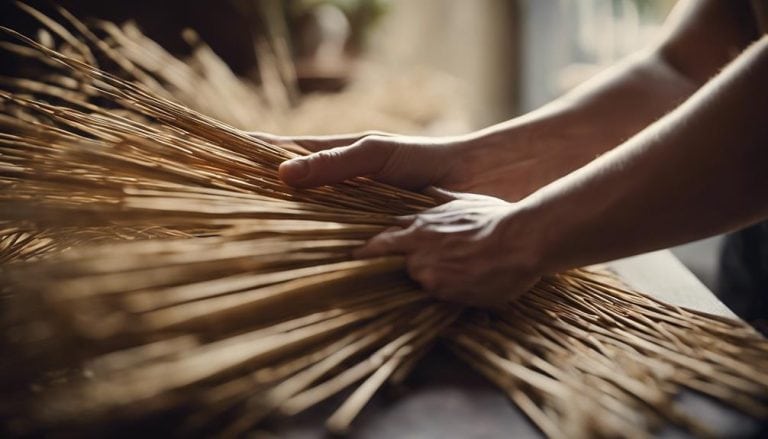
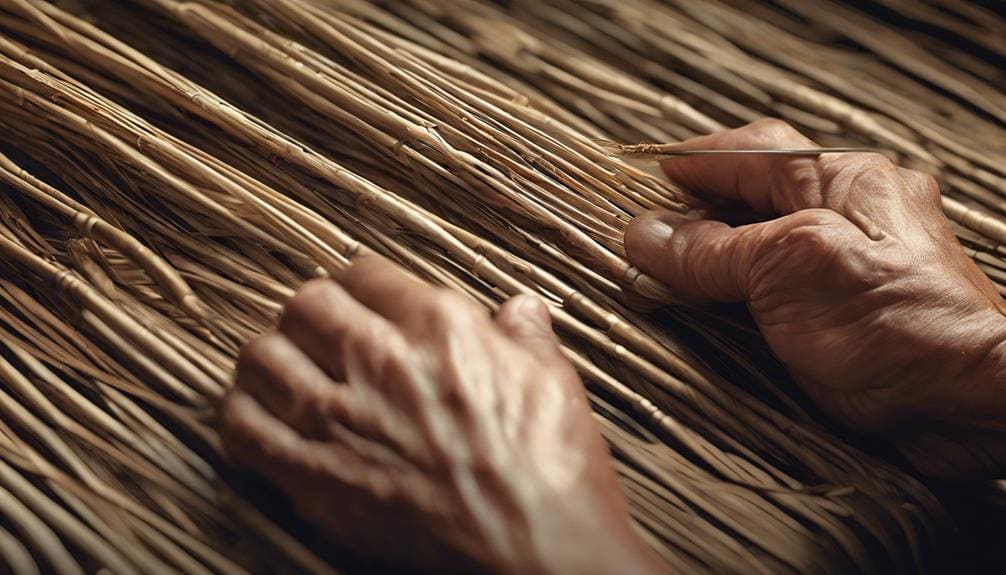
Proper Preparation Techniques
A fundamental step in rush reed crafting is meticulously preparing the rushes to ensure their pliability and quality, which is essential for crafting exquisite pieces.
- Soak rush reeds in warm water for 5-10 minutes to make them pliable for weaving baskets.
- Dampen-dried reed mace leaves before twisting them into cordage to prevent mold.
- Split reed mace leaves in half and twist them like nettle or bramble to create cordage.
- Cut dried reeds to the desired size for weaving baskets after soaking them in warm water.
- Properly prepare rushes by drying or soaking them to maintain the quality of cordage.
These preparation techniques are crucial for weaving baskets that exude strength and beauty. By following these steps meticulously, the rushes will be primed for crafting exceptional pieces that showcase the true artistry of rush reed crafting.
Advanced Weaving Tips and Tricks
With the groundwork laid in mastering the meticulous preparation techniques for rush reed crafting, the realm of advanced weaving beckons, offering a canvas for intricate patterns and designs to elevate the artistry of woven pieces. Incorporating advanced weaving techniques such as twining, waling, and plaiting can imbue rush reed crafts with unique textures and structures, transforming them into captivating works of art. By experimenting with different colors and sizes of rushes, artisans can add depth and dimension to their creations, showcasing the versatility of rush reed crafting.
Furthermore, delving into advanced shaping methods like coiling, shaping, and looping enables the crafting of complex and sculptural rush-reed artworks that push the boundaries of traditional weaving. Mastery of tension control and shaping techniques is paramount in achieving the precision and balance necessary for intricate rush reed projects, ensuring each woven piece is a testament to the artisan’s skill and creativity.
Finishing and Preserving Your Rush Reed Creations
Embracing the artistry of rush reed crafting involves delicately applying a protective finish to your creations, ensuring their longevity and beauty endure over time.
- Apply a light linseed oil or beeswax coat to protect rush reed creations from moisture and wear.
- Store rush reed items in a cool, dry place to prevent mold or degradation over time.
- Avoid exposing rush reed crafts to direct sunlight for prolonged periods to maintain their color and integrity.
- Use a soft cloth to gently clean rush reed creations, avoiding harsh chemicals or abrasive materials.
- Consider reapplying a protective finish to rush reed items annually for long-lasting beauty and durability.
Preserving your rush reed creations with the proper care safeguards their structural integrity and maintains their aesthetic appeal. By following these guidelines, you can ensure that your crafted pieces stand the test of time, showcasing the mastery and dedication put into each intricate detail.
The protective finish is a shield, shielding your creations from the elements and ensuring they remain exquisite for years.
Frequently Asked Questions
What Are the 4 Techniques of Basket Weaving?
There are four primary techniques in basket weaving: coiling, plaiting, twining, and wickerwork. These methods form intricate designs and structures using rushes. Each style showcases the artisan’s skill and creativity in crafting beautiful and functional baskets.
How Do You Prepare Rushes for Weaving?
Prepare rushes for weaving by soaking them in warm water until they are pliable without sogginess—Pat dry and weave. Rush soaking, a dance of flexibility and strength transforms these fibers into art. Witness the metamorphosis from reed to masterpiece.
How Long Is It To Soak Reeds For Basket Weaving?
I soak reeds for basket weaving just the right amount, 5-10 minutes, in warm water. This makes them pliable but not soggy, which is key to ensuring flexibility. Patting dry with care, I weave with finesse.
How Do You Dry Rushes?
To dry rushes, I gather and hang them indoors, allowing natural air drying in a dark, well-ventilated spot. It takes 3-7 days, depending on humidity. Regular checks ensure proper dryness for crafting.
Conclusion
As I gently weave the rush reeds together, I’m reminded of the delicate dance of nature. Each strand intertwines with the next, creating a beautiful tapestry of strength and beauty.
Like the rush reeds, we must adapt and intertwine with the world around us to thrive. Embracing the rhythm of life, we can create something truly remarkable, just like these carefully crafted rush reed creations.