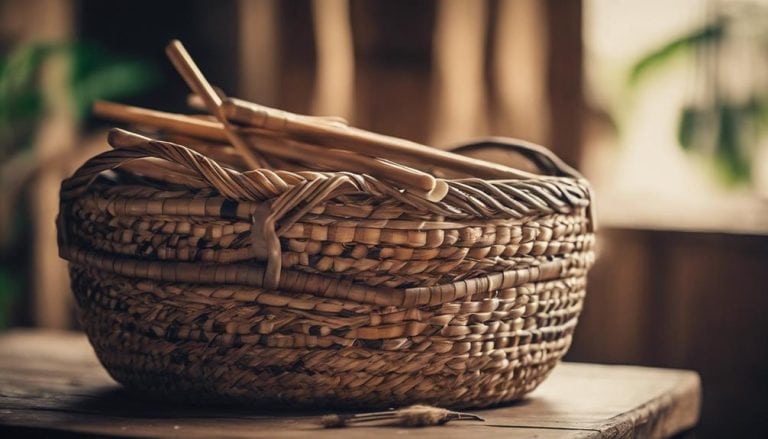
Tutorial on Using Rattan Cane for Weaving
Interestingly, just as I was considering a shift towards more sustainable crafting materials, I stumbled upon the art of using rattan cane for weaving. As someone who’s been in the crafting community for years, I’ve seen a variety of materials, but rattan’s unique combination of flexibility and strength, especially when wet, caught my attention.
This tutorial has been an eye-opener, covering everything from preparation to the intricate weaving techniques that result in beautiful designs. But one part truly stands out, offering insights that even veterans might not know. Stick around, and I’ll share why this aspect could change how you view rattan weaving forever.
This guide teaches you the art of weaving with a rattan cane, perfect for crafting unique and durable pieces. It includes a tutorial on using rattan cane for weaving, where you’ll learn how to create intricate patterns and sturdy structures.
Key Takeaways
- Choose center cane for durability and structural projects, flat cane for flexibility, and intricate designs.
- Prepare a clean, well-lit workspace with all the necessary tools for efficient weaving.
- Start with basic weaving techniques, then explore advanced patterns like herringbone and twill for creative designs.
- Regular care, including dusting and moderate humidity, maintains the beauty and longevity of rattan weavings.
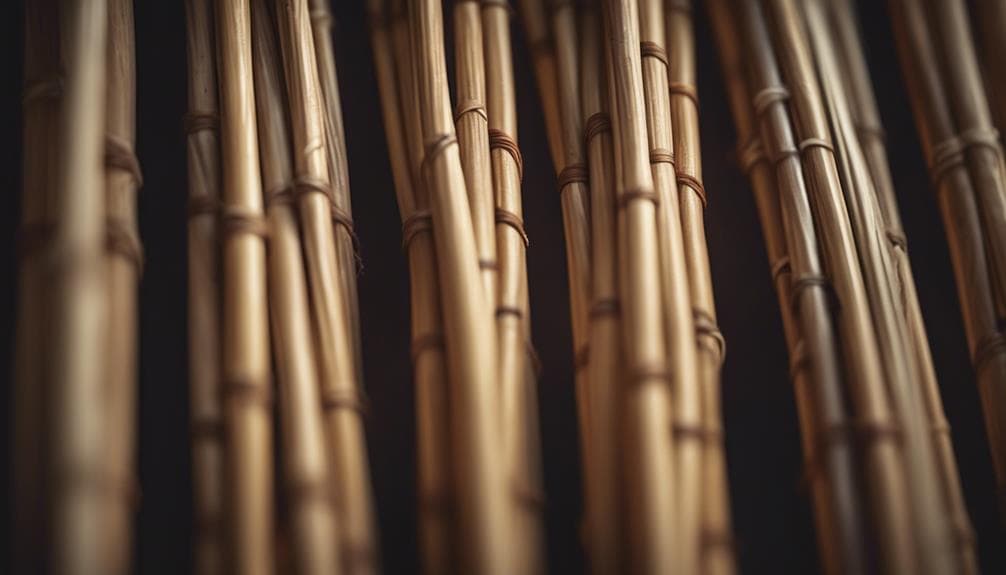
Understanding Rattan Varieties
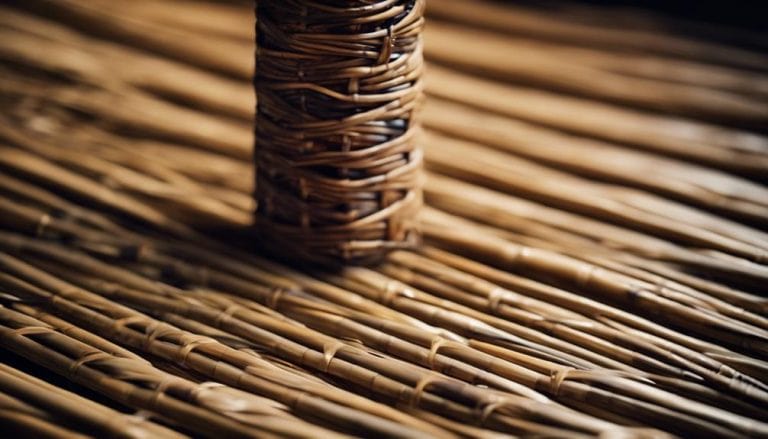
When delving into weaving, it’s crucial to understand that rattan comes in two primary varieties: center cane and flat cane, each with unique properties and applications. As someone who’s spent years weaving, I’ve come to appreciate the subtle differences that make each type of cane special.
With its round, robust nature, the center cane offers exceptional rattan durability. It’s the backbone of many basketry projects, providing the structural support needed for pieces to maintain their shape over time. I’ve often leaned on the center cane when working on something that requires a bit of extra strength, marveling at how it can withstand tension without breaking.
On the other hand, the flat cane, or chair cane, is celebrated for its cane flexibility. It’s thinner, more pliable, and perfect for crafting intricate patterns and designs. I’ve spent countless hours manipulating flat cane, weaving it into furniture pieces, and always being amazed at how it can curve and bend to my will without snapping.
Understanding these varieties has been pivotal in selecting the right type of cane for my projects, ensuring each piece isn’t just beautiful but also durable and functional.
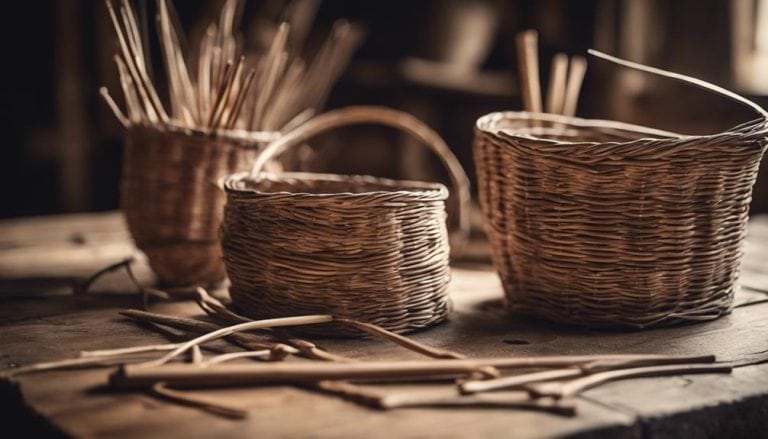
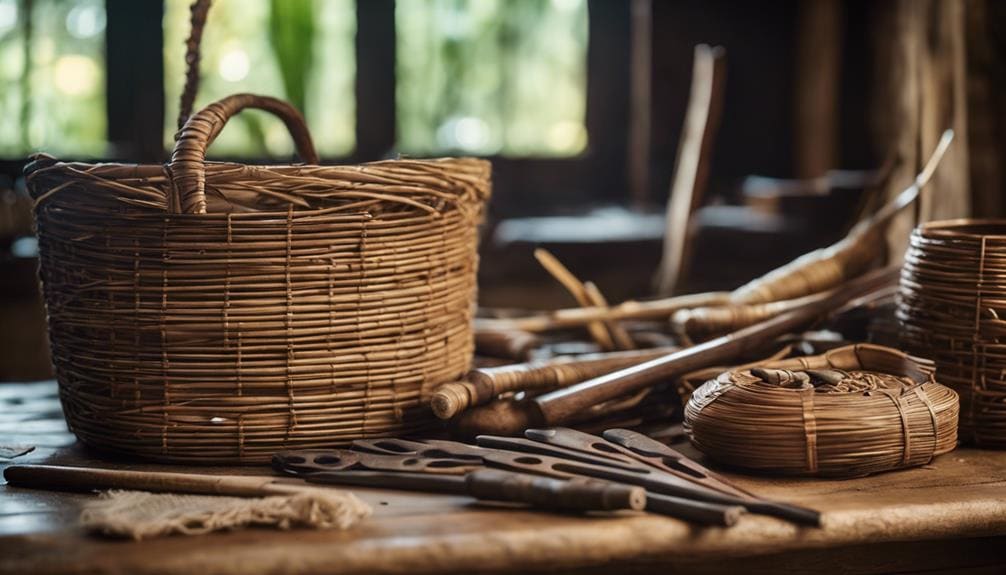
Preparing Your Workspace
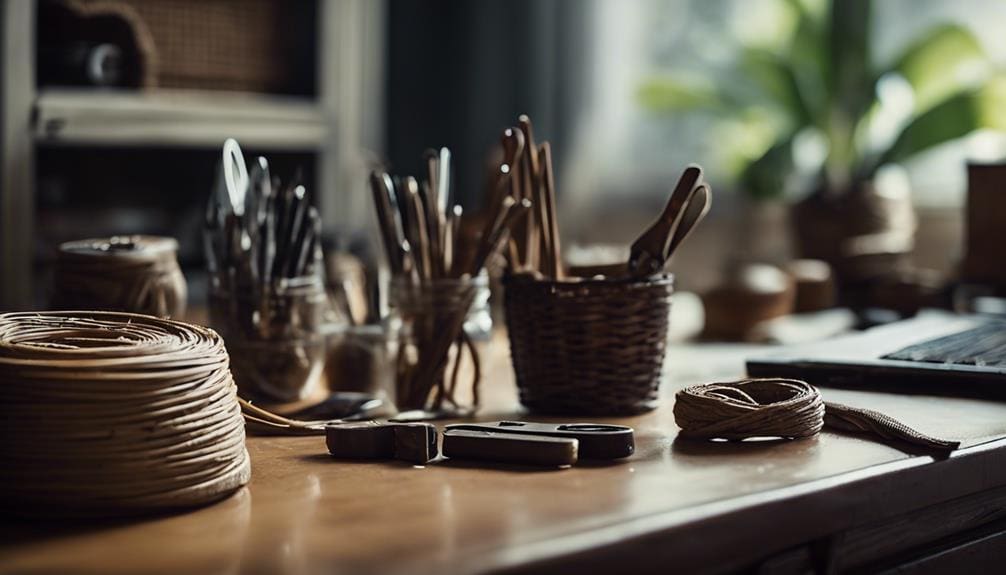
Clearing a spacious, well-lit area is the first step in preparing your workspace for a weaving project, ensuring you have enough room to maneuver and keep materials organized. It’s critical not just for the ease of weaving but for the soul of your craft. After selecting the perfect spot, I always lay down a large sheet or tablecloth. It’s not just about protecting the surface; it creates a blank canvas on which weaving magic begins.
Next, I meticulously gather all the necessary tools and materials, placing them within easy reach. This step is more than convenience; it’s about creating a rhythm to my work. There’s a soothing certainty in knowing everything I need is at my fingertips, allowing me to focus deeply on the task at hand.
Choosing materials and setting up tools isn’t just preparatory work; it’s an integral part of the weaving process. A comfortable chair or stool is my throne as I weave, ensuring I maintain good posture and avoid unnecessary strain. Nearby, a small trash bin stands ready to collect trimmings, keeping my workspace tidy and my mind clear. This careful preparation sets the stage for the following art, embodying a blend of patience, anticipation, and respect for the craft.
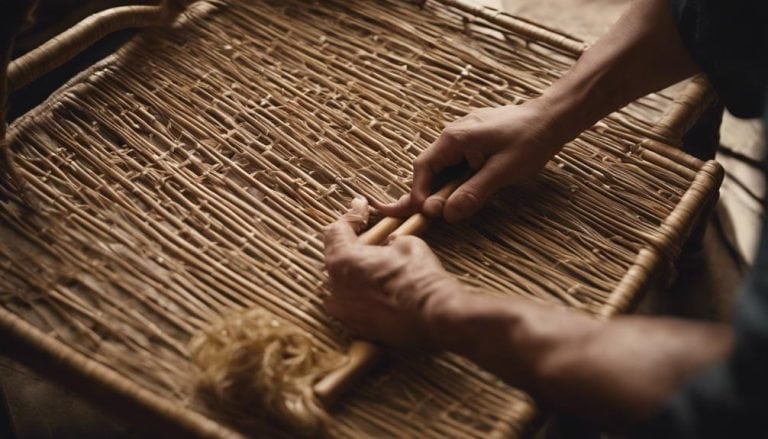
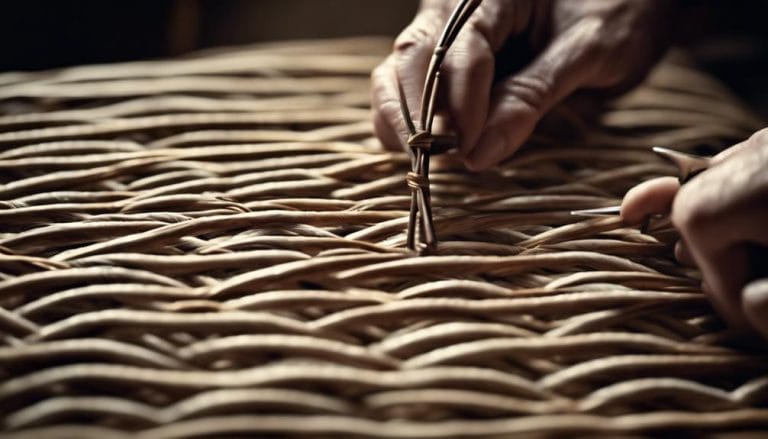
Basic Weaving Techniques
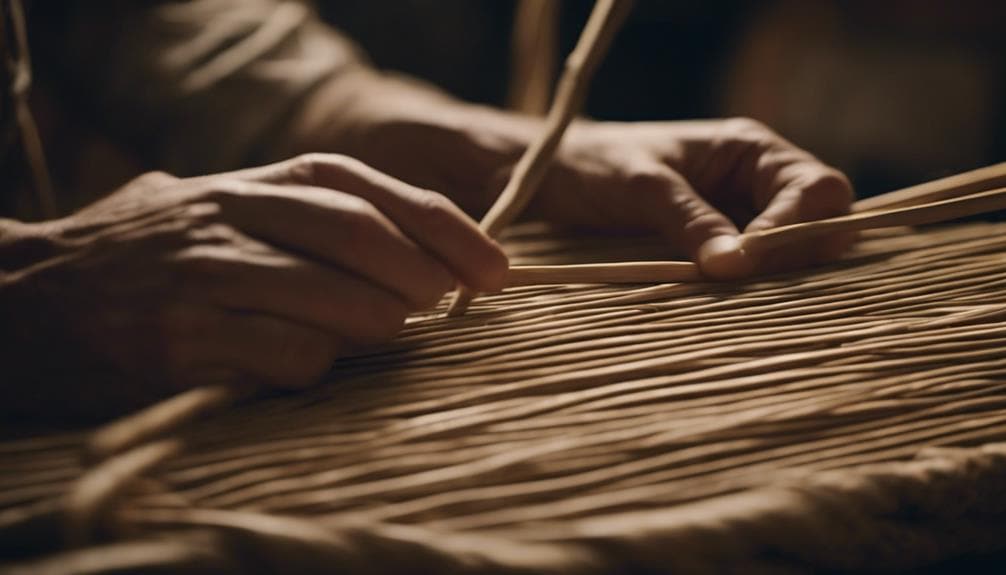
You might wonder how we start weaving with a rattan cane. The world of weaving with this versatile material begins with understanding the basics. As someone who’s ventured deep into the craft, I’ve learned that patience and attention to detail are your best allies. Let me guide you through the foundational steps to create beautiful pieces with a rattan cane.
- Soak the rattan cane in water to ensure it’s pliable enough for weaving. This step is crucial for avoiding breaks and ensuring smooth bends.
- Place cane pieces vertically and horizontally on your frame, starting with one-inch pencil lines. This method helps in laying down a structured foundation for your piece.
- Secure your starting points with masking tape. This little trick keeps everything in place, allowing you to weave without the cane slipping.
- Make careful adjustments to ensure the strands are parallel and snug against each other. This attention to detail is what elevates your work from good to great.
- Weave in different directions to create open-weave webbing designs. This technique opens up a world of creative patterns and color options, allowing your imagination to run wild.
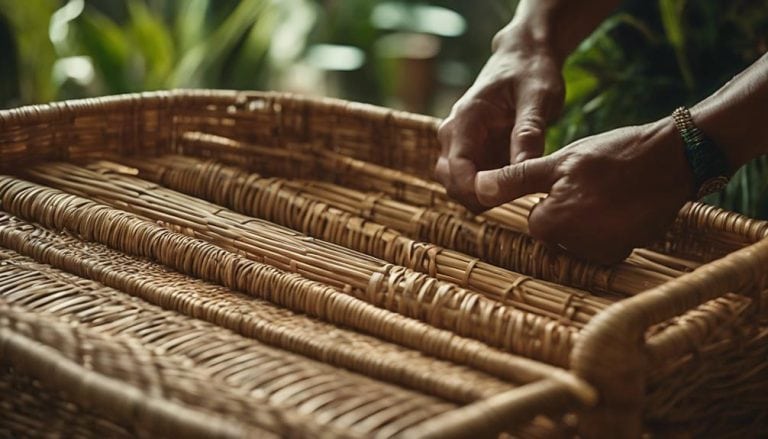
Advanced Weaving Patterns
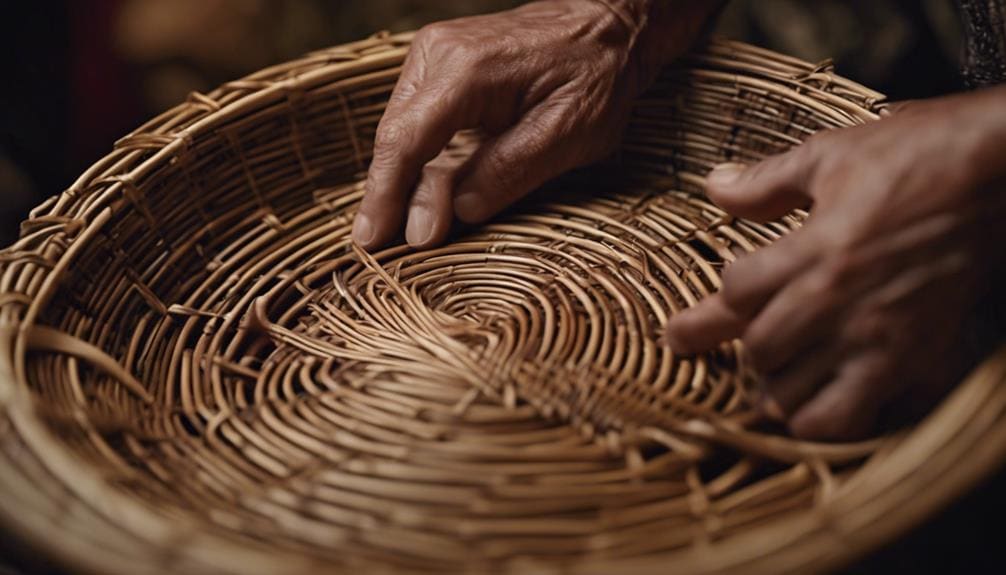
After mastering the foundational steps of weaving with a rattan cane, it’s time to explore the world of advanced weaving patterns, where the creation of intricate herringbone, twill, and checkerboard designs awaits. Diving into these patterns, I’ve found that the beauty lies in the complexity, the creative challenges they present, and the unique color combinations they allow.
| Pattern | Skill Level | Unique Aspect |
|---|---|---|
| Herringbone | Advanced | Elegant flow and texture |
| Twill | Intermediate | Diagonal weave lines |
| Checkerboard | Advanced | Striking contrast and structure |
Experimenting with different colors, textures, and thicknesses of rattan cane brings these patterns to life in a visually striking way. It’s not just about following a method; it’s about putting a piece of your heart into the work, making each weave a reflection of your dedication and artistic spirit.
Mastering these advanced patterns elevates the aesthetic appeal of any project, transforming simple pieces into works of art. It requires patience, practice, and a willingness to embrace the creative challenges of exploring new territories in rattan cane weaving. This journey isn’t just about the end product; it’s about the intimate relationship you develop with your craft, understanding its nuances, and growing alongside it.
Care and Maintenance Tips
To keep your rattan weavings in pristine condition, it’s crucial to implement a routine of care and maintenance. Over the years, I’ve honed my approach to preserving these delicate pieces, combining patience with detailed attention.
Here’s how you can do the same:
- Avoid Direct Sunlight: Always position your weavings away from harsh sunlight to prevent fading and maintain the cane’s moisture, preserving its beauty and strength.
- Dusting and Vacuuming: Regularly clean with a soft cloth or a vacuum with a brush attachment. This simple technique keeps dust at bay and your pieces looking fresh.
- Humidity Control: Ensure your rattan items are in a space with moderate humidity to prevent mold. It’s a delicate balance – too much moisture leads to mold, and too little causes drying.
- Gentle Stain Removal: Spills happen, but I’ve found that gently blotting the area with a damp cloth and mild soap, followed by air drying, effectively removes stains without damaging the weave.
- Apply Furniture Wax or Lemon Oil: A thin layer of clear furniture wax or lemon oil, applied sparingly, enhances the weave’s luster and acts as a barrier against drying or cracking.
Frequently Asked Questions
How Long to Soak Rattan Before Weaving?
I’ve found soaking rattan in warm water works best for at least 20 minutes, ensuring it’s flexible but not too soft. After washing, I gently dry it with a towel before weaving begins.
How Do You Prepare a Cane for Weaving?
In the dance of weaving, I carefully choose my partner, the cane, assessing its width like choosing a perfect dress. My steps involve stripping techniques, ensuring the cane is ready to move gracefully through the frame.
What Kind of Glue Should Be Used for Cane Webbing?
I recommend using super glue to attach cane pieces securely due to its quick-drying properties. For edges, wood glue is your best bet for a strong bond. Each glue type has a unique application technique worth mastering.
What Is the Difference Between Cane Wicker and Rattan?
I’ve learned that over 70% of the world’s rattan grows in Indonesia, highlighting its importance. Cane wicker is the bark used in weaving, while rattan includes the whole plant. Their differences enrich my wicker techniques.
Conclusion
In wrapping up this weaving walkthrough, I’ve woven wisdom with whimsy, guiding you through the graceful gestures of working with rattan. From the first soak to the final finish, patience and precision were our partners. Remember, regular rejuvenation will keep your creations crisp and captivating. As you continue crafting, let curiosity kindle your creativity, exploring expansive expressions of this exquisite material. Safety should always be a steadfast sentinel in your artistic adventures. Happy weaving, and may your hands harness the harmonious blend of tradition and innovation.