Rush Reed Basket Weaving Guide
As I started delving into the rush reed basket weaving world, I stumbled upon a guide that changed how I viewed this traditional craft. The intricate details and step-by-step instructions provided an insight into the artistry and skill required to create beautiful woven pieces.
However, it wasn’t until I tried weaving a simple basket that I truly appreciated the depth of knowledge and creativity that goes into mastering this craft. The guide’s meticulous breakdown of techniques and tips left me eager to explore further and unlock the secrets to weaving intricate and unique designs.
The Rush Reed Basket Weaving Guide is useful for anyone interested in creating baskets using this traditional technique. It provides step-by-step instructions and tips for beginners, making it accessible even for those without prior experience in basket weaving.
Key Takeaways
- Master basic weaving techniques like plaiting and coiling for rush reed basket weaving.
- Elevate your skills with advanced techniques, tension adjustments, and color accents.
- Enhance your baskets with unique handles, decorative elements, and finishing touches.
- Avoid common mistakes such as uneven tension, over-soaking rush reed, and improper finishing for quality results.
Materials Needed
To begin preparing for rush reed basket weaving, gather rush reed, scissors, a tape measure, a water tub, and a work surface. Rush reed, a natural material with exceptional flexibility and strength, is ideal for creating intricate weaving patterns.
When working with rush reed, sharp scissors are crucial for precise cutting to achieve the desired shapes and lengths for weaving. A tape measure ensures accuracy in measuring rush reed, which is essential for intricate weaving patterns and designs that demand precision.
The water tub plays a vital role in soaking the rush reed, making it more pliable and easier to manipulate during weaving. A well-equipped work surface provides a sturdy foundation for your weaving project, offering stability and support as you craft your rush reed basket with expertise and finesse.
Basic Basket Weaving Techniques
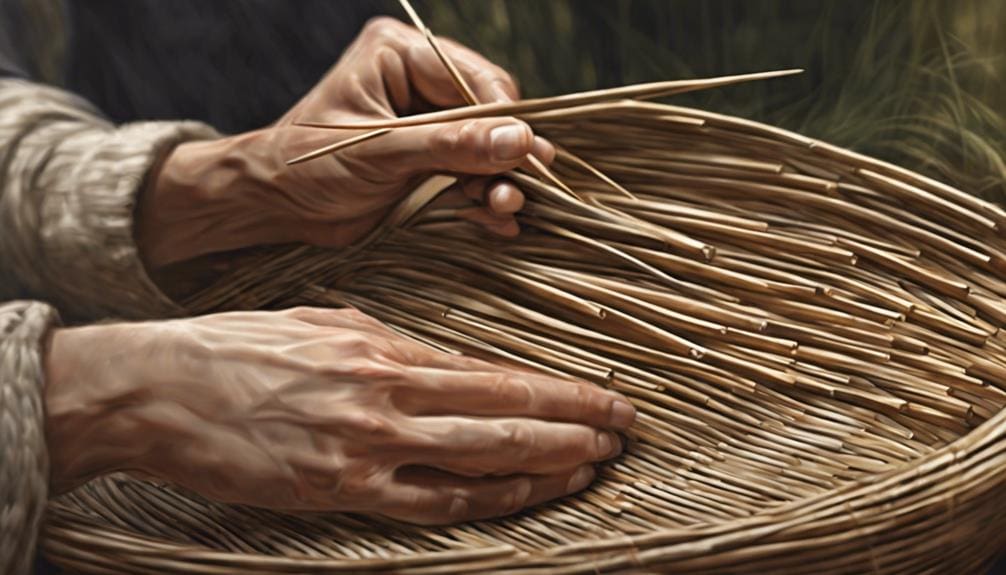
Having gathered the necessary materials for rush reed basket weaving, the next step is to delve into the fundamental techniques of plaiting, twining, coiling, and walking. These techniques form the backbone of basket weaving, allowing for the creation of sturdy structures and intricate designs.
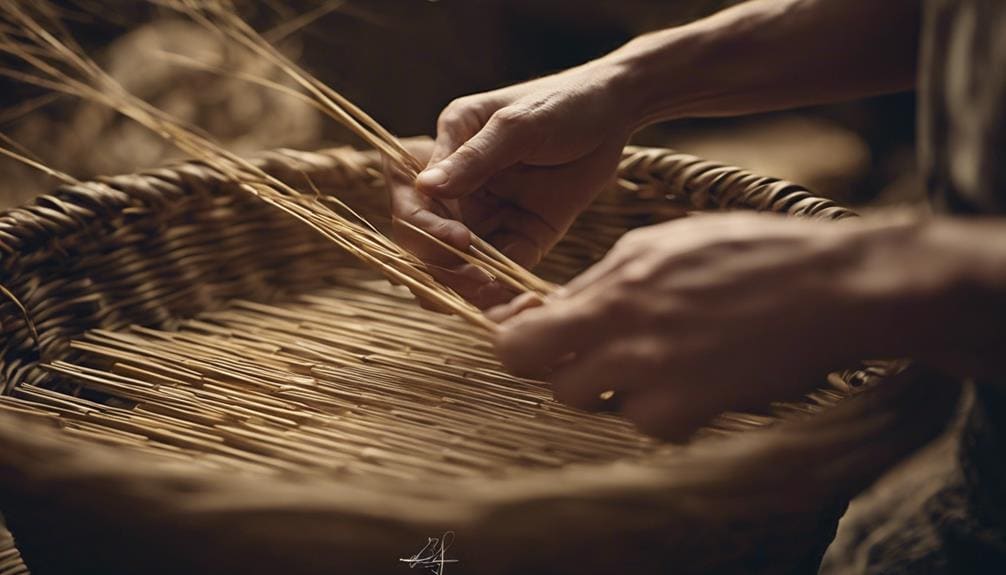
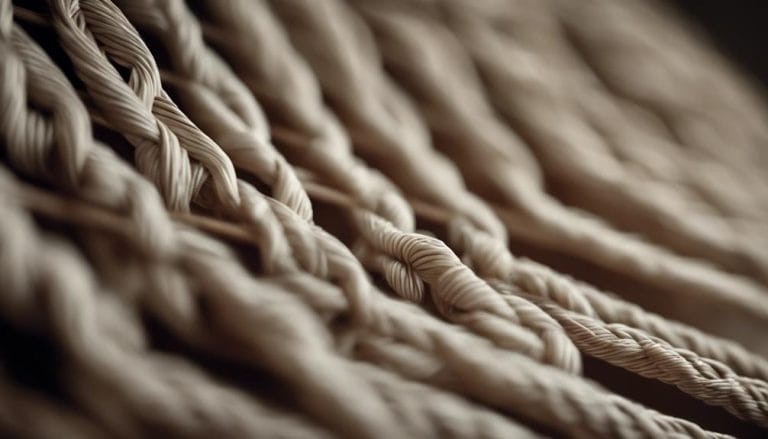
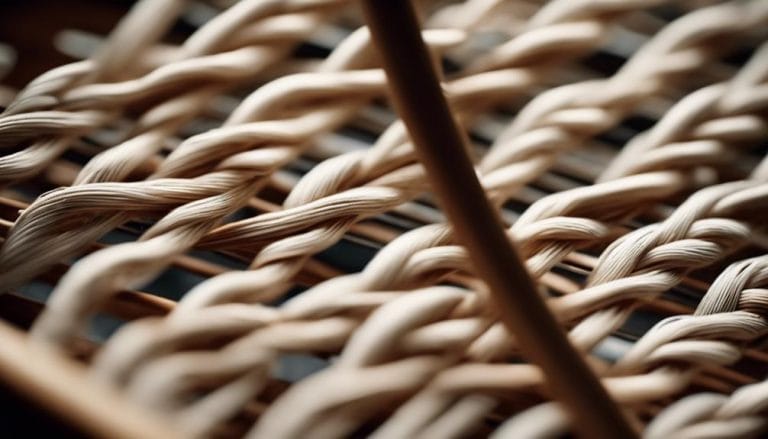
Mastering plaiting involves weaving strands of rush reed over and under each other, creating a tight and durable base for the basket. Twining adds strength and flexibility by twisting two strands around each other, gradually shaping the basket’s sides. Coiling involves wrapping rush reed in a spiral pattern, gradually building the basket’s walls sturdily and uniformly.
Lastly, waling is essential for adding stability and structure to the basket, creating a framework that supports the overall design. Attention to detail in shaping and finishing ensures a polished final product that showcases the weaver’s skill and expertise in basic basket weaving techniques.
Advanced Weaving Tips
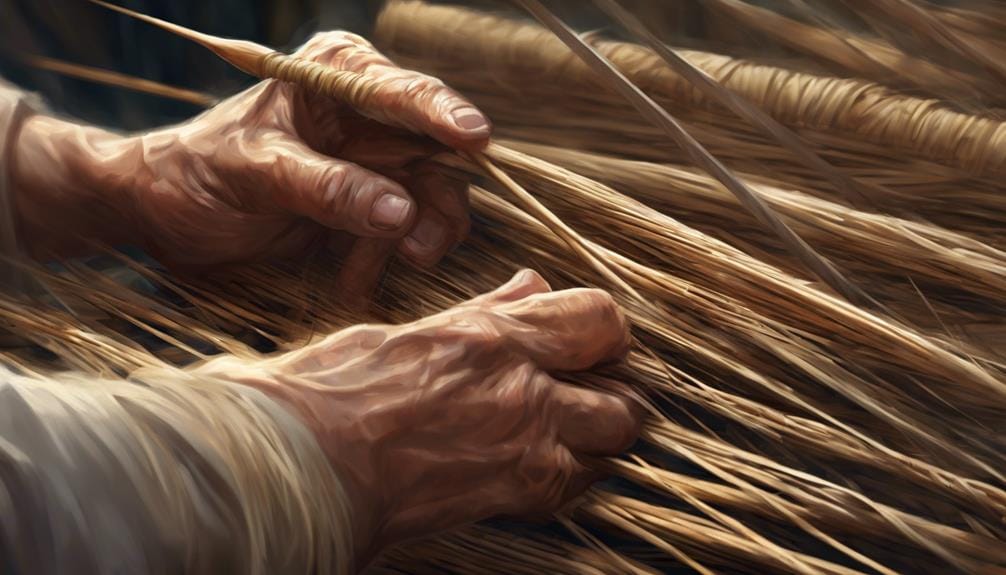
Delving into advanced weaving tips requires a meticulous approach that hones precision and expertise to craft intricate rush reed basket designs. Experiment with advanced weaving techniques such as twining, plaiting, and waling to elevate your rush reed creations. These methods allow you to weave intricate patterns that showcase your weaving skills and attention to detail.
Adjusting tension levels in your weaving is crucial for achieving different textures and structures in rush reed baskets. By mastering this technique, you can create visually stunning pieces that stand out. Introduce color accents into your designs by incorporating dyed rush reeds or adding decorative elements like beads or feathers. These touches can enhance the overall aesthetic appeal of your rush reed baskets.
Furthermore, explore complex shaping methods, such as using shaping molds or sculptural techniques. These approaches enable you to craft unique and artistic rush reed basket designs that showcase your expertise. Refine your weaving skills by practicing advanced stitching techniques like triple twining or pairing, which add depth and intricacy to your creations. Mastering these advanced weaving tips will set you apart in rush reed basket weaving.
Finishing Touches
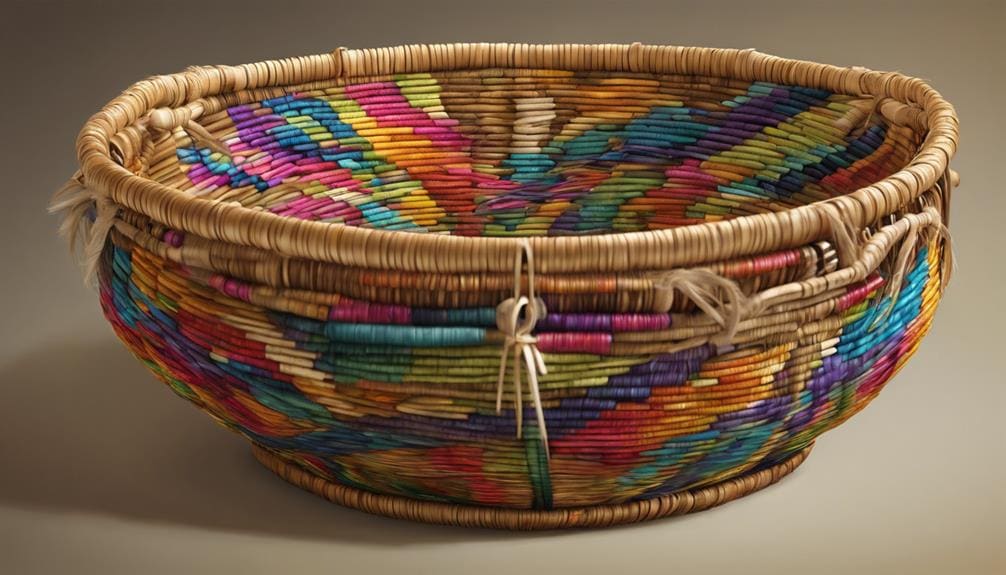
With meticulous attention to detail and precision, the final touches in rush reed basket weaving elevate the overall aesthetic and functionality of the basket.
Here are some key elements to consider when adding the finishing touches to your rush reed masterpiece:
- Incorporate Decorative Elements: Enhance the visual appeal of your rush reed basket by adding decorative elements such as beads or feathers. These embellishments can bring a touch of elegance and uniqueness to your creation.
- Unique Handle Design: Consider incorporating a handle design that complements the basket’s overall look and enhances its functionality. A well-designed handle can make it easier to carry the basket and add a stylish flair to the final piece.
- Finishing Edges and Protective Finish: Pay attention to finishing edges with contrasting colors or patterns to create a visually appealing border. Additionally, applying a protective finish like varnish or sealant can help preserve the rush reed, ensuring the longevity of your basket. These final steps will enhance the beauty of your creation and protect it for years to come.
Common Mistakes to Avoid
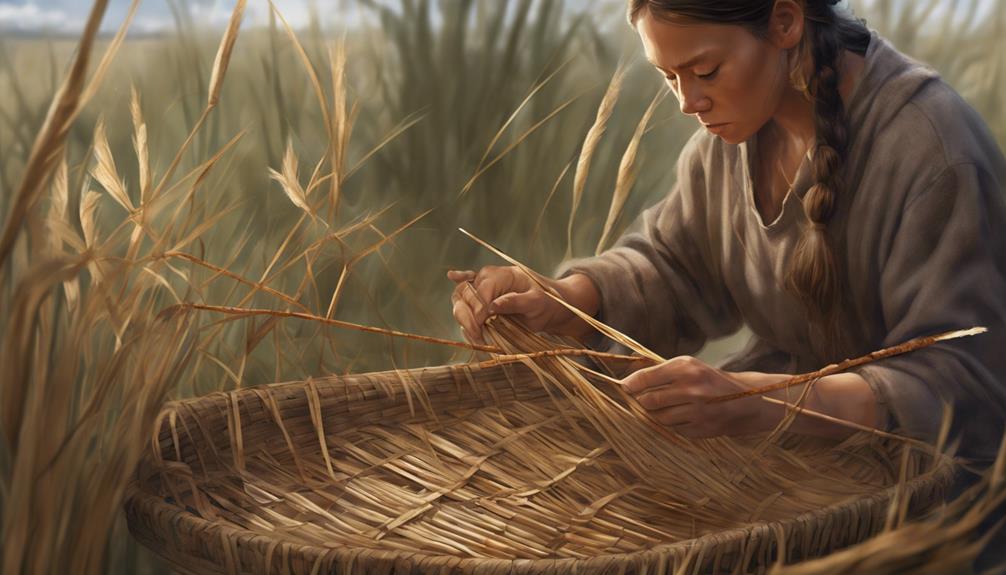
I meticulously outline the common mistakes to avoid in rush reed basket weaving, ensuring a flawless final product with impeccable craftsmanship. One crucial error to avoid is maintaining uneven tension during the weaving process, as this can result in a final basket with an inconsistent and unprofessional appearance.
Additionally, it’s essential to avoid using damp rush reed, as this can lead to mold growth within the basket over time, diminishing its quality. Properly securing the starting end of the rush reed is paramount to prevent unraveling and disruptions in the weaving process.
Furthermore, over-soaking the rush reed should be avoided, as it can make the material overly soft and challenging to weave effectively. Lastly, neglecting to finish the ends of the rush reed correctly can cause loose or unraveled edges in the final basket, detracting from its overall appeal and durability.
Frequently Asked Questions
How Long Is It To Soak Reeds For Basket Weaving?
Consider reed types and weaving patterns for proper soaking. For thicker types, soak reeds longer. Shape baskets carefully. Dry thoroughly. Choose colors wisely. Maintain baskets for longevity. Avoid beginner mistakes. Master advanced techniques. Learn basket history.
What Are the 4 Techniques of Basket Weaving?
Four basket weaving techniques are twining for intricate patterns, coiling with various variations, plaiting to create unique designs, and wicker using natural materials. These methods can incorporate decorative elements, natural dyes, functional shapes, historical origins, modern adaptations, and cultural significance.
How Do You Prepare Rushes for Weaving?
When preparing rushes for weaving, I select the best ones, dry them thoroughly, dye them naturally for a pop of color, and store them properly. I twist, weave, and finish with precision for intricate designs.
How Do You Weave a Basket Step by Step?
To weave a basket, choose the desired shape, color, handle, size, and materials. Start with base weaving using the over-under pattern. Build sides with the twining technique. Finish by tucking ends neatly. Add decorations for style.
Conclusion
As I put the finishing touches on my rush reed basket, I couldn’t help but admire how each weave symbolized the patience and dedication required for this craft.
The intricate patterns and careful attention to detail truly make each basket a work of art.
With practice and perseverance, I’ve learned to avoid common mistakes and create beautiful baskets that showcase my expertise in the ancient art of basket weaving.

