Rush Reed Basket Weaving for Beginners
Weaving a rush reed basket might seem like a daunting task, but once you understand the basic techniques, it becomes an enjoyable and rewarding craft.
Exploring the intricate world of rush reed weaving can open up a realm of creativity and practicality that goes beyond the simple act of creating a basket.
Mastering this traditional art form not only hones your skills but also allows you to connect with nature in a unique way, blending craftsmanship with sustainability.
Key Takeaways
- Start with fiber rush for beginner-friendly weaving.
- Choose rush reeds based on thickness and color.
- Master plaiting and pair weave techniques for strength.
- Personalize baskets with decorative elements for unique designs.
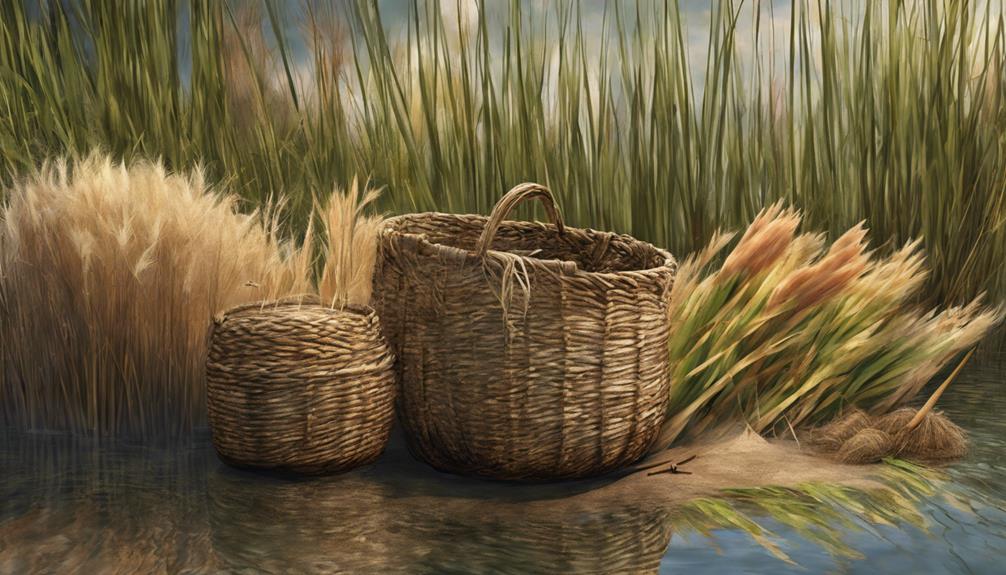
Materials Needed for Rush Reed Weaving
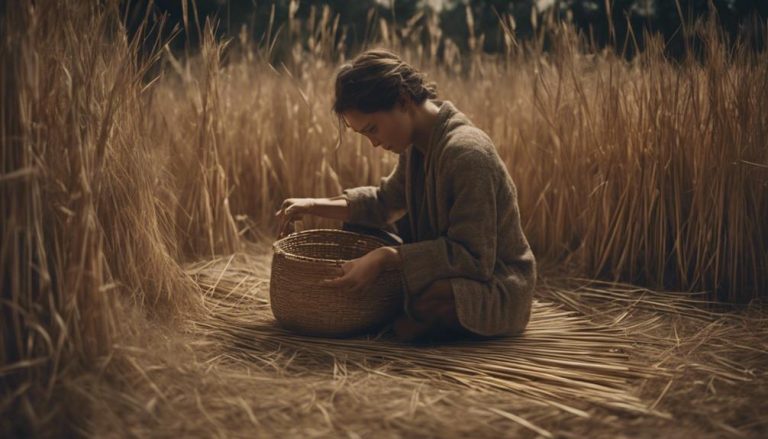
Gathering the essential materials for rush reed weaving, such as cattail leaves or bulrushes, is the first step towards creating beautiful and functional baskets. Rush materials serve as the building blocks for these intricate creations, offering a sturdy and natural foundation.
As a beginner, it's crucial to have access to rush reed weaving kits that provide all the necessary materials and tools. These kits often include scissors for cutting rush, a sharp knife for trimming, and a water container for soaking rush.
Understanding the different rush types, techniques for weaving, and finishing methods is essential for mastering rush reed weaving.
To start your rush reed weaving journey, familiarize yourself with the materials and tools at your disposal. Learn how to handle rush with care, how to weave it effectively, and how to finish your creations with finesse. With dedication and practice, you'll soon be crafting stunning rush baskets that showcase both skill and creativity.
Choosing the Right Rush Reeds
When selecting rush reeds for basket weaving projects, it's essential to consider factors such as the type, thickness, and availability to ensure the desired texture and durability of the final creation.
- Fiber Rush: Opt for fiber rush for beginners as it's easy to work with and provides a smooth finish to your basket.
- Seagrass: Seagrass rush reeds offer a natural and rustic look to your woven baskets, perfect for creating earthy tones and textures.
- Ash Splints: Consider ash splints for a more traditional and sturdy weaving material, ideal for those looking for a classic touch in their basket designs.
Choosing the right rush reeds is crucial in achieving the desired outcome in your basket weaving projects. The thickness and color of the rush reeds can significantly impact the final look of your creation. By carefully selecting the appropriate rush reeds based on your project needs and preferences, you can ensure a successful and visually appealing basket weaving experience.
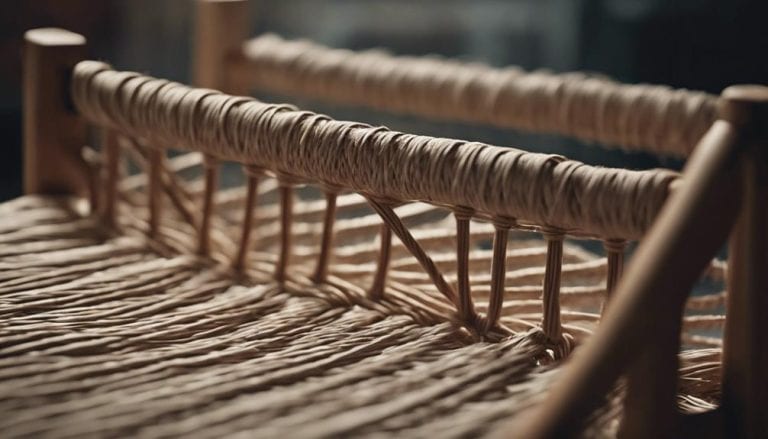
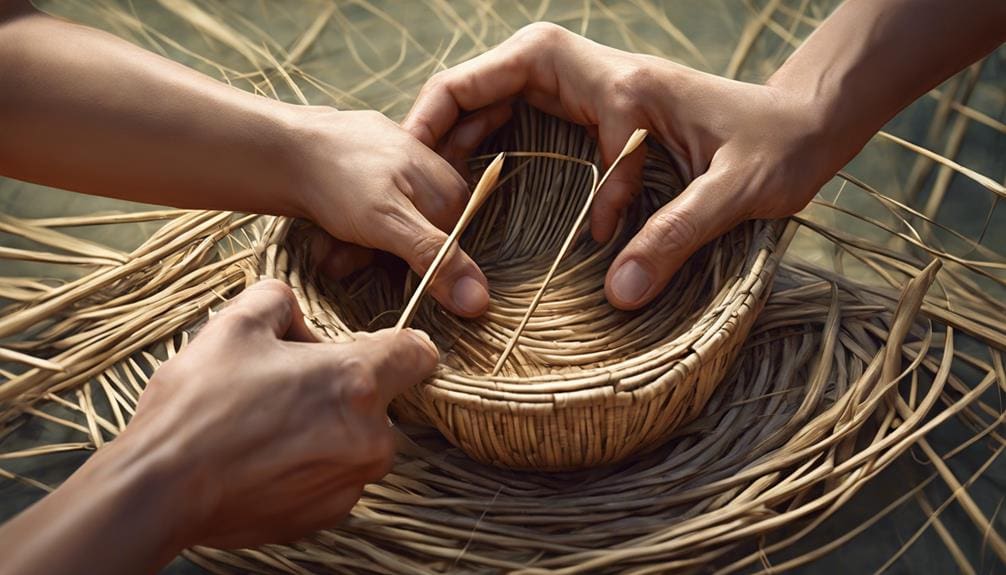
Basic Rush Reed Weaving Techniques
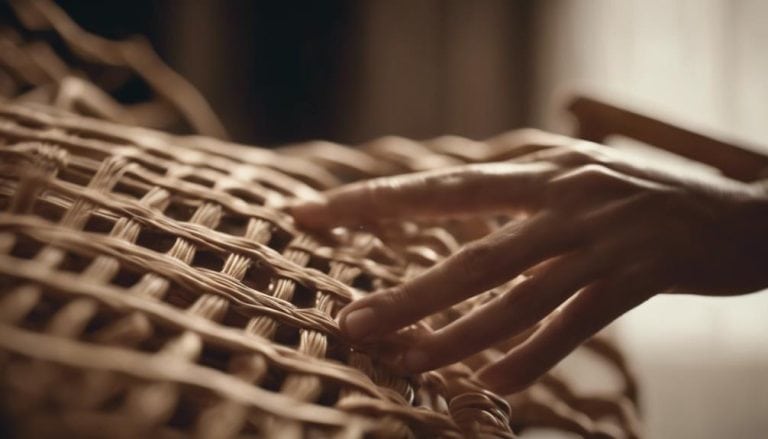
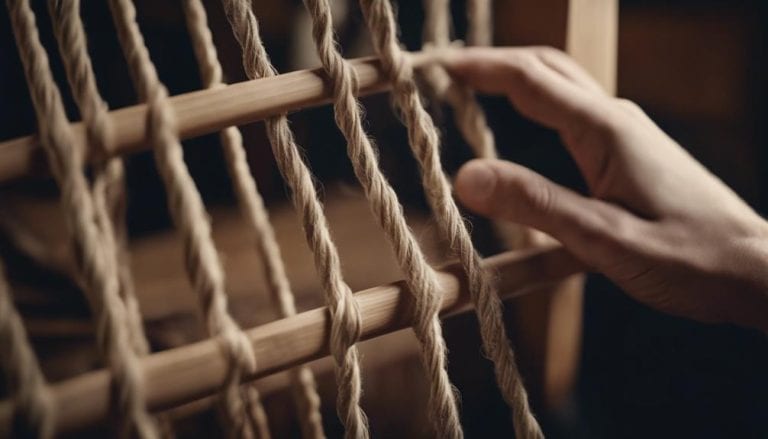
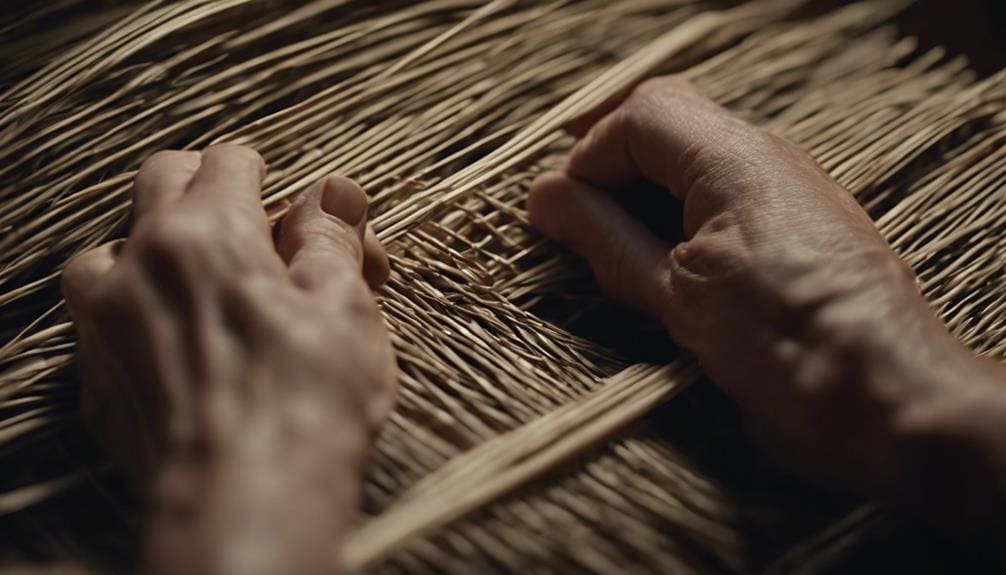
Learning basic rush reed weaving techniques opens up a world of creative possibilities in crafting unique baskets and woven items. To start, mastering plaiting is essential. This technique involves weaving rush reeds over and under each other to create a sturdy base for your basket.
Pairing weave, on the other hand, involves working with two rush reeds at a time, intertwining them to add strength and texture to your weave. For those looking to create intricate designs, the wide-plait method offers a wider and more decorative weave pattern.
Enrolling in rush reed weaving courses can provide structured guidance on these basic techniques. These courses cater to all skill levels, offering step-by-step instructions on creating various rush reed projects like sun hats or plaited trays. Furthermore, rush reed weaving allows for customization, enabling you to tailor your designs, sizes, and shapes to suit your preferences.
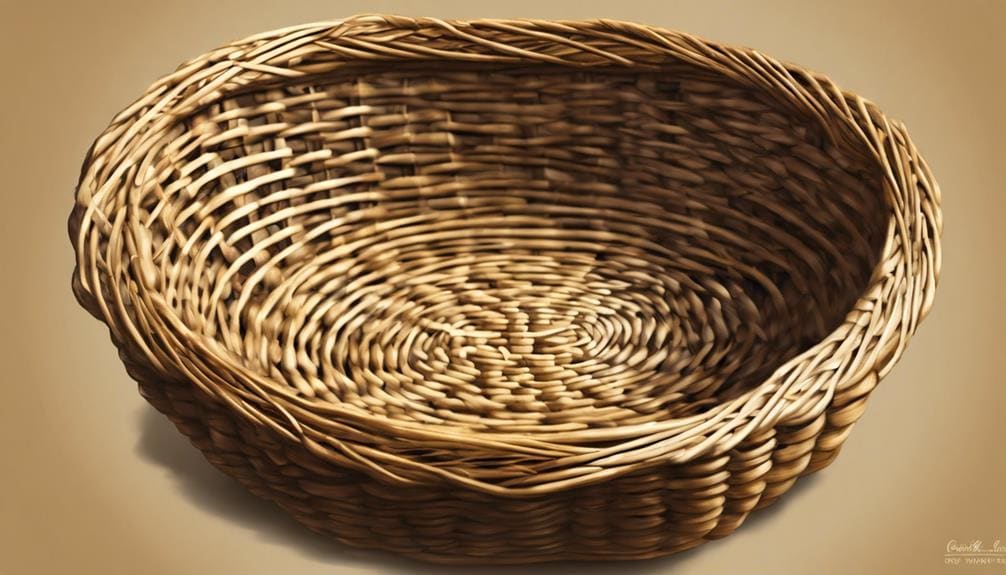
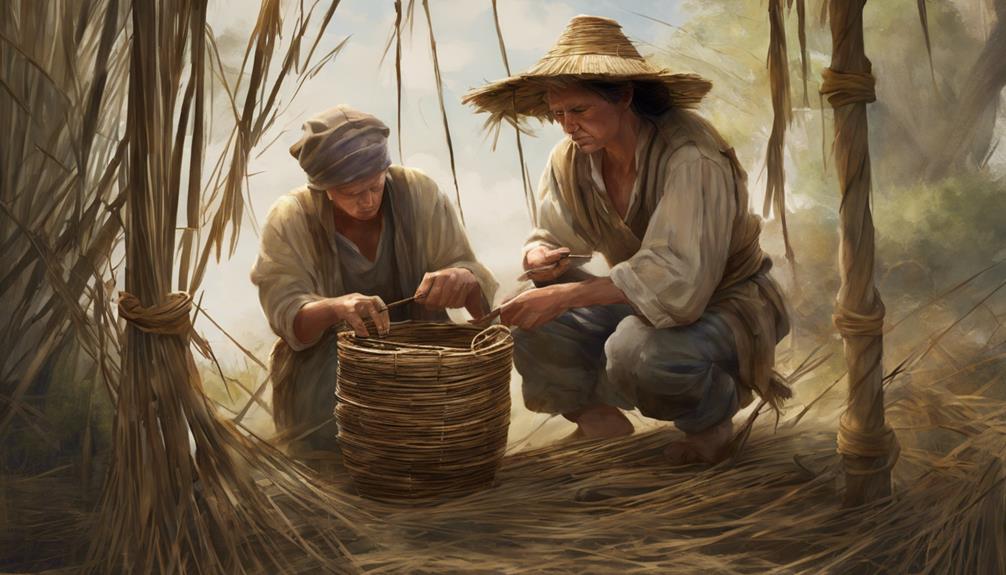
Creating a Simple Rush Reed Basket
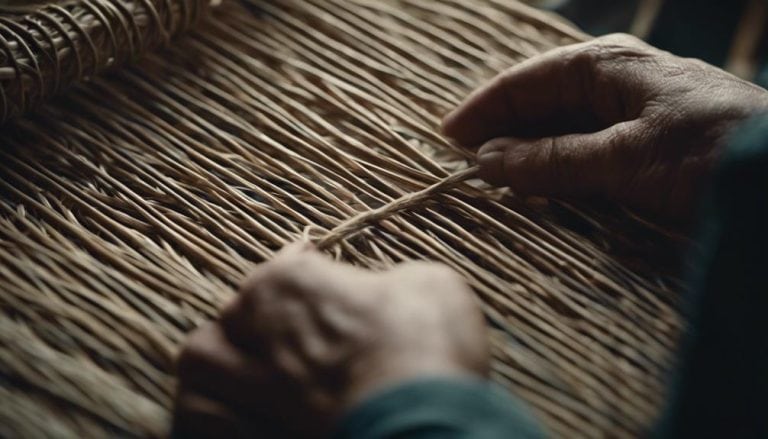
After mastering basic rush reed weaving techniques, creating a simple rush reed basket becomes an exciting next step in your crafting journey. Rush reed basket weaving offers a unique opportunity for beginners to delve into the world of eco-friendly and traditional basket making. Here are some key points to consider while crafting your own rush reed basket:
- Plaiting Techniques: Utilize the plaiting techniques you've learned to weave the rush reeds together, ensuring a sturdy and well-structured basket.
- Shapes and Sizes: Experiment with different shapes and sizes to create a personalized basket that suits your needs and preferences.
- Eco-Friendly Crafting: Embrace the environmentally conscious nature of rush reed weaving by using natural rush fibers to craft your basket, reducing your ecological footprint.
Adding Decorative Elements to Your Basket

To elevate the visual appeal and personal touch of your rush reed basket, consider incorporating an array of decorative elements such as colored reeds, beads, feathers, or ribbons. By utilizing various weaving techniques, you can add unique patterns that enhance the overall aesthetic of your basket. Mixing in natural elements like dried flowers or leaves can introduce a touch of nature, bringing a sense of organic beauty to your creation. Experimenting with contrasting colors and textures can result in visually striking and dynamic designs that catch the eye.
Personalization is key to making your rush reed basket truly special. Consider adding initials, names, or special symbols to infuse it with meaning and customize it to your liking. These personalized touches can turn a simple basket into a cherished item with sentimental value. Whether you opt for intricate patterns, vibrant colors, or meaningful personalization, each decorative element you choose will contribute to making your rush reed basket a unique and powerful piece of art.
Troubleshooting Common Weaving Mistakes
When encountering issues such as uneven tension or misplaced weaves in your rush reed basket weaving, it's essential to address these common weaving mistakes promptly to maintain the integrity and quality of your project.
To troubleshoot common weaving mistakes effectively, consider the following:
- Tension adjustment: Gently pull on the weavers to fix loose or tight weaves without compromising the overall structure.
- Weaving direction: Reverse the weaving direction or pattern to correct errors like skipped rows or misplaced weaves for a seamless finish.
- Tools for weaving: Utilize tools such as weaving needles or crochet hooks to assist in fixing intricate errors or adjusting weave placements.
For further assistance in troubleshooting weaving mistakes, consult online resources, instructional videos, or experienced weavers. Their knowledge and expertise can provide valuable insights and solutions to ensure your rush reed basket weaving project turns out beautifully.
Finishing Touches and Care Tips for Your Basket

To enhance the longevity and appearance of your rush reed basket, consider applying a clear, matte finish spray for protection against dust and dirt accumulation. This simple step can help maintain the beauty of your basket by creating a barrier that prevents particles from settling on its surface.
Additionally, it's important to avoid exposing the rush reed basket to direct sunlight for extended periods to prevent fading and potential damage caused by UV rays.
When it comes to cleaning your rush reed basket, opt for a gentle approach using a soft, damp cloth to remove any surface dirt or dust. Harsh cleaning agents can be damaging to the delicate fibers of the basket.
For storage, keep your basket in a cool, dry place away from humidity to maintain its shape and durability. Consider rotating and repositioning the basket occasionally to prevent uneven wear and tear on the fibers, ensuring that it remains in pristine condition for years to come.
Frequently Asked Questions
What Is the Simplest Basket Weaving Technique?
The simplest basket weaving technique involves coiling, where one material wraps around another to form a spiral. It's ancient and versatile, allowing for creative designs. Start with basic supplies like reed, rush, or grass for quick projects.
How Long to Soak Reeds for Basket Weaving?
For proper soaking, I recommend experimenting with different times to optimize flexibility. Quick soaking methods like 30 minutes to 2 hours are beneficial. The reeds' absorption rate varies, so adjust soaking duration accordingly. Here are some soaking tips!
How Do You Prepare Rushes for Weaving?
To prepare rushes for weaving, I select the right rushes, soak them for flexibility, dry them before weaving, split them for intricate patterns, store them in a damp towel, dye them for color, cut them, and create beautiful weaving designs.
How Many Hours Does It Take to Weave a Basket?
Weaving time for a basket varies based on design intricacy, materials, size, and patterns. Simple baskets may take hours, while complex ones could span days. Efficient weavers with experience can speed up the process significantly.
Conclusion
As the final stitches are made and the rush reeds come together to form a beautiful square basket, a sense of accomplishment and pride fills the air.
Like pieces of a puzzle fitting perfectly into place, each weaving technique learned in the course adds depth and character to the finished product.
The intricate patterns and decorative elements bring the basket to life, turning a simple rush reed into a work of art to be cherished for years to come.