How to Weave With Danish Cord
Have you ever wondered how to turn a simple chair into a Danish cord masterpiece? Well, weaving with a Danish cord may seem tedious, but the results are truly rewarding once you get the hang of it. Each step is crucial in creating a durable and visually appealing piece, from selecting the right cord to perfecting the tension. Stay tuned to uncover the secrets of mastering this traditional craft and elevate your furniture game to a new level.
Learn how to weave with a Danish cord by following these simple steps: start by attaching the cord to the frame, weave the cord over and under the frame, and finish by tying off the cord.
Key Takeaways
- Opt for a laced Danish cord for a secure and elegant finish.
- Prepare a stable weaving frame with evenly spaced nails.
- Master basic weaving patterns like zigzag and serpentine for strength and style.
- Maintain proper tension and tightness for a professional and polished look.
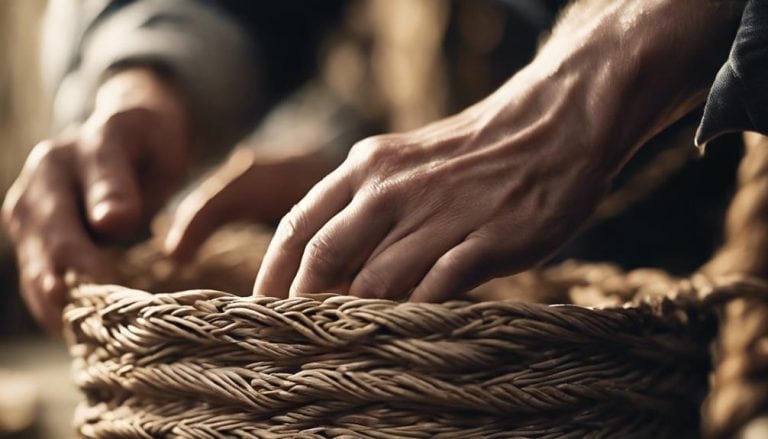
Choosing the Right Danish Cord
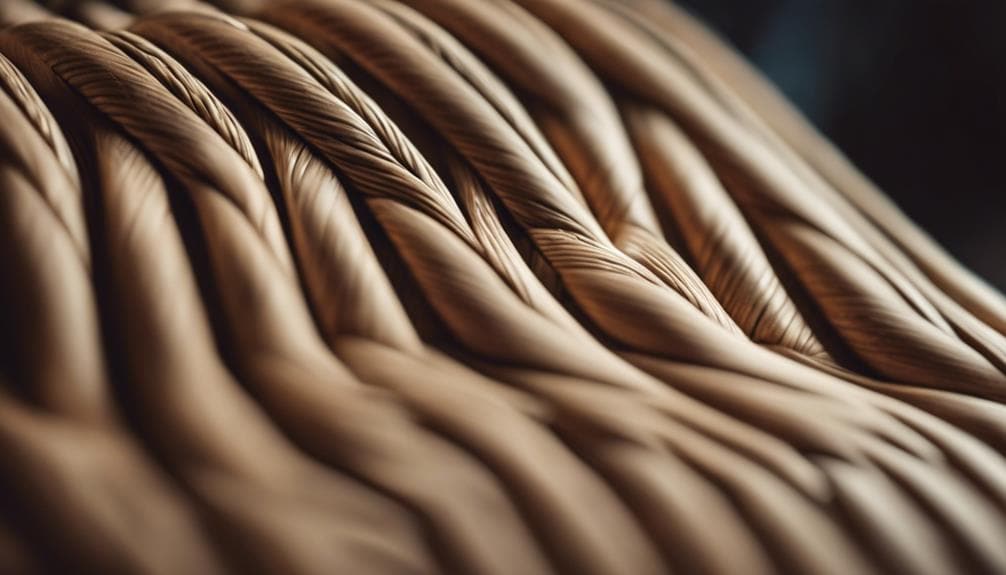
When selecting the perfect Danish cord for your weaving project, I recommend using the laced style to ensure a secure and beautiful finished piece. Comparing materials, the laced Danish cord offers a more intricate and elegant look compared to the unlaced variety. The laced style provides a sturdy foundation for your weaving, ensuring durability while adding a touch of sophistication to your project.
Color options are abundant in Danish cord, allowing you to personalize your weaving to match your style and preferences. Whether you prefer a classic natural tone for a traditional look or a bold, contemporary color to make a statement piece, Danish cord comes in various shades to suit any design aesthetic.
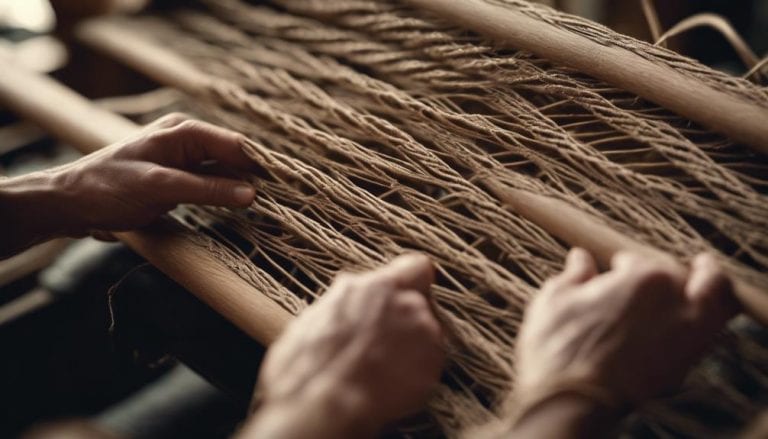
Preparing Your Weaving Frame
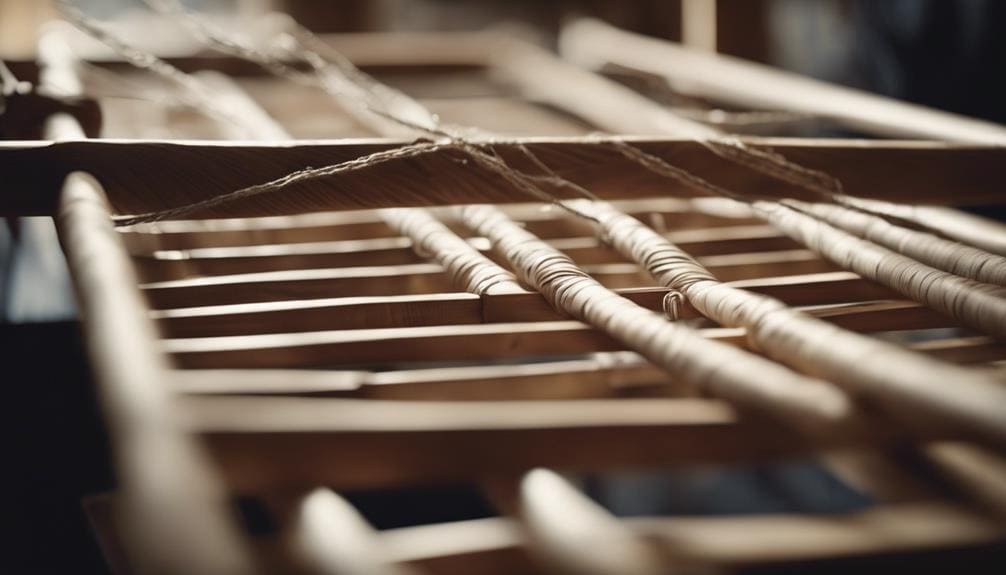
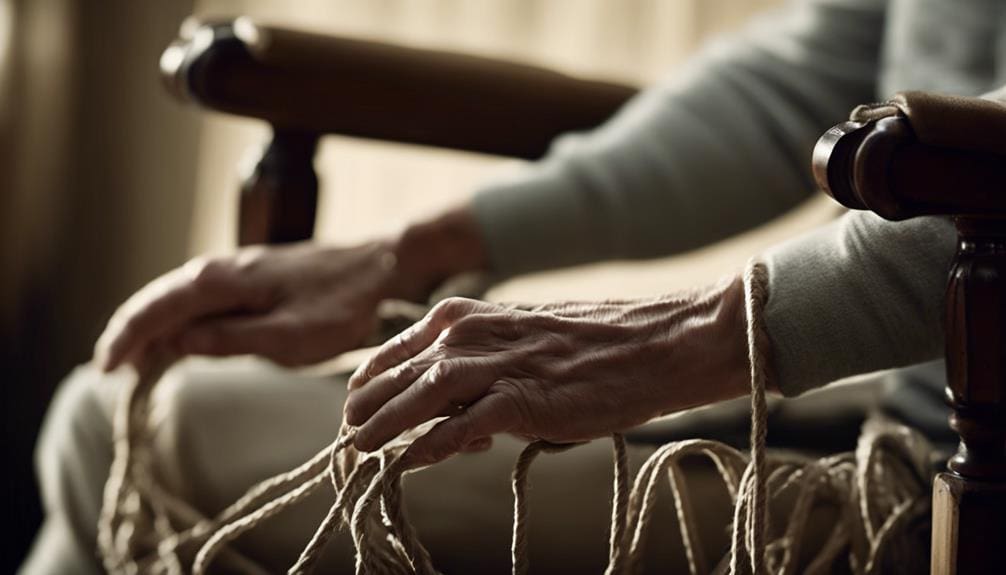
To set the stage for a successful weaving project, the first step is properly preparing your weaving frame by securing the Danish cord using L-shaped nails for stability and support. Ensuring the frame’s stability is crucial to maintaining tension and creating a sturdy base for your weaving.
I recommend spacing the L-shaped nails evenly along the frame to provide consistent support during weaving. Using a hammer and clamp can also help secure the frame, preventing any unwanted movement that could disrupt your weaving flow. For effective cord manipulation and trimming, it’s essential to have pliers and snips within reach.
These tools will assist you in handling the Danish cord precisely, allowing you to manipulate it seamlessly throughout your weaving project. By anchoring the Danish cord properly to the frame before starting, you’ll establish a solid foundation for your weaving journey, ensuring a smooth and enjoyable experience.
| Tools Needed | Purpose |
|---|---|
| L-shaped nails | Secure Danish cord |
| Hammer | Frame stability |
| Clamp | Stability during weaving |
| Pliers & snips | Cord manipulation & trimming |
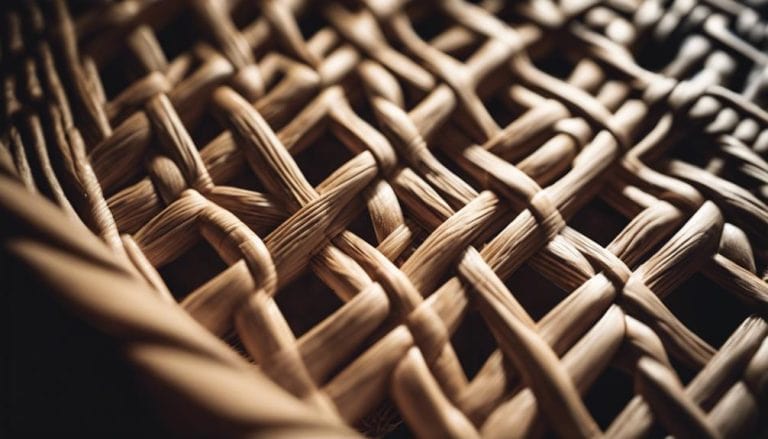
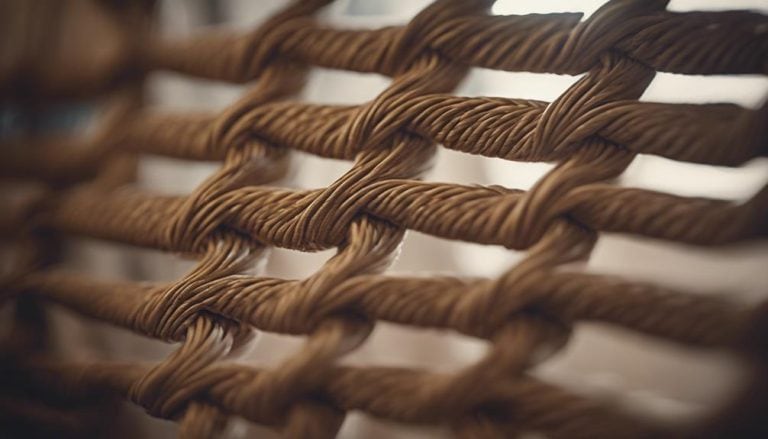
Understanding Basic Weaving Patterns
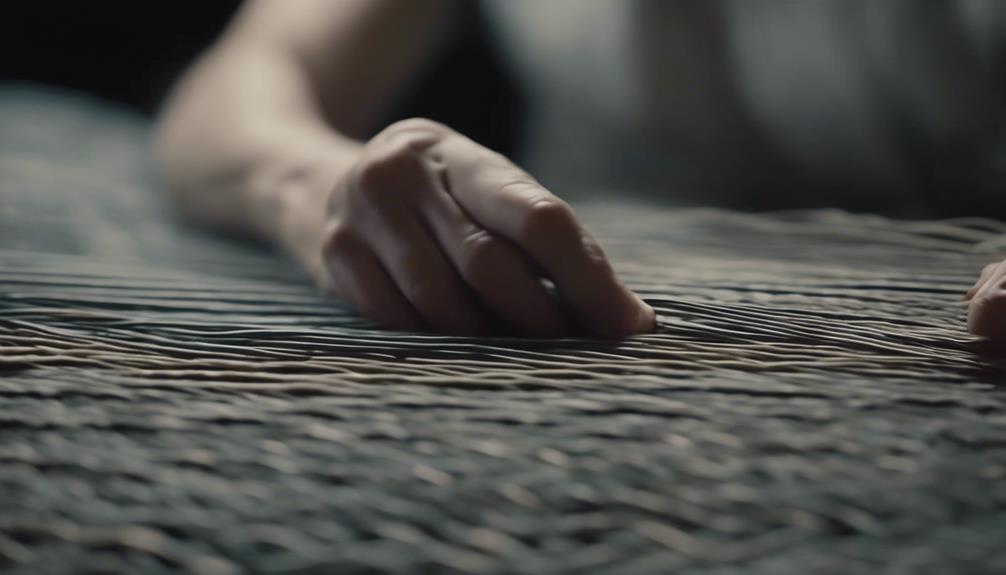
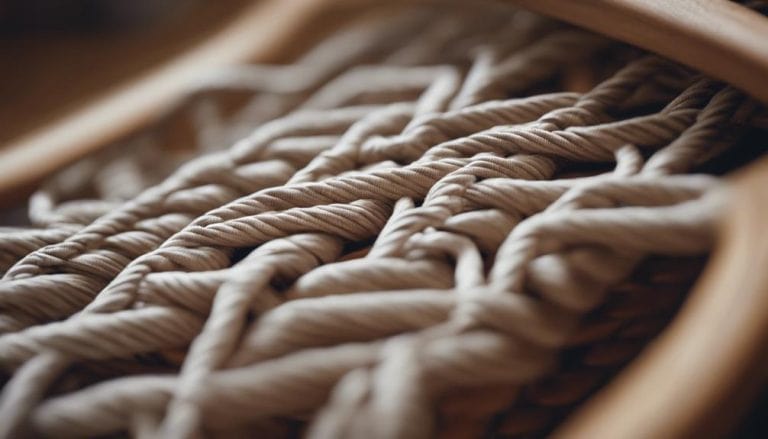
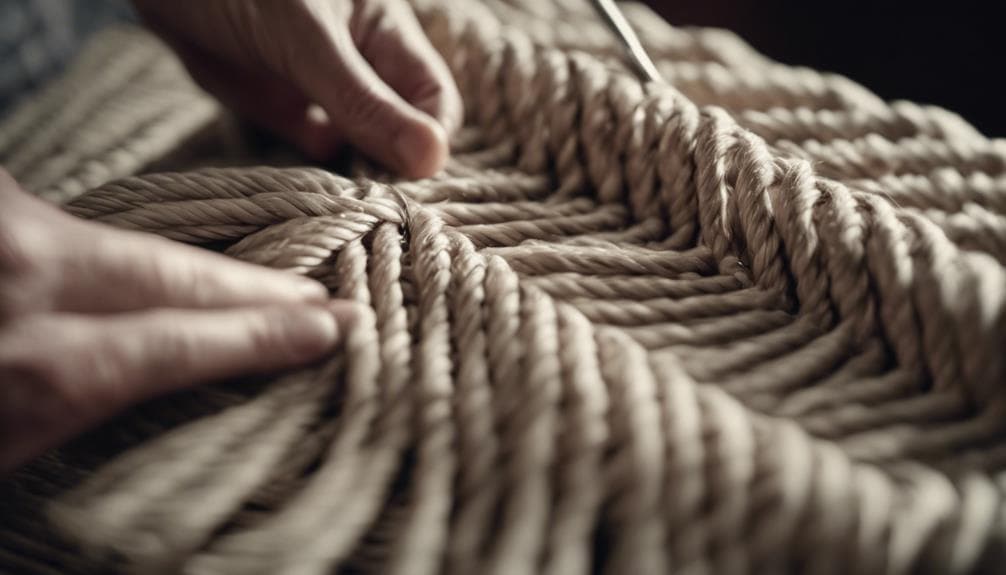
Delving into Danish cord weaving reveals a rich tapestry of basic patterns that form the foundation for creating sturdy and visually appealing designs. The zigzag pattern commonly used in Danish cord weaving adds strength to the structure and enhances its aesthetic appeal.
By interlacing the cord over and under the warp pairs, a tight and consistent weave is achieved, ensuring durability and beauty in the final product. With its graceful curves, the serpentine pattern distributes tension evenly and introduces a decorative element to the weave. Maintaining the correct tension throughout the weaving process is crucial for a professional and long-lasting finish.
Attention to detail in following specific weaving techniques ensures the project’s success. As you progress in your Danish cord weaving journey, you may explore advanced weaving variations to add complexity and uniqueness to your designs. Troubleshooting common mistakes becomes easier with experience, allowing you to refine your skills and create masterpieces confidently.
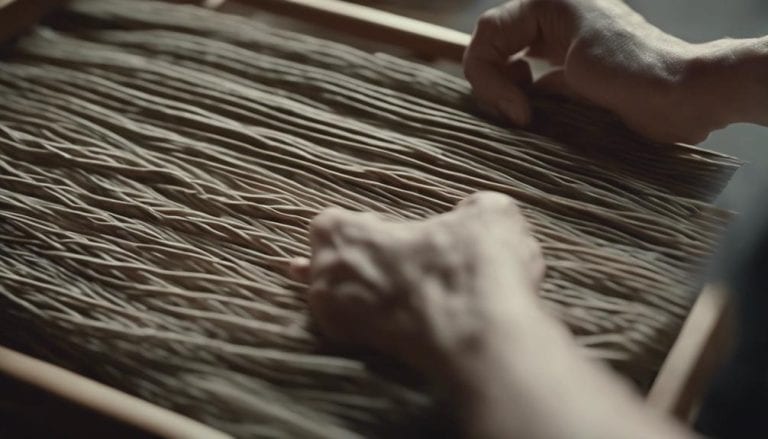
Techniques for Tension and Tightness
Maintaining a taut tension throughout the weaving process is essential for achieving a firm and secure weave structure that will stand the test of time. Weave tightly, but be cautious not to over-tighten, as this can lead to material distortion.
I recommend using pliers or hook tools to adjust tension and tightness as needed. Checking for consistent crossover strands is vital to ensure a neat and uniform appearance in your weaving. To secure the final strand, wedge it with a screwdriver for a polished finish.
| Adjusting Tension | Preventing Distortion |
|---|---|
| Use pliers or hook tools for adjustments | Weave tightly but avoid over-tightening |
| Check for consistent crossover of strands | Secure final strand with a screwdriver |
Finishing Touches and Maintenance
Engaging in a Danish cord weave’s final touches and maintenance elevates the craftsmanship to enduring beauty and functionality. As I delve into chair restoration, I ensure each step is executed precisely and carefully.
Using a screwdriver to adjust the cord spacing, I secure a neat finish that looks professional and enhances the weave’s overall durability. Trimming the cord end meticulously is crucial for a polished appearance that exudes quality and attention to detail. Re-seating and hammering nails back into place provide continuous support to the weaving structure, ensuring longevity and strength in the final product.
Throughout the restoration process, I pay close attention to weaving tips, ensuring even spacing and tightness across the chair. This meticulous approach guarantees a flawless result that not only pleases the eye but also withstands the test of time. By incorporating these techniques, each Danish cord weave becomes a masterpiece of form and function, ready to be cherished for years.
Frequently Asked Questions
What Is the Nail Spacing for Danish Cord Weaving?
Nail spacing for Danish cord weaving is crucial for tension and pattern. I place nails 1 inch apart, ensuring even L-shaped nails for consistent tension. This meticulous spacing secures the cord, maintaining the weave’s integrity and producing a polished finish.
Which Is Better Laced or Unlaced Danish Cord?
Choosing between laced and unlaced Danish cord is about the weaving techniques I want to employ. The laced cord is straightforward and great for beginners. Unlaced offers more control for intricate designs, catering to experienced weavers like myself.
How Much Danish Cord Do I Need?
Calculating materials for my weaving project is like measuring ingredients for a perfect recipe. I typically use around 42 feet of Danish cord for a chair seat. Following the recommended techniques ensures a sturdy and beautiful weave.
Is Danish Cord Comfortable?
The Danish cord is incredibly comfortable! Its natural flexibility and durability make it a top choice for seating. Its comfort level is unmatched, molding your body for a supportive and cozy experience.
Conclusion
As I finish weaving with Danish cord, I can’t help but marvel at the intricate patterns and textures that have emerged. The process may have been challenging, but the end result is truly worth it. The satisfaction of creating something beautiful with my own hands is a feeling like no other. I’m filled with pride and accomplishment, knowing that this piece will bring joy and comfort to whoever uses it.