Danish Cord Weaving for Beginners
Embarking on learning Danish cord weaving is like navigating a complex yet rewarding labyrinth of creativity. The intertwining of fibers to create functional art requires patience and precision. As a beginner, the initial steps may seem daunting, but with guidance on techniques and tools, a world of possibilities unfolds.
Understanding the intricacies of Danish cord weaving can lead to a fulfilling skill set that opens doors to endless crafting opportunities.
Discover the basics of weaving intricate Danish cord patterns with clear instructions designed for newcomers.
Key Takeaways
- Start with four strings for a strong base.
- Use a lazy susan to prevent tangling.
- Weave consistently for a professional look.
- Secure the cord with L nails and tack nails.
Materials Needed
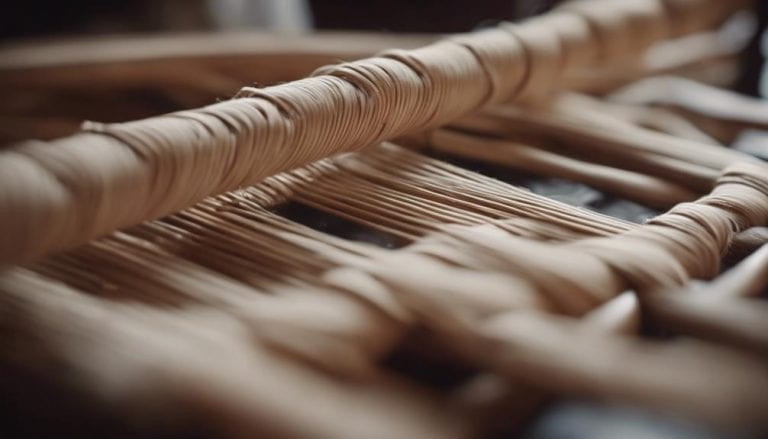
To embark on your Danish cord weaving journey, gather the essential materials: Danish paper cord, L nails, tack nails, a hammer, and a lazy susan. The weaving tools are vital for creating beautiful and sturdy woven pieces. When it comes to cord types, Danish paper cord is a standout choice.
Crafted from tightly twisted paper, this cord offers both durability and a smooth surface for weaving. The L nails are crucial in anchoring the paper cord firmly to the bench frame, ensuring a secure base for your weaving project.
Tack nails, however, are the finishing touch needed to secure the paper cord, providing that extra reinforcement to keep your design intact. And let’s not forget the hammer, a versatile tool essential for adjusting the alignment of the cord and securing it with nails. You’re all set to dive into Danish cord weaving with these materials.
Understanding Danish Cord

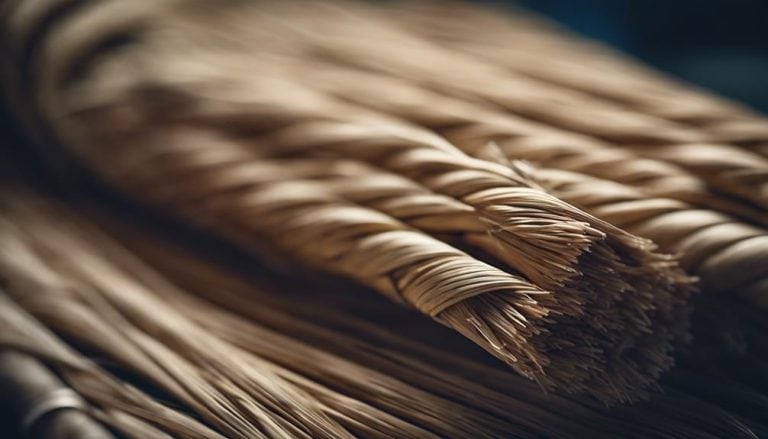
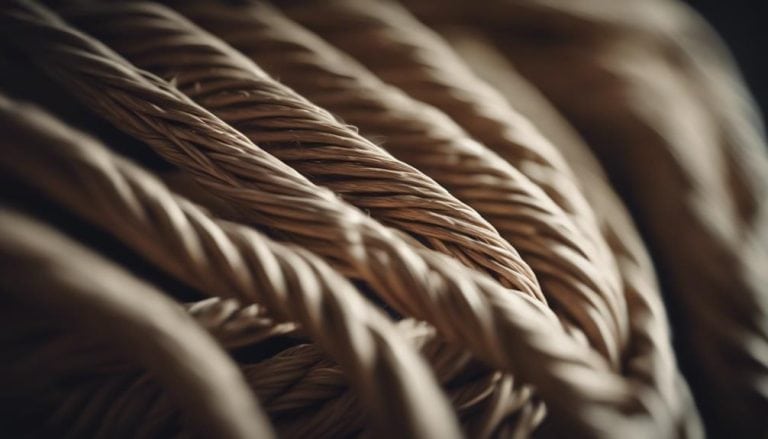
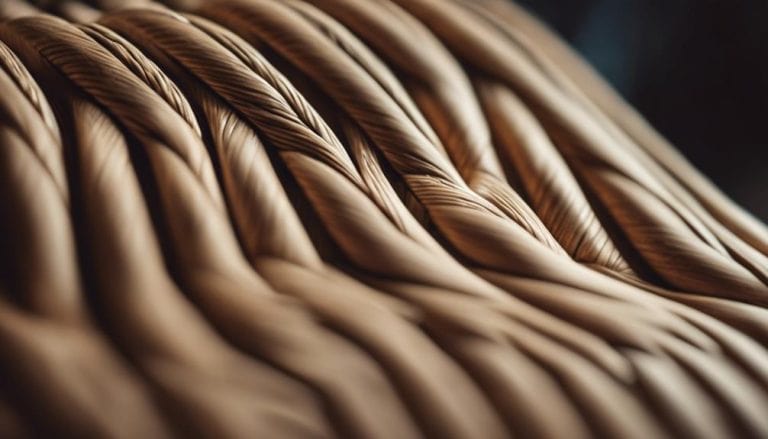
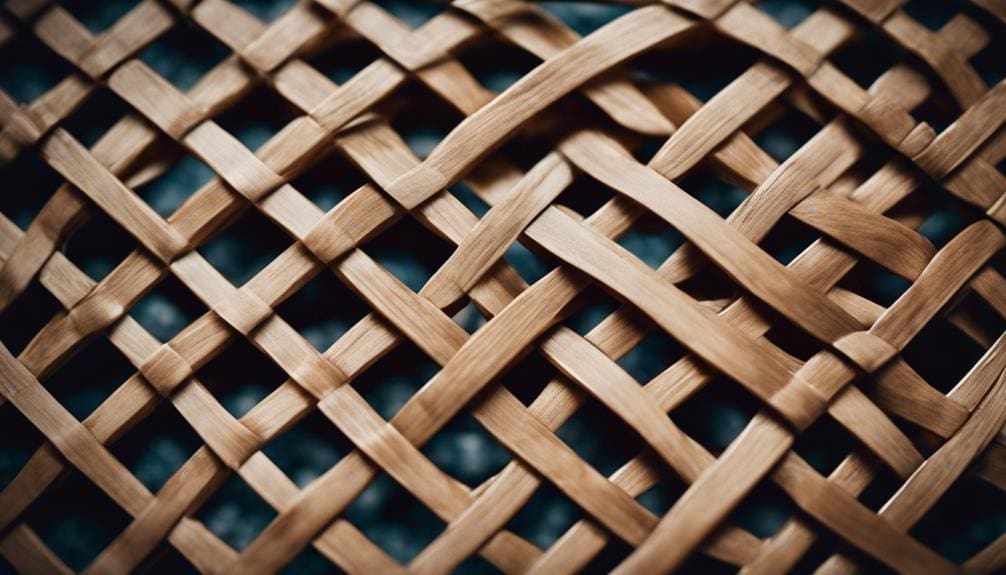
Danish cord is a hallmark of traditional furniture-making craftsmanship with its intricate weave and unparalleled durability. Danish cord, crafted from twisted paper strands, comes in various thicknesses, with 3mm being the most common choice for its blend of strength and flexibility. The cord’s strength makes it ideal for weaving seat and backrest surfaces in traditional Danish furniture like chairs and benches.
When working with Danish cord, it’s essential to understand the different cord variations available to suit various furniture styles and weaving patterns. The weaving patterns, often done using L nails on a frame, create a tight and comfortable seating surface. Mastering these patterns is crucial for achieving Danish cord furniture pieces’ authentic look and longevity.
As you delve into Danish cord weaving, experimenting with different cord variations and mastering weaving patterns will be key to creating beautifully crafted and enduring furniture pieces that showcase the artistry and durability of this traditional material.
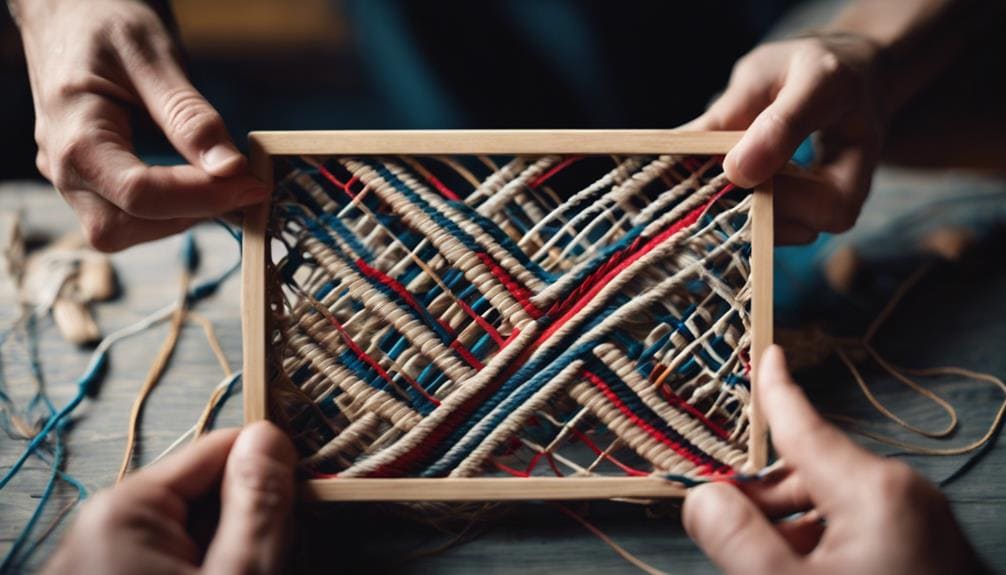
Basic Weaving Techniques
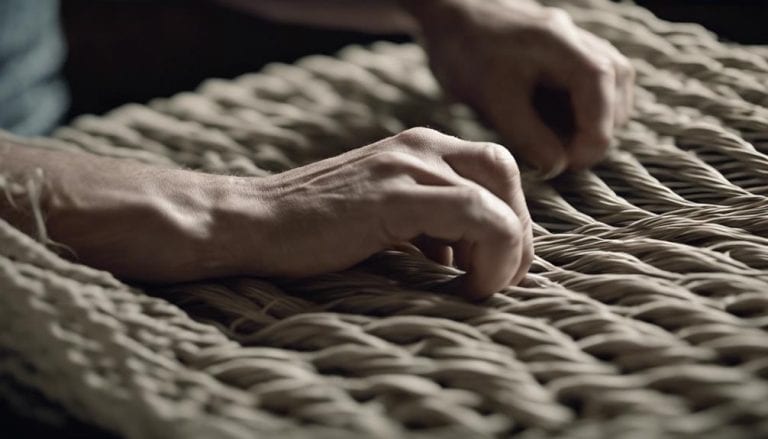
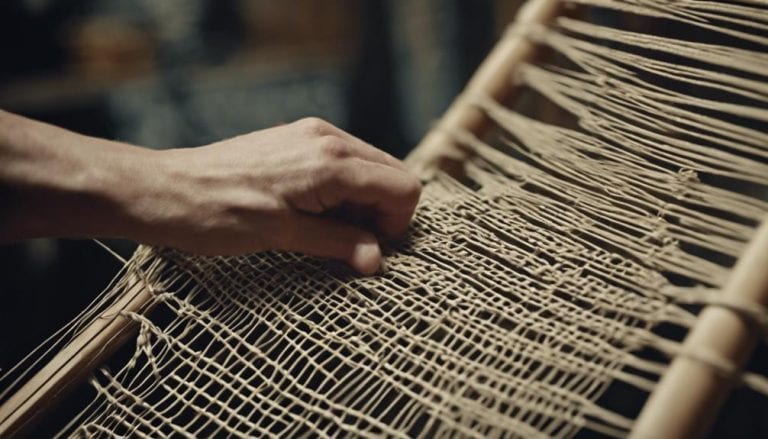
As I tackle the art of Danish cord weaving, mastering basic weaving techniques is essential for creating sturdy and visually appealing furniture pieces. When starting, remember to hook the paper cord from inside out on the back side and outside in on the front side. After completing four strings, progress through the weave by moving to the next L nail.
Consistency is key – maintain tightness and pattern to achieve a uniform look in your weaving. Weaving the seat of a Danish paper cord bench typically takes between 2 to 4 hours to complete, so patience and attention to detail are crucial. To secure the paper cord, nail down L nails at the end of the weave for a finished and secure result.
When exploring weaving patterns and advanced techniques, paying attention to detail is important to create intricate designs. Troubleshooting common mistakes, such as uneven tension or missed loops, will help you perfect your weaving skills and achieve professional-looking results. By understanding these basic weaving techniques, you’ll be on your way to creating beautiful Danish cord furniture pieces.
Tips for Beginners

Exploring Danish cord weaving as a beginner presents an exciting opportunity to delve into the intricate art of creating sturdy and visually appealing furniture pieces. As you embark on this weaving journey, there are essential tips to keep in mind to enhance your weaving experience and ensure a successful outcome.
Here are some valuable insights to guide you through the process:
| Tips for Beginners |
|---|
| Start with four strings for a strong base. |
| Use a lazy susan to prevent cord tangling. |
| Maintain a secure but not overly tight weave. |
| Weave consistently for a professional look. |
| Secure cord with L nails and tack nails. |
When starting out, it’s common to make mistakes such as uneven tension or inconsistent weaving patterns. By paying attention to these details and troubleshooting, you can refine your skills and progress to more advanced patterns and designs. Remember, practice and patience are key to mastering the art of Danish cord weaving.
Project Ideas
Embarking on Danish cord-weaving projects opens up a world of creative possibilities, allowing beginners to craft various functional and aesthetically pleasing furniture pieces. For a charming chair makeover, consider reweaving the seat with a Danish cord to breathe new life into an old piece. Experimenting with creative patterns like chevron or herringbone can elevate the chair’s look and add a personalized touch.
Moreover, Danish cord weaving extends beyond mere functionality; it can be a form of functional decor. Weaving a set of coasters or trivets using this technique serves a practical purpose and introduces unique designs to your living space. These smaller projects are ideal for honing your weaving skills before tackling larger pieces like chairs or benches.
Frequently Asked Questions
How Do You Weave a Danish Cord?
Weave a Danish cord by hooking from inside out and outside in, progressing every four strings. Finish with four strands on top, securing with nails. Weave sides tightly, maintain alignment, adjust, tighten, and secure with nails.
How Far Apart Do You Space Danish Cord?
I space Danish cord approximately 1 inch apart for optimal tension and durability. Careful spacing ensures a smooth weave pattern without gaps. The distance impacts strength and stability, crucial for a professional finish.
Which Is Better Laced or Unlaced Danish Cord?
I prefer laced Danish cord for its intricate patterns, but unlaced cord offers a sleek, modern look. Beginners might find unlaced easier due to simplicity, while laced demands precision. Both have pros and cons depending on style and skill level.
How Much Danish Cord Do I Need?
I calculate the requirements based on the bench’s size to determine how much cord I need. Having an extra cord is smart for errors. Exploring alternative materials or buying in bulk can save money.
Conclusion
As I put the finishing touches on my Danish cord bench, the intricate patterns and tight weaving create a mesmerizing design. The paper cord gleams in the sunlight, showcasing the hours of careful craftsmanship. With each weave, a story unfolds, weaving together tradition and creativity. The final piece is not just a bench but a work of art that holds memories of patience, skill, and dedication. Creating beauty from simplicity, Danish cord weaving is truly a journey worth taking.