Beginner's Guide to Danish Cord Crafting
As I stumbled upon the intricacies of Danish cord crafting, I was captivated by the precision and artistry required to create stunning woven seats. From the initial selection of materials to the final finishing touches, each step in this traditional craft seemed to hold a world of possibilities for transforming simple chairs into pieces of functional art.
The allure of learning how to master the weaving patterns and troubleshoot common issues drew me in, promising a journey of discovery and creativity that I couldn’t resist exploring further.
A beginner’s guide to Danish cord crafting involves learning basic knots and braids, choosing the right materials, and practicing techniques to create beautiful, functional items.
Key Takeaways
- Danish cord crafting blends durability and beauty for unique chair seats.
- Master basic techniques like cow-hitch knots and L-shaped nails for success.
- Explore weaving patterns like basket weave and diagonal designs for customization.
- Finish with precision using wax coatings and neat trimming for polished results.
Selecting the Right Materials
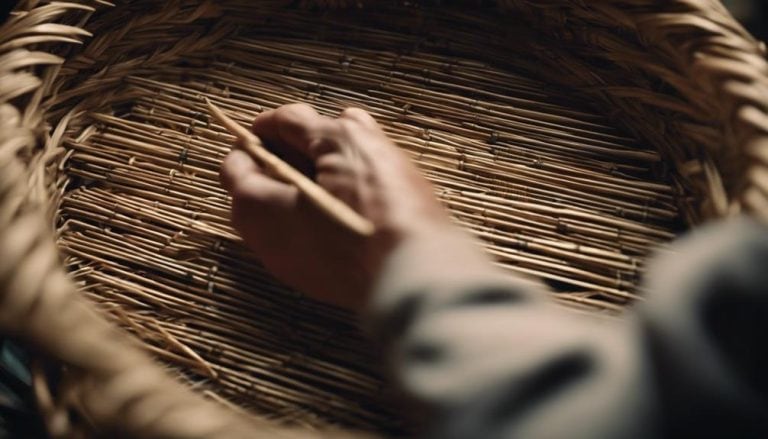
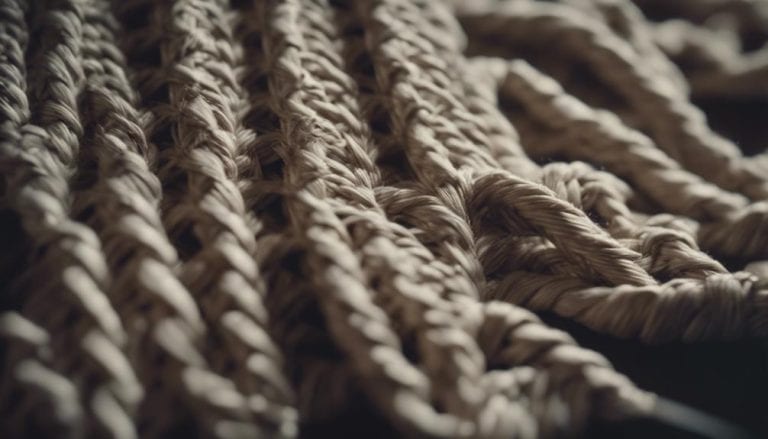
Choosing the right materials is crucial for a successful and enjoyable weaving experience when embarking on a Danish cord crafting journey. Of course, the backbone of any Danish cord project is the cord itself. This cord, typically made from long flat paper strips twisted into a three-ply rope, is specifically designed for weaving chair seats. Danish cords come in two main types: laced and unlaced, approximately 1/8 inch in diameter.
Quality Danish cord is a must for a sturdy and enduring chair seat. Its reputation for durability and strength precedes it, making it the preferred choice for weaving projects. Chairs usually require around 2 pounds of Danish cord, conveniently sold by weight to ensure you have enough for your project.
Choosing the right cord isn’t just about aesthetics; it’s about creating a chair that will stand the test of time. Invest in high-quality Danish cord to ensure your weaving endeavors result in a piece that exudes beauty and resilience.
Understanding Basic Techniques
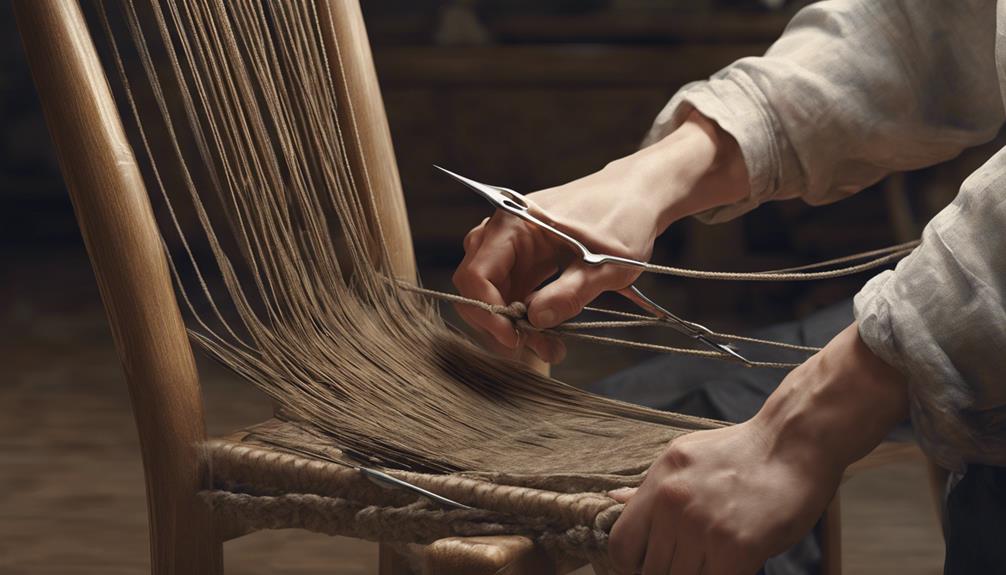
Mastering the fundamental techniques of Danish cord weaving is essential for creating sturdy and visually appealing chair seats that stand the test of time. Danish cord seats are typically fastened with L-shaped nails, ensuring a secure attachment that withstands daily use.
Utilizing the cow-hitch knot is crucial to locking down the warp and eliminating unsightly gaps in the final product. Marking the front and back rails with centerlines before weaving aids in accurately laying out the pattern, resulting in a professional finish.
Incorporating double rails in Danish cord seats adds strength and allows the cord to reverse direction seamlessly without the need for extra nails, enhancing the seat’s overall durability. Danish cord, crafted from three paper plies and available in laced or unlaced varieties, offers versatility in weaving patterns, enabling you to create unique and intricate designs for your chair seats.
Building a Solid Foundation
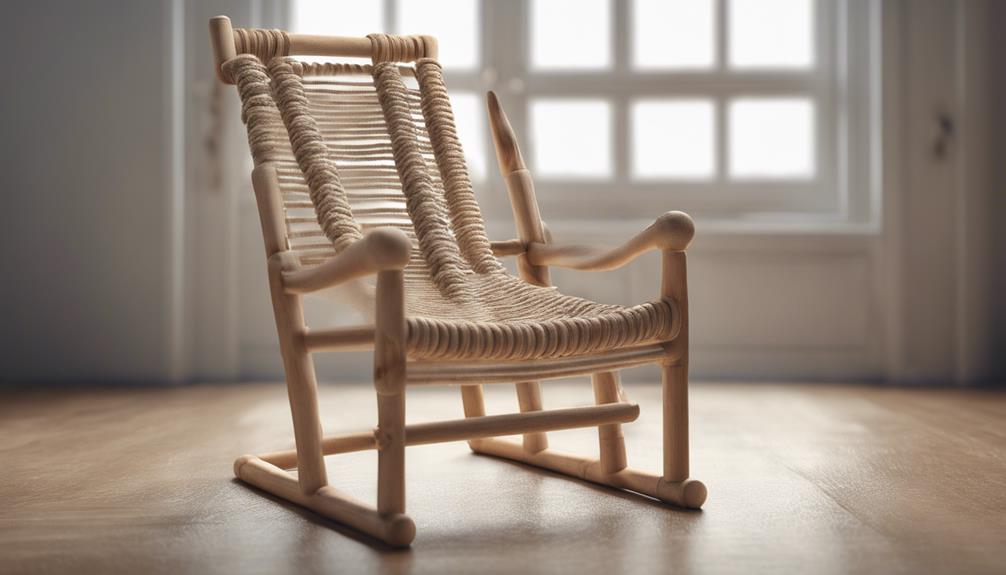
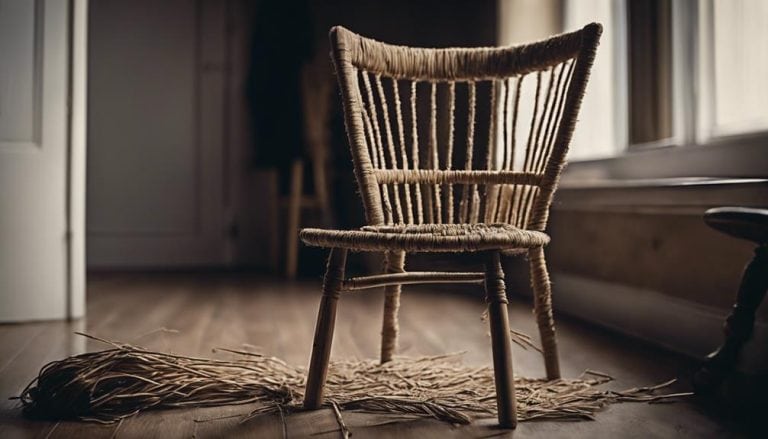
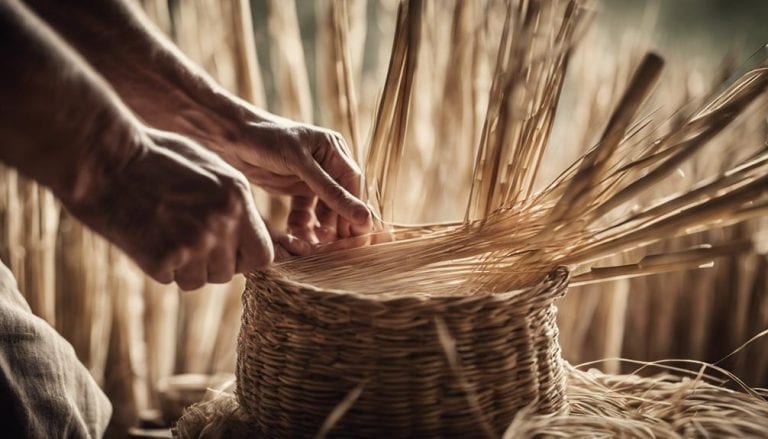
To establish a strong foundation in Danish cord crafting, it’s crucial first to understand the basic principles of weaving and fastening techniques. Weaving Danish cord involves intricately intertwining long, flat paper strips twisted into durable ropes to create chair seats and backrests. This crafting method, originating from mid-century Danish furniture design, offers a sturdy and long-lasting alternative to traditional upholstery.
For beginners embarking on their Danish cord crafting journey, starting with simple projects like constructing a bench with a Danish cord seat can provide a solid introduction to the foundational weaving techniques required. Mastering techniques such as cow-hitch knots and utilizing L-shaped nails for fastening will set the stage for more intricate projects.
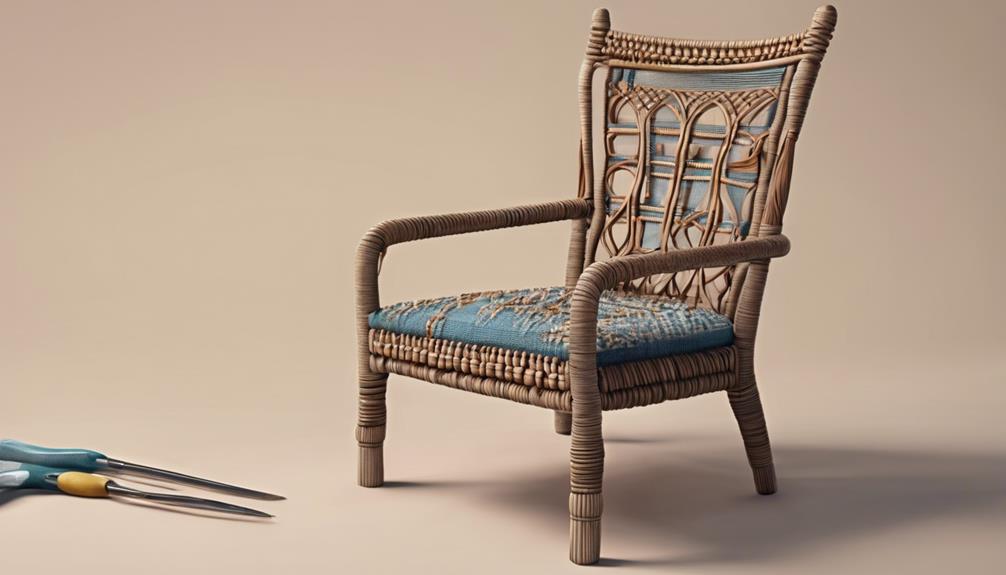
Exploring Different Weaving Patterns
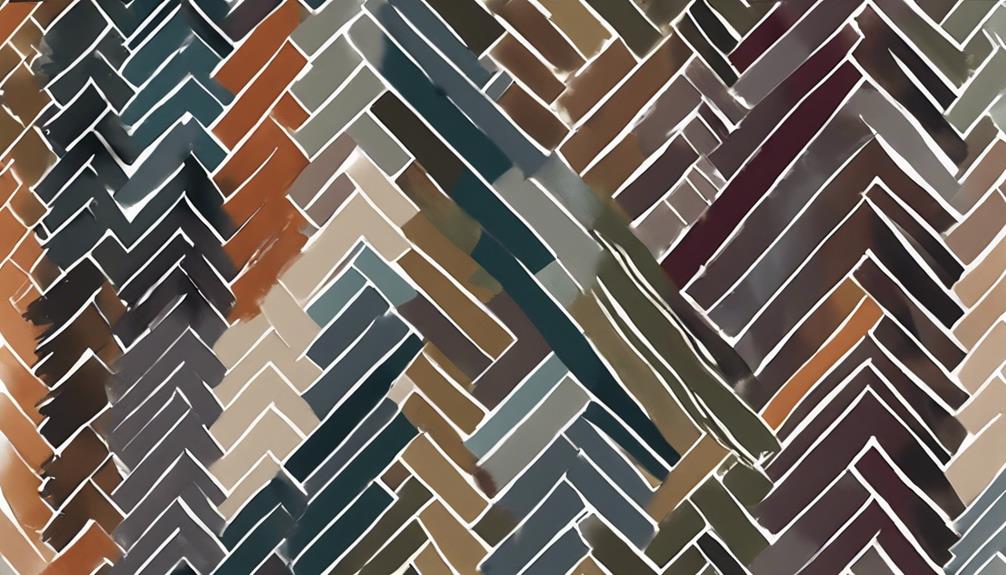
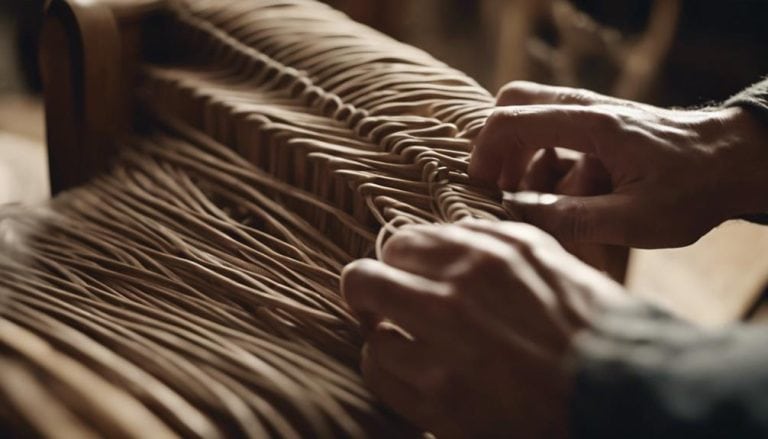
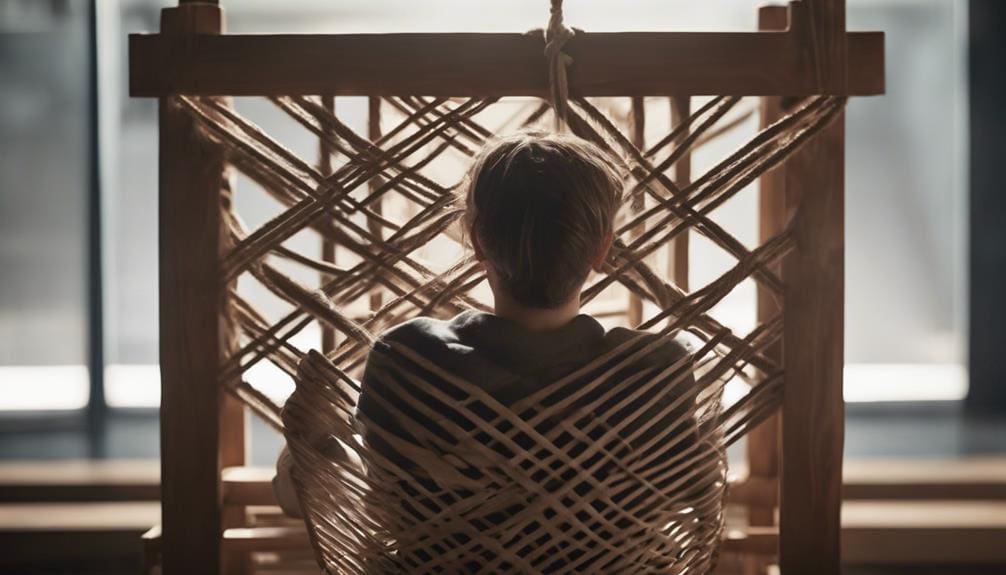
Exploring different weaving patterns in Danish cord crafting opens up creative possibilities and intricate designs. Danish cord offers diverse patterns, including the classic basket weave, dynamic diagonal patterns, and eye-catching checkerboard designs. By employing weaving techniques like twining, plaiting, and braiding, crafters can craft unique and detailed patterns that enhance the visual appeal of their projects.
Customization is key in Danish cord crafting, and by adjusting factors like spacing, tension, and the direction of the cords, weavers can create personalized pieces that reflect their artistic vision. Templates and guides are invaluable tools when delving into complex weaving patterns, ensuring consistency and accuracy throughout the project.
These templates provide a blueprint for weavers to follow, enabling them to achieve precise and intricate designs easily. Experimenting with different weaving patterns adds a personal touch to Danish cord projects and allows for expressing creativity and individual style.
Adding Finishing Touches
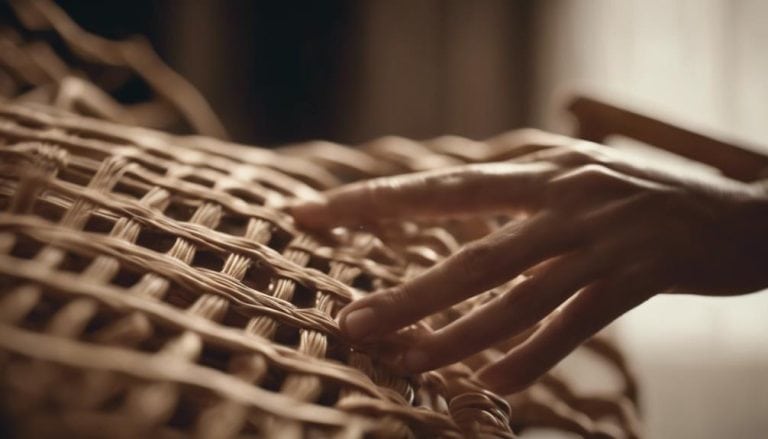
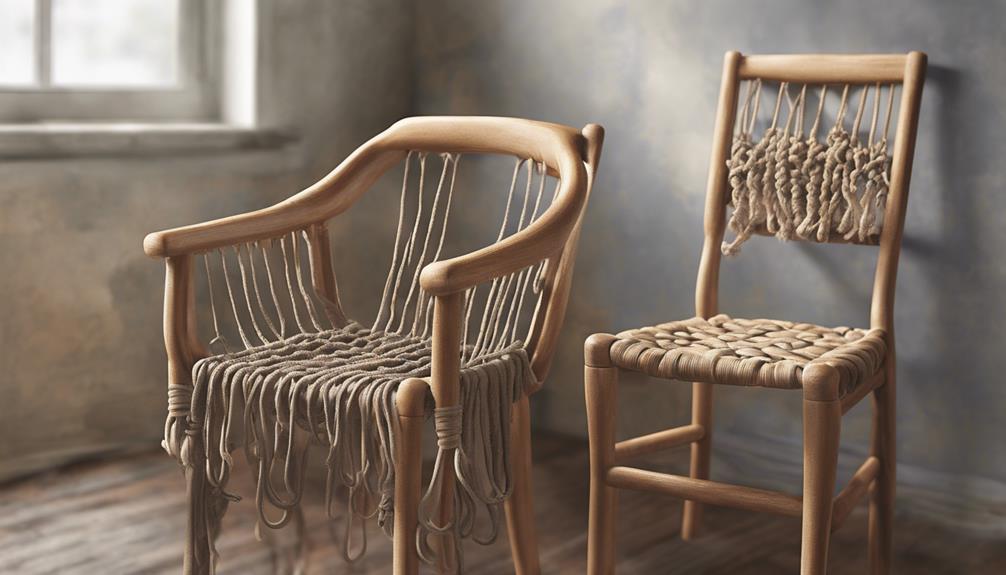
How can we elevate Danish cord seats’ visual appeal and durability through meticulous finishing touches? Applying a protective wax coating to the Danish cord enhances its durability and provides resistance against stains, ensuring longevity. Moreover, adding a soap finish to the Danish cord can significantly improve its appearance, giving it a smooth and polished feel that exudes quality craftsmanship.
Trimming excess cord length precisely is crucial in achieving a neat and refined look for your Danish cord seat. This attention to detail showcases your dedication to excellence in every aspect of your crafting process. Additionally, securing the loose ends of the cord using appropriate tacks or nails is essential for both a professional finish and long-lasting durability.
Troubleshooting Common Issues
When troubleshooting common issues in Danish cord weaving, one may encounter challenges such as uneven tension affecting the pattern consistency. Maintaining consistent tension throughout the weaving process is crucial to achieving a uniform and aesthetically pleasing result. To address this, I recommend paying close attention to how tightly you pull each cord and adjusting as needed to ensure an even weave.
Another common issue to watch out for is securing cords properly. Using tacks or nails to hold the Danish cord in place is essential for the structural integrity of the final piece. Secure the cords firmly but not too tightly, as this can lead to unnecessary strain on the weaving.
Showcasing Your Finished Projects
To truly showcase the intricate beauty of your finished Danish cord projects, consider capturing them in well-lit settings that accentuate the weaving details.
Here are four powerful ways to exhibit your creations and attract a wider audience:
- Social Media Presence: Utilize platforms like Instagram or Pinterest to share stunning images of your Danish cord creations. Engage with followers and use relevant hashtags to reach a broader audience.
- Local Events: Display your Danish cord crafts at craft fairs or furniture exhibitions to showcase your skills and attract potential buyers or admirers. Interact with visitors to share the story behind each piece.
- Online Portfolio: Create a professional gallery or portfolio to exhibit your Danish cord work. Highlight different weaving techniques and unique designs to demonstrate your craftsmanship to potential clients and collaborators.
- Professional Collaborations: Partner with interior designers or furniture stores to showcase and sell your Danish cord pieces in professional settings. Collaborations can help you reach a more upscale market and gain credibility in the industry.
Frequently Asked Questions
How Far Apart Do You Space Danish Cord?
I space Danish cord approximately 7⁄8 to 1 inch apart for optimal weaving results. Ensuring consistent spacing with centerlines on the front and back rails is key. This meticulous attention to detail guarantees a dense and durable seat.
Which Is Better Laced or Unlaced Danish Cord?
Laced Danish cord offers intricate twists for a traditional touch, while unlaced cord provides a sleek modern look. The pros of laced are that it is an intricate style, and the cons are that it requires more skill. Unlaced is beginner-friendly. Choose based on aesthetics and weaving comfort.
How Do You Make a Danish Paper Cord?
To make a Danish paper cord, I source long paper strips, twist them into a three-ply rope, and apply a protective wax layer. Crafting techniques involve intricate weaving to create unique patterns for furniture, offering endless decorative possibilities.
How Much Danish Cord Do I Need?
Calculating requirements for Danish cord is crucial. Choose cord color options wisely. Mastering tension techniques ensures a flawless finish. I always recommend buying a bit extra for mishaps or adjustments during weaving.
Conclusion
As I finish my Danish cord crafting projects, I can’t help but feel like a weaver of stories, each thread representing a unique journey and a labor of love. The intricate patterns and sturdy foundation symbolize the strength and resilience needed in crafting and life. So, pick up your cord and let your creativity weave a tale of beauty and craftsmanship that will stand the test of time. Happy crafting!