Preparing Rush Reeds for Basket Weaving
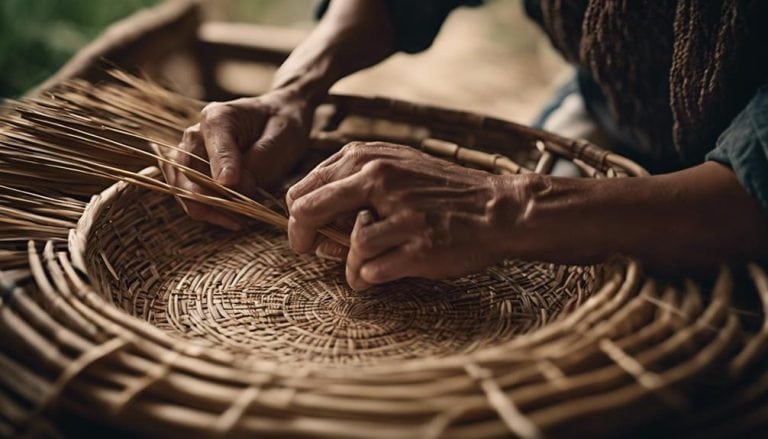
As I carefully gathered a bundle of freshly cut rush reeds, I couldn’t help but think of the intricate process ahead. Each step – from drying to soaking and weaving – is like a dance, requiring coordination and finesse. The transformation from stiff reed to pliable weaving material is remarkable and the key to creating sturdy, beautiful baskets. But there’s one crucial step I haven’t mentioned yet that will make or break the entire process.
Preparing rush reeds for basket weaving involves soaking and drying them to make them pliable, which is essential for crafting sturdy and beautiful baskets. This process ensures the rush reeds are flexible and ready to be woven into intricate patterns for your basketry projects.
Key Takeaways
- Optimal harvesting time in late summer or early fall ensures flexible and strong rush reeds.
- Sorting and cleaning by length and thickness maintain quality for durable basket weaving.
- Soaking in warm water relaxes fibers, which is crucial for flexibility in weaving projects.
- Proper storage in a cool, dry place preserves rush reeds for extended usability.
Harvesting Rush Reeds
When preparing rush reeds for basket weaving, the first crucial step is harvesting them in late summer or early fall when sap flow is low. This timing ensures the reeds are at optimal growth stages for flexibility and strength. Harvesting close to the ground with sharp shears helps promote new growth for the following season.
Selecting straight, sturdy reeds free from damage or disease is essential for quality weaving materials. Sustainability practices play a key role in reeds preservation techniques, as proper harvesting techniques contribute to the reeds’ ability to regrow and maintain a healthy population.
By bundling harvested reeds together and storing them in a dry, well-ventilated area to cure, we can ensure their durability for weaving. Monitoring the curing process is crucial to prevent mold and ensure even drying. Understanding the environmental impact of our harvesting practices and the reeds’ growth cycle is fundamental to maintaining a sustainable weaving tradition.
Sorting and Cleaning Reeds

To efficiently prepare rush reeds for basket weaving, the initial step involves sorting and cleaning the reeds meticulously to ensure optimal quality and uniformity in the weaving process. Quality control for reeds is crucial to producing high-quality baskets.
When sorting the reeds, it is essential to categorize them based on length and thickness to facilitate a smoother weaving process and achieve a uniform appearance in the final product. Additionally, removing any damaged or discolored sections from the reeds is vital for maintaining the overall quality of the basket.
The table below outlines the steps involved in sorting and cleaning rush reeds for basket weaving:
| Step | Description |
|---|---|
| Sort by length and thickness | Categorize reeds based on their dimensions to ensure uniformity in weaving. |
| Remove damaged sections | Eliminate any discolored or damaged parts from the reeds to uphold quality standards. |
| Clean reeds | Gently brush off dirt, dust, and debris using a soft brush or cloth to prepare them for weaving. |
Implementing proper reed preservation techniques during sorting and cleaning is essential for maintaining the quality and durability of the reeds for successful basket weaving.
Soaking Reeds in Water

How does soaking rush reeds in warm water improve their pliability for weaving? Soaking rush reeds in warm water at 90-110 degrees Fahrenheit for 5-10 minutes is crucial in preparing them for basket weaving. The warm water helps to relax the fibers of the reeds, making them more flexible and easier to manipulate without becoming overly saturated and losing their structure.
This process allows the rush reeds to bend and shape smoothly during weaving, resulting in a stronger and more cohesive finished product. It is important to soak only one or two rush reeds at a time to prevent them from drying out before use. After soaking, patting dry the rush reeds with paper towels helps to maintain the ideal moisture level for weaving. Ensuring the proper flexibility of the rush reeds through soaking is essential for successful and efficient basket weaving, providing a smooth and seamless weaving experience.
Splitting and Flattening Reeds
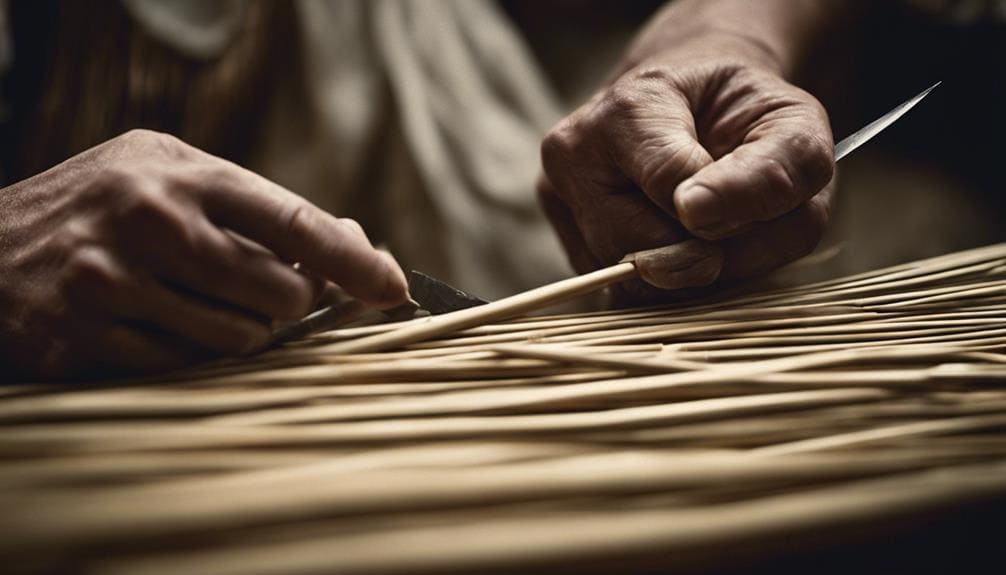
Splitting rush reeds involves carefully cutting them lengthwise into thinner strips to prepare them for basket-weaving projects. Rush weaving techniques require reeds to be in a suitable shape and size for weaving patterns. To flatten the reeds effectively, follow these steps:
- Hand Splitting: Traditionally, rush reeds are split by hand using a sharp knife or a rush splitter tool. This method allows for precise control over the thickness of the strips.
- Tools for Splitting: Utilize a rush splitter tool for a more uniform split, ensuring consistent widths for weaving. This tool aids in maintaining the integrity of the reed fibers.
- Pressing Between Surfaces: Flatten the split reeds gently between smooth surfaces. This process helps create a consistent width across the reed, facilitating weaving patterns.
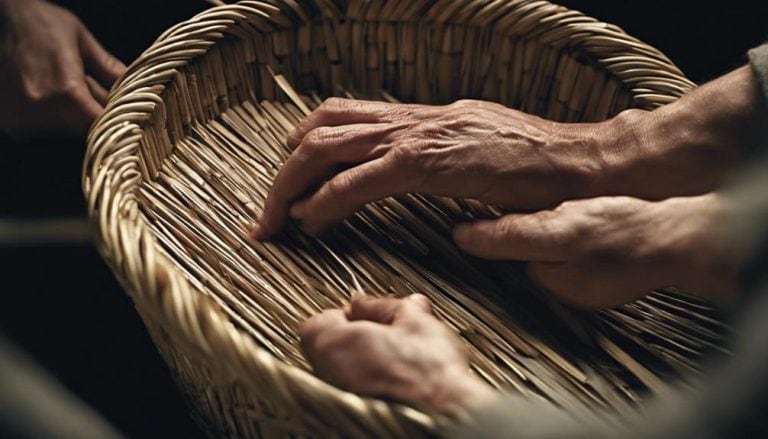
- Benefits of Flattened Reeds: Flattened reeds are easier to manipulate during weaving, enhancing the final basket’s overall structural integrity and aesthetic appeal. Properly prepared reeds are essential for successful rush weaving projects.
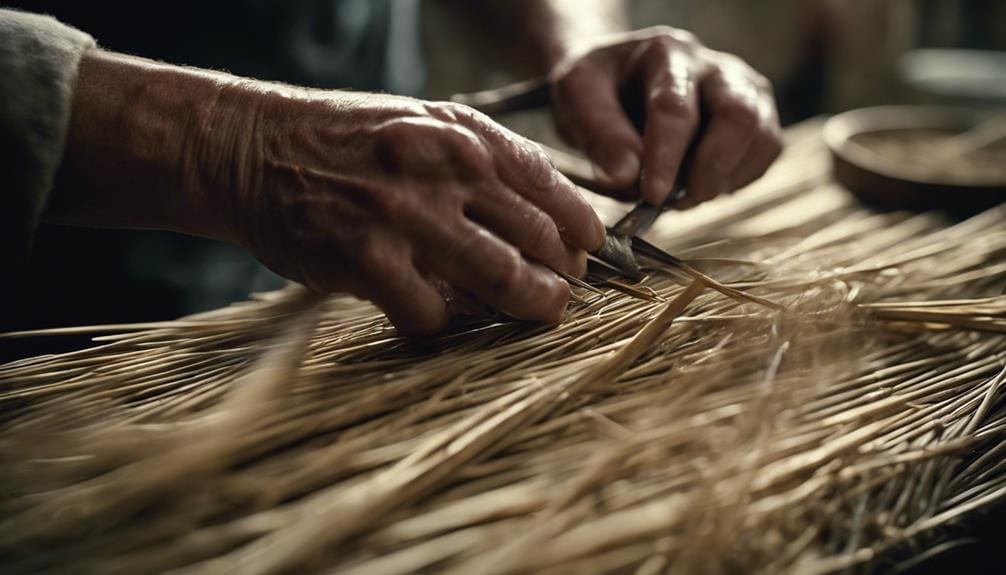
Drying the Prepared Reeds

After splitting and flattening rush reeds for basket weaving, the next crucial step is to ensure their complete dryness before further processing. To achieve this, gather 8-10 freshly cut rush reeds and tie them together at the top with twine for drying. Hang the rush reed bunches indoors in a dark, dry, well-ventilated area for 3-7 days until completely dry. To prevent discoloration, avoiding exposing the rush reeds to direct light during the drying process is essential.
Once the rush reeds are fully dried, they will become pliable and ready for soaking to make them suitable for weaving. Properly dried rush reeds are crucial for successful basket weaving projects. Ensuring the rush reeds are fully dry before cutting and soaking them is key to the quality of the final product. By following these steps diligently, you can prepare your rush reeds effectively for weaving, setting the foundation for a successful basketry project.
Storing Rush Reeds Properly

To maintain the quality and longevity of rush reeds for basket weaving, storing them in a dark, dry environment with proper ventilation is crucial. Proper organization and effective preservation techniques are essential for maintaining the integrity of rush reeds.
Here are key steps to consider:
- Dark, Dry Storage: Store rush reeds away from direct sunlight to prevent discoloration and potential damage.
- Ventilation: Ensure the storage area has adequate ventilation to prevent mold or mildew growth on the rush reeds.
- Avoid Humid Conditions: Keep rush reeds away from humid or damp environments to prevent moisture absorption, affecting their quality.
- Use Airflow Containers: Utilize storage containers with good airflow to keep the rush reeds fresh and ready for weaving projects.
Tips for Working With Rush
When working with rush reeds for basket weaving, it is crucial to soak them in warm water for 5-10 minutes to enhance their pliability. Rush weaving techniques involve working with the reeds one or two at a time to prevent them from drying out too quickly during the weaving process.
Before soaking, cutting the rush reeds to the desired length is essential, ensuring they are ready for weaving. After soaking, patting dry the rush reeds helps maintain the optimal moisture level for weaving. Proper storage is also vital to prevent damage and maintain the quality of rush reeds for creative projects.
Frequently Asked Questions
How Do You Prepare Rushes for Weaving?
To prepare rushes for weaving, I soak them in warm water to make them pliable. Then, I dry them using proper techniques to ensure they are ready for my projects. This process helps me create beautiful baskets.
How Do You Prepare Reeds for Basket Weaving?
To prepare reeds for basket weaving, I select sturdy, dried reeds. Soak them in warm water for pliability. Dry them indoors for 3-7 days. Cut to size for weaving projects. This method ensures flexibility and durability in the weaving process.
Why Do You Need to Soak the Reed Before Weaving Your Basket?
I must soak the reed before weaving my basket to enhance its flexibility and durability. This process benefits the weaving process by preventing breakage and improving elasticity. Properly soaked reed ensures a cohesive and durable basket.
How Do You Prepare Vines for Basket Weaving?
To prepare vines for basket weaving, I select strong, flexible vines, harvest them carefully, then dry and store them in a dark, well-ventilated area. Proper drying prevents mold growth and ensures the vines are pliable for weaving.
Conclusion
As I carefully weave these prepared rush reeds into a beautiful basket, I can’t help but see the parallels between the flexibility of the reeds and the adaptability we all need in life. Like these reeds, we must be willing to bend and change to create something remarkable. So, let us embrace the process of preparing rush reeds for basket weaving as a reminder to stay pliable and open to new possibilities in our own lives.