Danish Cord Weaving Patterns for Beginners
As someone learning about Danish cord weaving patterns, I’ve discovered the beauty in mastering intricate designs that elevate simple chairs into stunning art pieces—the precision required in weaving these patterns challenges and rewards beginners with a sense of accomplishment.
Understanding the foundational techniques and experimenting with various patterns opens up a new world of creativity. So, if you’re curious about how Danish cord weaving can transform your furniture, stay tuned to uncover the secrets of weaving patterns that will inspire you to start your weaving journey.
Danish cord weaving patterns are great for beginners because they are easy to learn and create beautiful, intricate designs. These patterns are made with simple materials like yarn and a loom, so you can start weaving immediately.
Key Takeaways
- Choose the appropriate cord for durability and visual appeal.
- Master basic over-under techniques for foundational weaving skills.
- Practice tension control and spacing for a polished finish.
- Experiment with colors and shapes to enhance creativity in weaving projects.
Basic Tools and Materials Needed
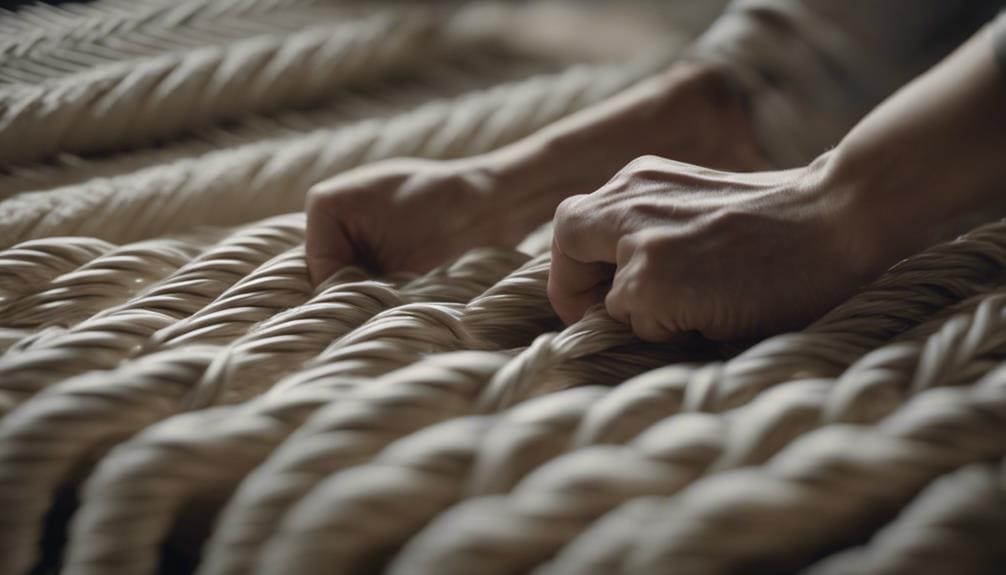
When delving into the art of Danish cord weaving patterns, the first step is to gather essential tools and materials for the intricate craft—selecting appropriate tools like Danish nails, a tack hammer, and a squeeze clamp. These tools ensure precision and ease securing the Danish cord to the chair frame.
Exploring different materials is equally important, with unlaced Danish cord being the primary material needed, often available in 2-pound spools for weaving projects. Before starting the weaving process, learning basic techniques, such as securely attaching the cord to the chair, is essential. Weaving typically begins from the front left of the chair, creating sets of four strands for the weaving pattern.
Trying advanced patterns comes later, but wrapping the front and back stretchers with the cord initially involves measuring and cutting specific lengths for each section. These foundational steps lay the groundwork for mastering Danish cord weaving with precision and skill.
Understanding Danish Cord Weaving Techniques
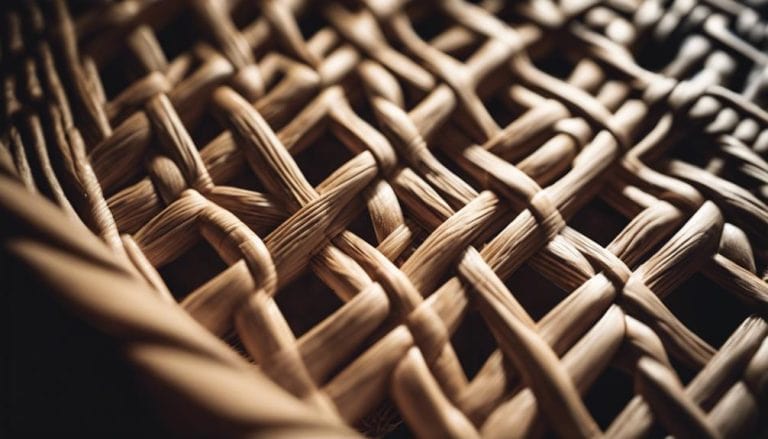
To truly master the art of Danish cord weaving, one must grasp the intricate techniques that define this traditional craft. Danish cord-weaving methods have evolved over centuries, blending historical origins with modern adaptations to create beautiful and durable chair seats.
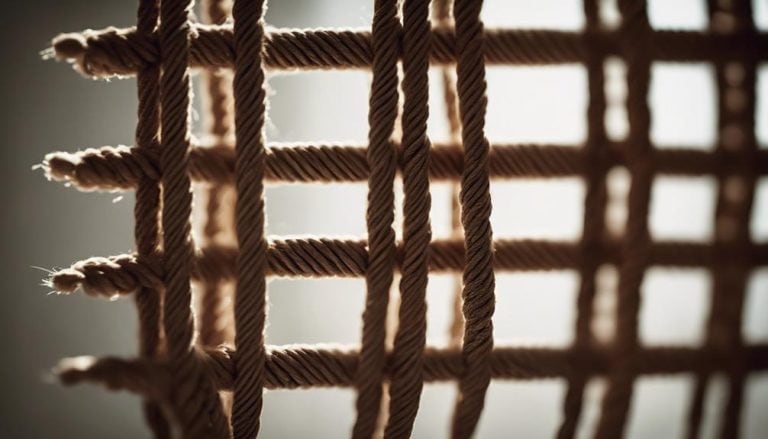
Understanding the warp and weft arrangement is crucial in creating intricate Danish cord-weaving patterns. Practice techniques are essential for beginners to progress from basic weaves to advanced patterns like the envelope and Moller weave patterns.
By learning different Danish cord-weaving techniques, individuals can enhance their chair-making skills, adding a unique and traditional touch to their designs. Below is a table highlighting key aspects of Danish cord-weaving techniques:
| Danish Cord Weaving Techniques | Description |
|---|---|
| Warp and Weft Arrangement | Crucial for intricate patterns |
| Envelope Weave Pattern | Common advanced pattern |
| Moller Weave Pattern | Traditional weaving style |
| Practice Techniques | Essential for skill advancement |
Mastering these techniques is essential for creating stunning Danish cord-woven chair seats.
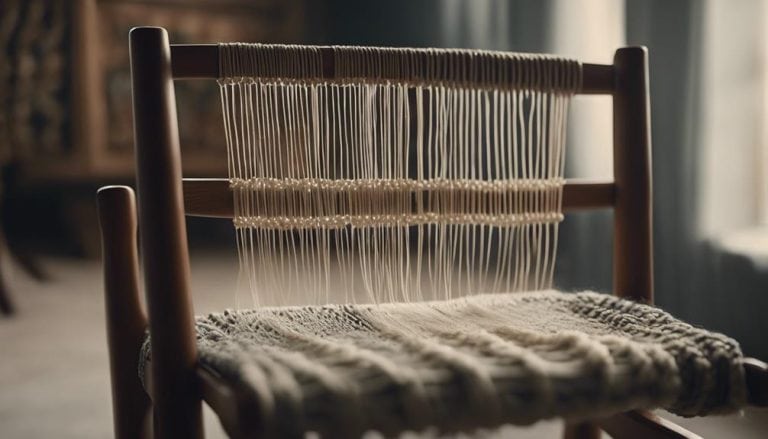
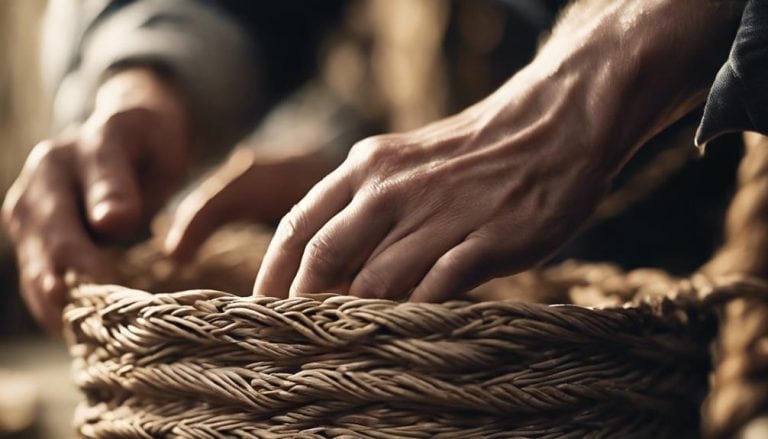
Starting Your First Danish Cord Weaving Project
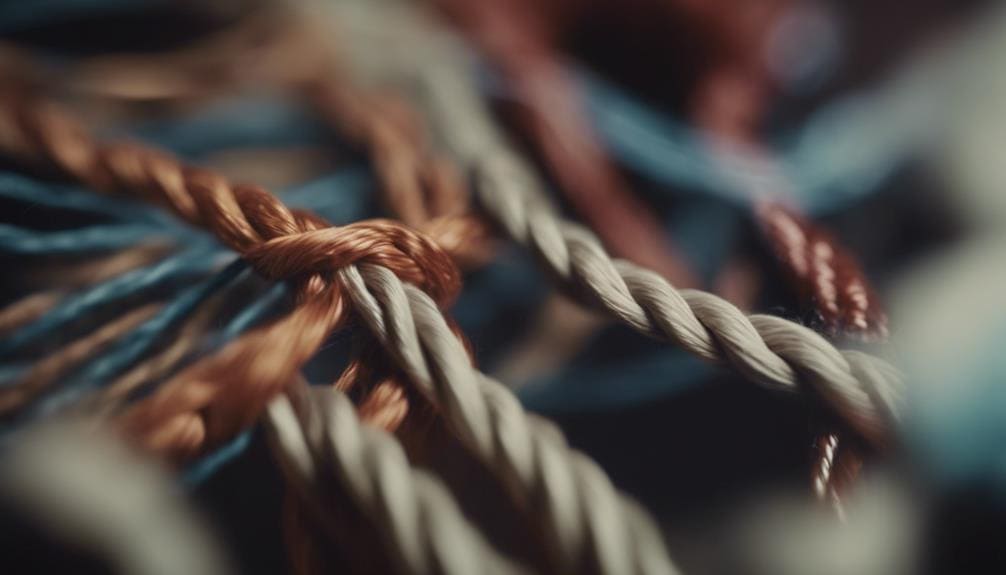
Embarking on one’s inaugural Danish cord weaving project unveils a realm of intricate craftsmanship and creative potential waiting to be explored. To start, choosing the right cord is crucial. Opt for a sturdy yet flexible material, like a Danish cord that will weave smoothly and offer durability to your project. When selecting colors, consider harmonizing or contrasting shades to bring depth and visual interest to your design.
Experimenting with textures can elevate your weaving project. Mix different cord thicknesses or try weaving techniques like the envelope or Moller weave to add dimension. Practicing tension control is key; maintaining consistent tightness throughout ensures a uniform and professional finish. Starting with smaller projects such as coasters or mats can help you grasp the basics before moving on to more intricate patterns.
Following step-by-step guides or tutorials can provide valuable insights and guidance as you navigate your first Danish cord-weaving endeavor. With attention to detail and patience, your initial project will lay a solid foundation for your weaving journey.
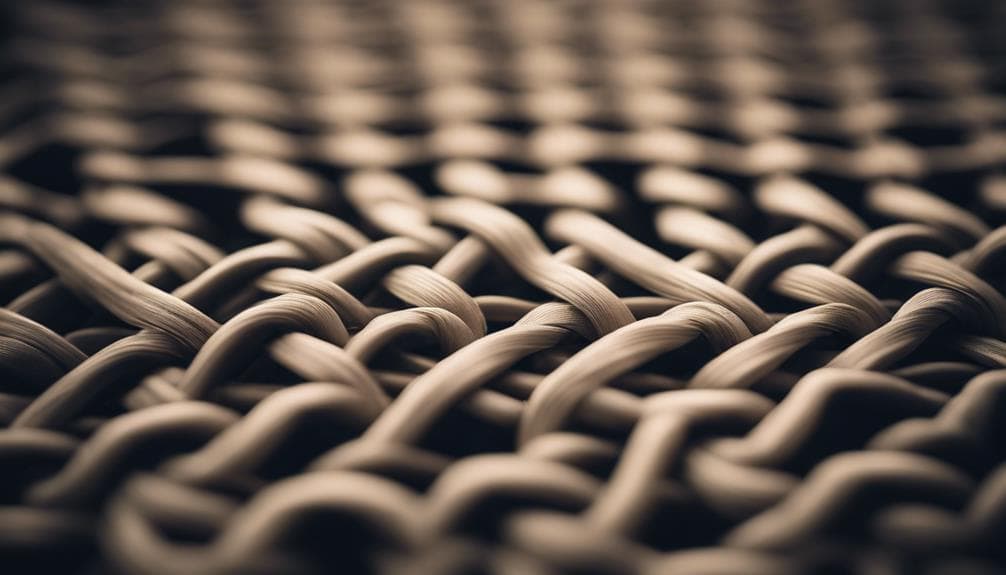
Exploring Simple Danish Cord Weaving Patterns
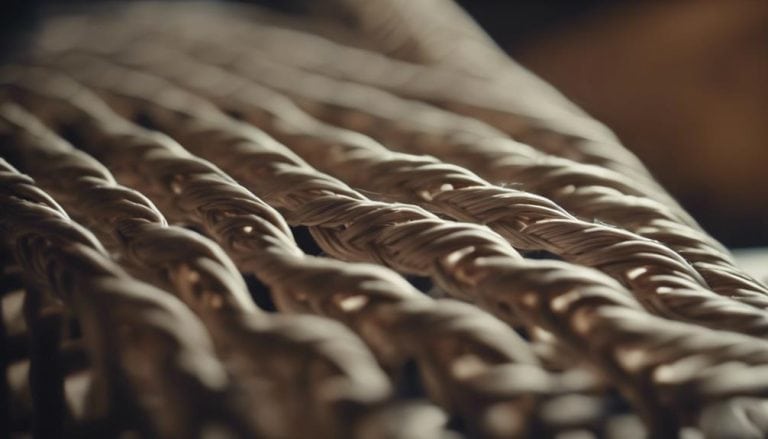
Upon exploring simple Danish cord weaving patterns, you will encounter a foundation rooted in basic over-under techniques essential for beginners. These patterns often begin with straight-line weaves, allowing you to focus on mastering tension and spacing.
As you progress, experimenting with creating basic geometric shapes like squares or rectangles can provide a solid starting point for your weaving journey. Consistency in tension and spacing is key to achieving a clean and polished finish with these simple patterns.
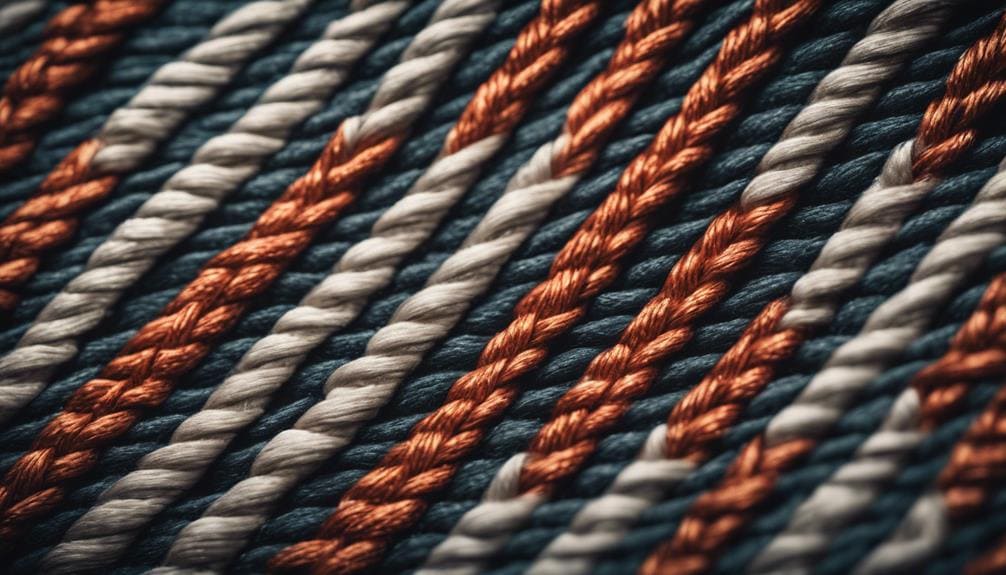
When delving into Danish cord weaving, playing with color combinations can add depth and visual interest to your creations. Consider contrasting colors for a bold statement or harmonious hues for a soothing effect.
Furthermore, don’t shy away from incorporating creative embellishments into your weaves. Add a touch of uniqueness by introducing decorative elements like beads or charms into your patterns, making each piece your own. You will gradually build a strong foundation in Danish cord weaving by embracing these simple techniques and exploring different color palettes and embellishments.
Troubleshooting Common Beginner Mistakes
Regularly monitoring the cord’s tension is essential for troubleshooting common beginner mistakes in Danish cord weaving. Correct tension ensures a consistent weave pattern and prevents loose or uneven cords. Using a wood block can help you apply even pressure while weaving, preventing irregularities in your weave.
Paying close attention to the spacing between warp cords is crucial to avoid gaps or overlaps in the weave, which can impact the overall appearance of your project. Additionally, securing the ends of the cord properly is vital to prevent unraveling or loosening of the weave over time.
By identifying these common mistakes and implementing techniques to improve your weaving skills, you can enhance your craft and achieve a more professional and uniform finish. Practice patience and precision in your weaving technique to elevate the quality of your Danish cord creations.
Frequently Asked Questions
How Far Apart Do You Space Danish Cord?
Proper spacing is key for a balanced Danish cord weave. First, ensure the warping pairs are close to rail ends for security. Utilize odd warp centerlines for symmetry. Maintain a 7⁄8 to 1-inch spacing between cords for stability and aesthetics.
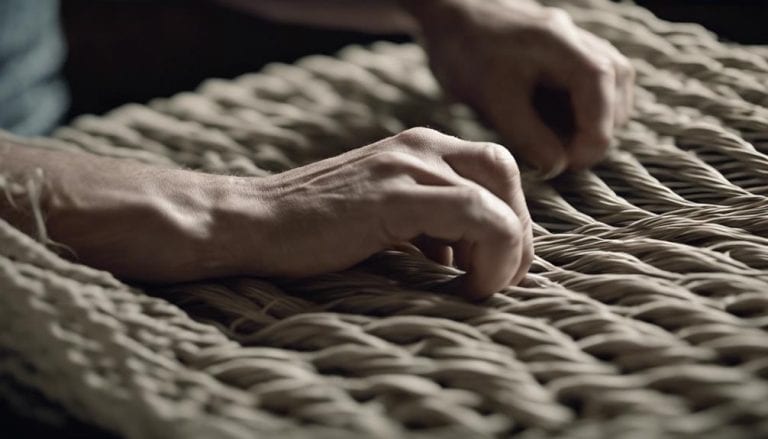
How Do You Weave a Danish Cord?
Weaving Danish cord requires patience and precision. Basic techniques involve securing the cord and twisting in sets of 4 strands. Troubleshooting tips include keeping the pattern tight. I enjoy the challenge of creating intricate designs.
What’s the Difference Between Laced and Unlaced Danish Cord?
The key difference lies in the visible lacing pattern when comparing laced vs. unlaced Danish cords. A laced cord requires more tension control and precision due to the intricate design, while an unlaced cord offers a smoother, simpler look.
How Much Danish Cord Do I Need?
Based on the chair’s original weave, I usually gauge how much Danish cord I need. It’s key to calculate requirements accurately to keep estimated costs in check. Having an extra cord handy ensures a smooth weaving process.
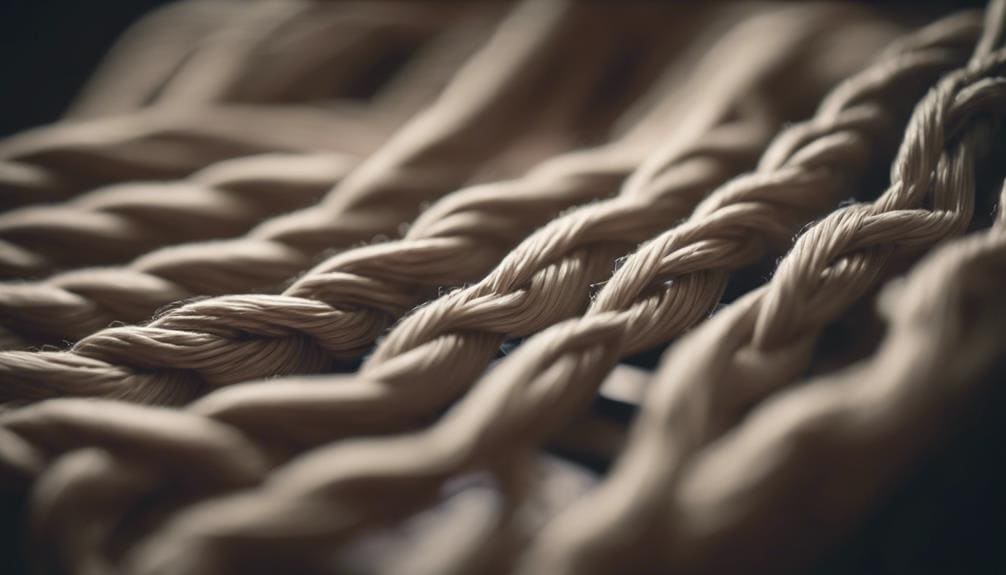
Conclusion
As I completed my first Danish cord-weaving project, I couldn’t help but marvel at how a simple rope could transform a chair into a work of art. Like threads weaving together to create a beautiful tapestry, each cord added its unique touch to the final piece. Embracing the intricate patterns and techniques of Danish cord weaving has truly opened up a world of creativity and craftsmanship for me.