DIY Basket Weaving With Danish Cord
Embarking on the DIY Basket Weaving With Danish Cord journey opens up a world of endless possibilities for creating stunning handmade pieces that stand the test of time. The intricate patterns and sturdy structure achieved through this craft are unmatched, making each project a true labor of love.
But what sets Danish cord apart from other weaving materials, and how can it unexpectedly elevate your home decor? Let’s explore the artistry and functionality intertwined in this centuries-old technique, where innovation meets tradition to weave a tale of creativity and sustainability.
Learn how to do DIY basket weaving with Danish cord for a creative and practical craft project. Discover the art of basket making using Danish cord in a simple and engaging way.
Key Takeaways
- Select the right Danish Cord thickness and color for a polished finish.
- Experiment with weaving techniques and materials for unique basket patterns.
- Finish trimming the excess cord neatly and adding decorative elements.
- Maintain baskets by dusting, avoiding direct sunlight, and prompt repairs for longevity.
Materials Needed for Basket Weaving
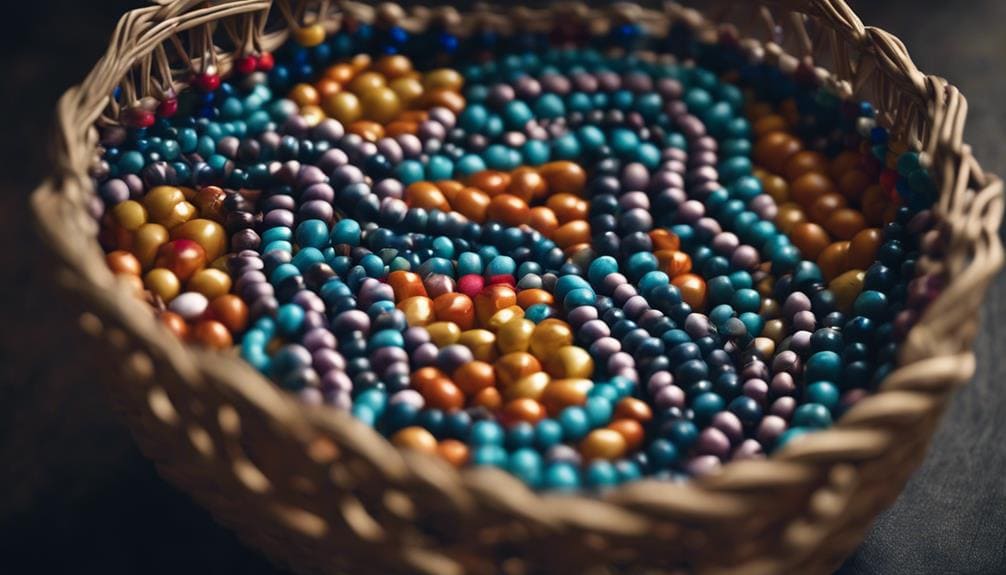
When diving into the world of DIY basket weaving, gathering the essential materials is the crucial first step towards creating beautiful and unique woven pieces. Color palettes play a significant role in basket weaving, allowing for personal expression and creativity.
Raffia, a natural palm fiber, is popular due to its softness and flexibility. It comes in different grades, with options like biodegradable real raffia and synthetic alternatives like plastic raffia. For those looking to explore beyond raffia, alternative fibers like fabric, twine, string, and ribbon offer diverse textures and looks to craft one-of-a-kind baskets.
When cut and prepared for weaving, fabric strips can produce softer and less structured basket shapes, each with its aesthetic appeal. Sourcing these materials from fair trade suppliers, art & craft stores, fabric shops, and online platforms ensures a sustainable approach to your basket weaving projects.
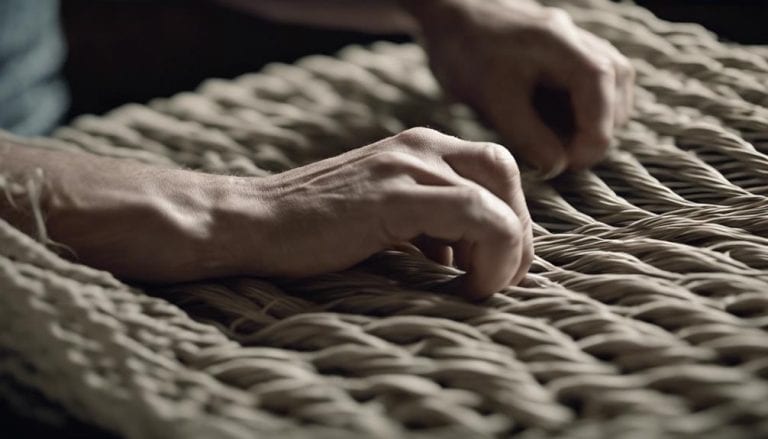
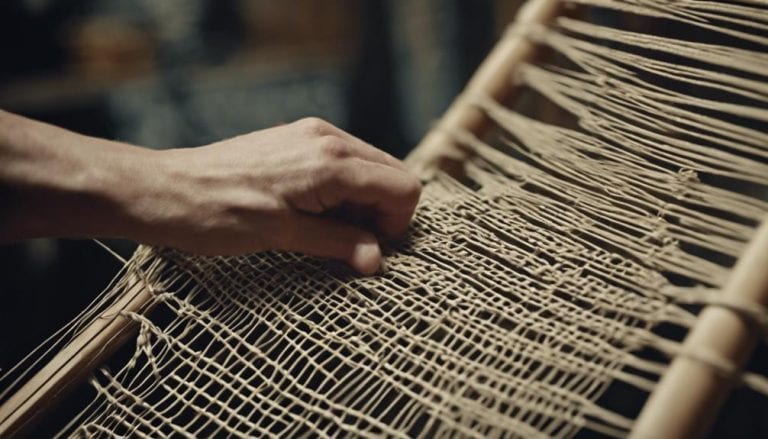
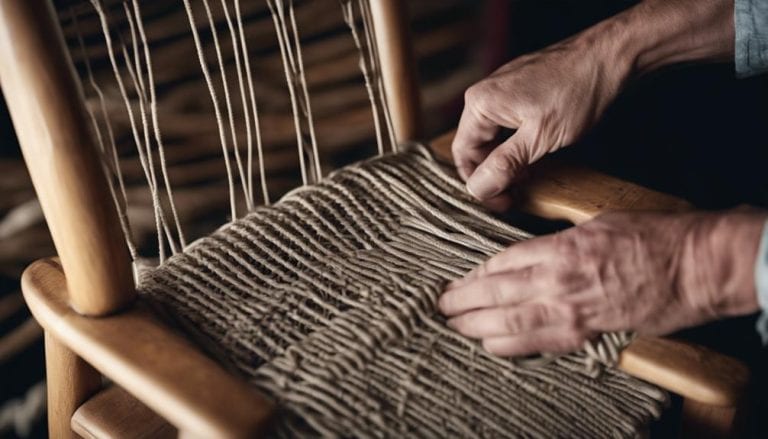
Step-by-Step Guide to Weaving Techniques
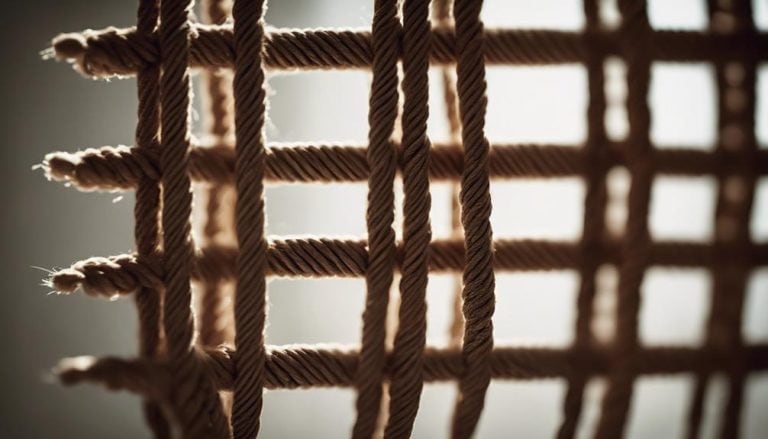
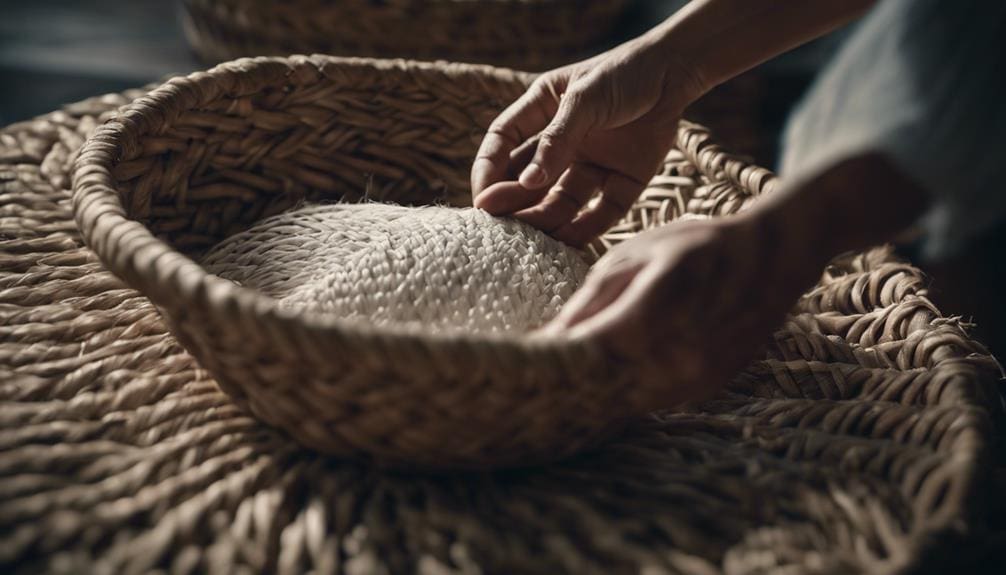
Exploring the craft of Danish cord weaving unveils a meticulous process of soaking reed pieces, intertwining them, and culminating in a distinctive finish with Danish cord for a truly unique aesthetic. When weaving with Danish cord, paying attention to the details is essential to create a beautifully crafted piece.
Here is a step-by-step guide to weaving techniques that will help you master the art:
| Step | Description | Tips |
|---|---|---|
| Reed Preparation | Soak reed pieces in water until pliable | Ensure the reed is flexible for weaving |
| Weaving Structure | Bend reed pieces to form the base structure | Use consistent tension for stability |
| Danish Cord Finish | Weave Danish cord around the structure | Experiment with different patterns |
| Finishing Touches | Secure ends and trim the excess cord | Pay attention to neatness and detail |
| Personalization | Incorporate color combinations and creative patterns | Express your unique style |
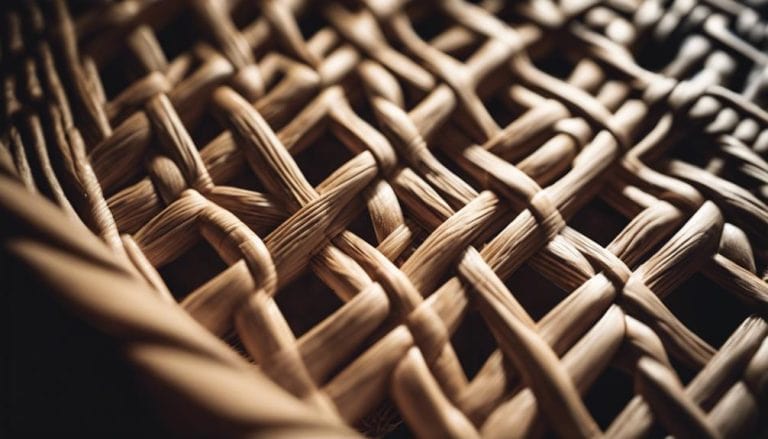
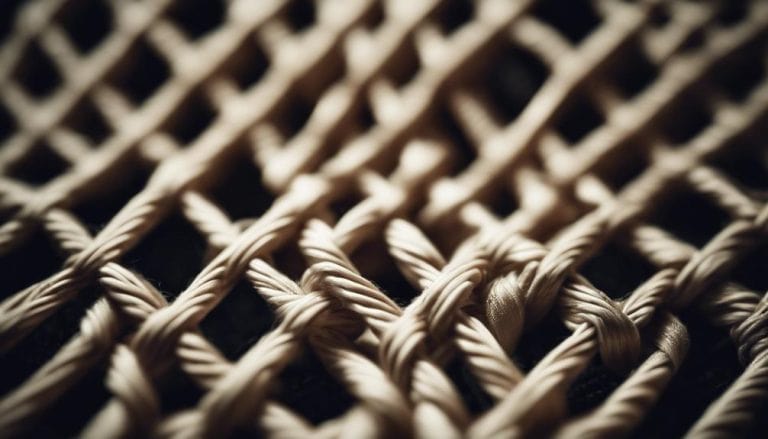
Tips for Choosing the Right Danish Cord
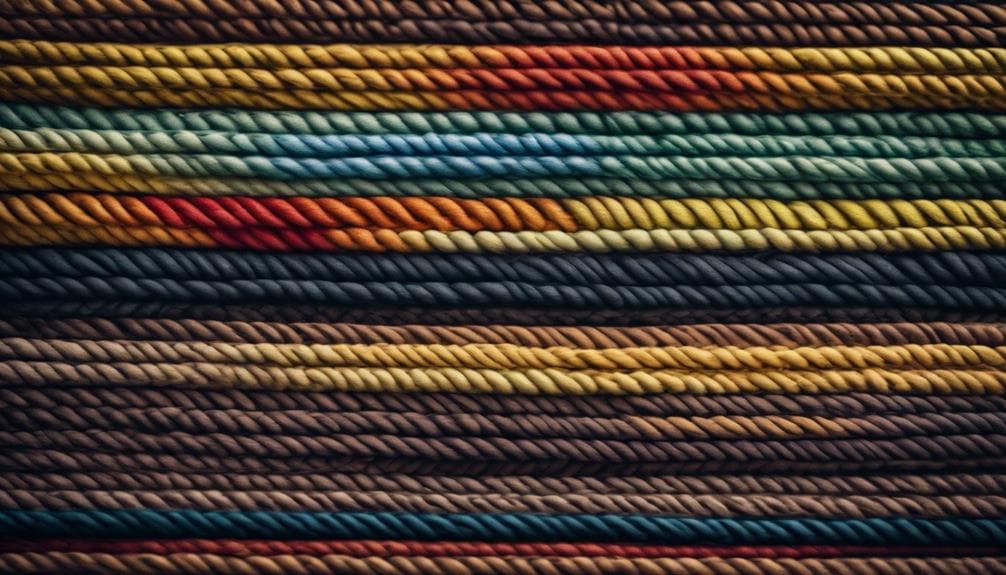
Consider the diameter and weaving style compatibility to make an informed choice when selecting the appropriate Danish Cord for your weaving project. When choosing Danish Cord, the cord thickness and color options play a crucial role in your project’s overall look and feel.
Opt for a White Danish Cord, typically around 1/8 inch thick, for a smoother texture. This diameter is ideal for achieving a neat and polished finish. Additionally, think about the weaving patterns and designs you plan to incorporate.
Different weaving styles may require specific cord thicknesses to achieve the desired aesthetic. You ensure a harmonious and visually appealing outcome by matching the cord thickness to your weaving patterns. Remember, the right Danish Cord can elevate your project to new heights, so take the time to select the perfect cord that aligns with your creative vision.
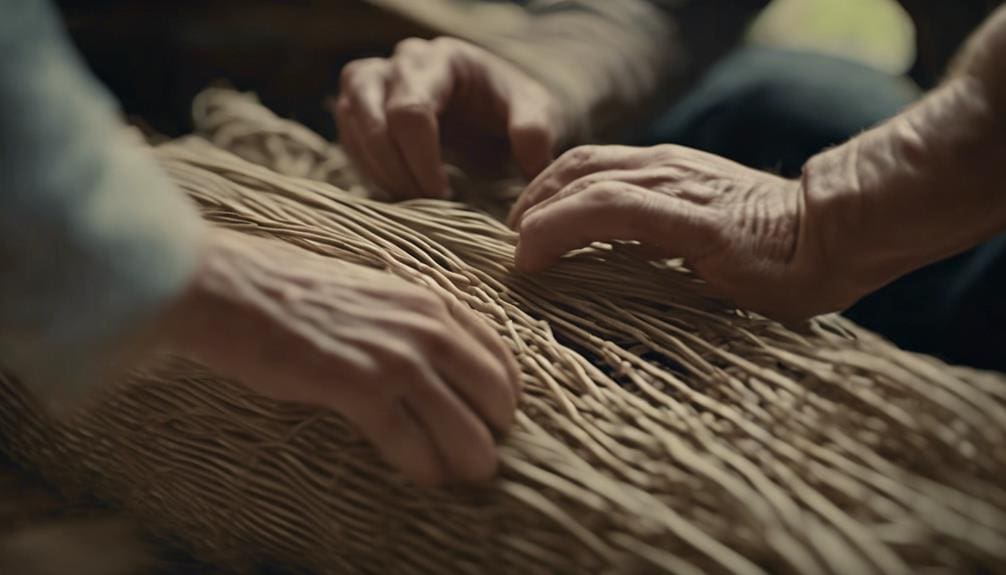
Finishing Touches and Decorative Options
For a polished and professional finish to your Danish cord basket, carefully trim any excess cord, tuck the ends behind a spoke, and neatly trim the upright spokes on the top woven row. To secure the structure further, bend the outside spokes over the cord and tuck them inside the weave.
This not only gives a clean look but also ensures durability. When it comes to adding decorative touches, the options are endless. Customizing designs by experimenting with various weaving styles can create unique patterns. Mixing materials like wood or metal with Danish cord can add depth and texture to your creations.
Intricate designs can be woven into the basket for added visual interest, making each piece one-of-a-kind. Danish cord’s lightweight and durable nature makes it a popular choice for furniture accents like chair seats and decorative weaving on cabinets, allowing for endless customization possibilities.
Maintenance and Care for Your Woven Baskets
Regular maintenance is essential to preserve the quality and longevity of your woven baskets made with Danish cord. To keep your baskets looking their best, regular dusting and wiping with a damp cloth can help remove any surface dirt or debris. Avoid exposing your woven baskets to prolonged direct sunlight, as this can cause the Danish cord to fade and become damaged over time.
If you notice any loose or broken cords, it’s important to repair them promptly to maintain the structural integrity of the baskets. Applying a protective finish can also help extend the lifespan of your Danish cord woven baskets by providing an extra layer of defense against wear and tear.
In humid conditions, check for mold or mildew, as these can cause significant damage to the baskets if left unchecked. When storing your woven baskets, consider environmental factors such as temperature and humidity to ensure they remain in top condition for years.
Frequently Asked Questions
How Do You Do a Danish Cord Weave?
I soak reed, lay out pieces, and bend spokes to do a Danish cord weave. Wrapping a 72-inch cord 5 times cut excess, trim spokes, bend them over, tuck inside, and secure. Options include colors and patterns. Beginner tips enhance technique.
What Is the Nail Spacing for Danish Cord Weaving?
Maintaining proper nail spacing at approximately 1 inch apart when weaving Danish cord is crucial. This spacing ensures cord tension, structural integrity, and a uniform look. Tool selection, weaving patterns, and color variations can influence the slight variations in nail spacing.
How Much Danish Cord Do I Need?
By considering the weaving techniques and patterns, I’ll ensure you have enough Danish cord for your basket weaving project. It’s crucial to match cord colors and calculate the needed materials based on the design.
What Is the Difference Between Laced and Unlaced Danish Cord?
The difference between laced and unlaced Danish cord lies in their woven patterns: laced cord adds intricate texture, while unlaced cord offers a clean look. Cord thickness impacts durability, and color options enhance design versatility, allowing for personalized creations.
Conclusion
As I put the finishing touches on my latest woven creation, I couldn’t help but marvel at the intricate patterns and textures that emerged from a simple cord and reed. The satisfaction of seeing my hard work come to life in a beautiful and functional piece is truly unmatched. Stay tuned for my next weaving adventure, where I’ll explore new techniques and push the limits of creativity with Danish cord. The possibilities are endless, and I can’t wait to see where this journey takes me.