Danish Cord Weaving Techniques DIY
I know what you might be thinking: weaving Danish cord sounds intricate and time-consuming, but let me assure you, with the right guidance, it can be a rewarding DIY project to elevate your furniture. The satisfaction of creating a beautifully woven seat using Danish cord weaving techniques goes beyond just functionality; it adds a unique touch of craftsmanship to your home decor.
Whether you are a beginner looking to explore a new skill or an experienced weaver seeking advanced techniques, this discussion will guide you through Danish cord weaving with clarity and precision.
Are you looking to learn Danish cord-weaving techniques? Check out these DIY resources for step-by-step instructions and tips. Perfect for beginners and experienced weavers alike.
Key Takeaways
- Experiment with color combinations to enhance the visual appeal and personalize your Danish cord-weaving projects.
- Master cord tension and weaving techniques for durability and a polished finish.
- Document the original weave pattern and ensure proper chair frame preparation for successful weaving.
- Apply Danish soap finish, maintain regularly, and repair as needed to preserve and prolong the lifespan of woven seats.
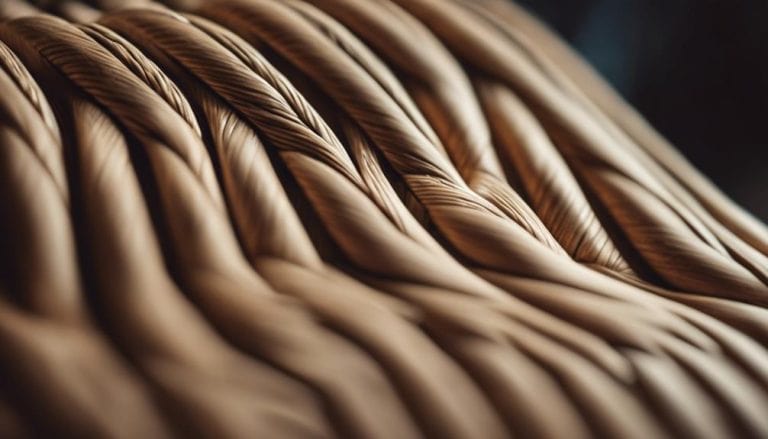
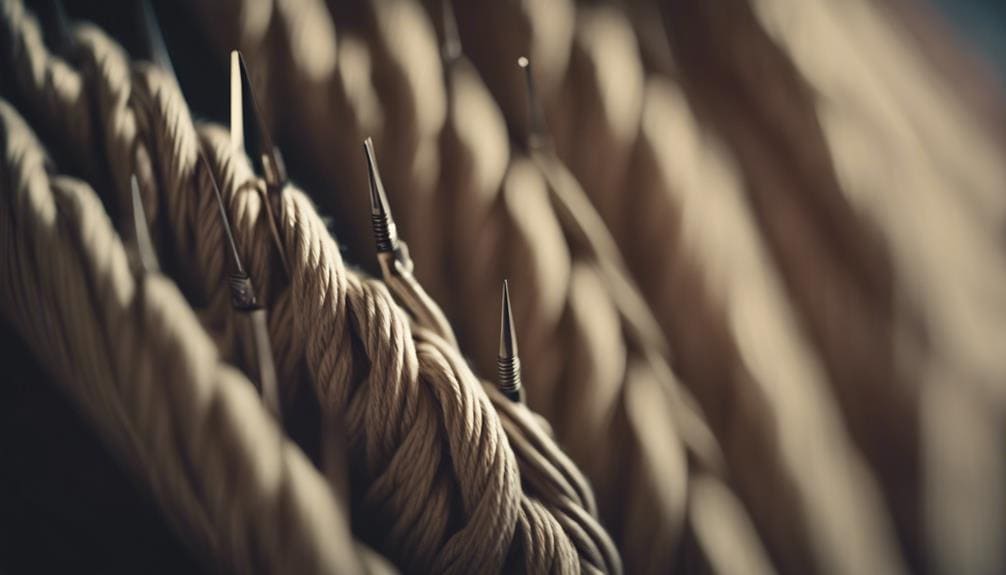
Materials Needed for Danish Cord Weaving
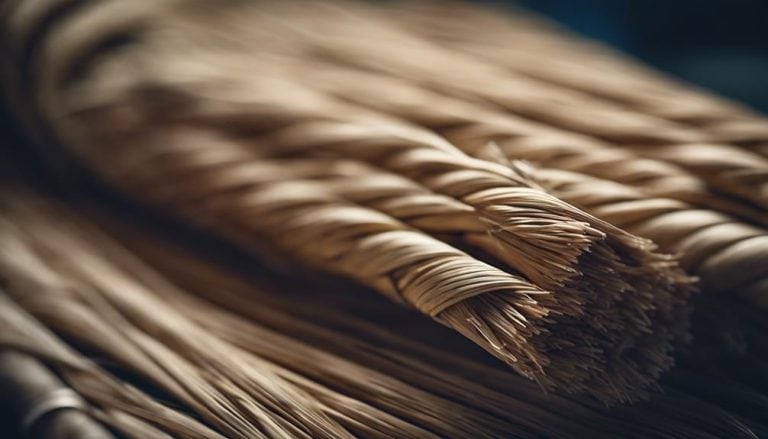
When embarking on Danish cord weaving, one must gather essential materials such as a 3-ply paper cord, supportive rails, and tools like needles and scissors. The 3-ply paper cord is the backbone of the weaving process, providing strength and flexibility for creating intricate patterns. Supportive rails help maintain the seat’s shape while weaving, ensuring a sturdy final product.
As for tools, needles are indispensable for manipulating the cord through intricate patterns, while scissors aid in neatly cutting and finishing off the weaving. In Danish cord weaving, color choices play a significant role in the overall aesthetic of the finished piece. Traditional Danish cord seats often feature natural, earthy tones that complement various interior styles.
However, modern trends have seen a rise in more vibrant and unconventional color palettes, adding a contemporary twist to this traditional craft. Experimenting with different color combinations can elevate the visual appeal of Danish cord-weaving projects, allowing for personalization and creativity.
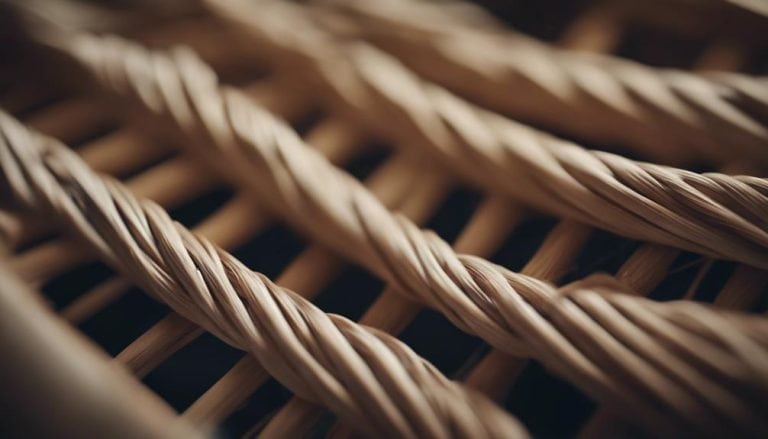
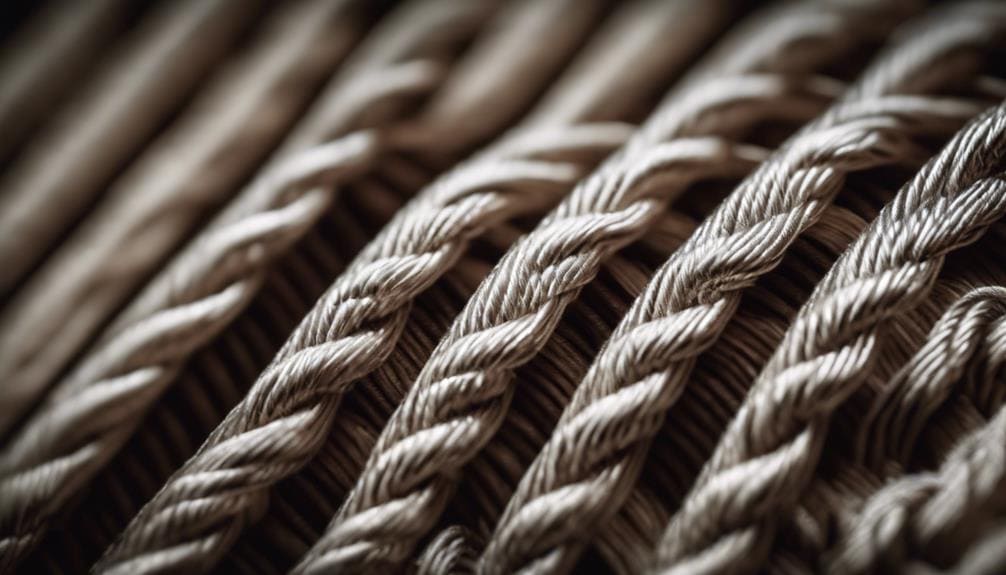
Understanding Danish Cord Weaving Patterns
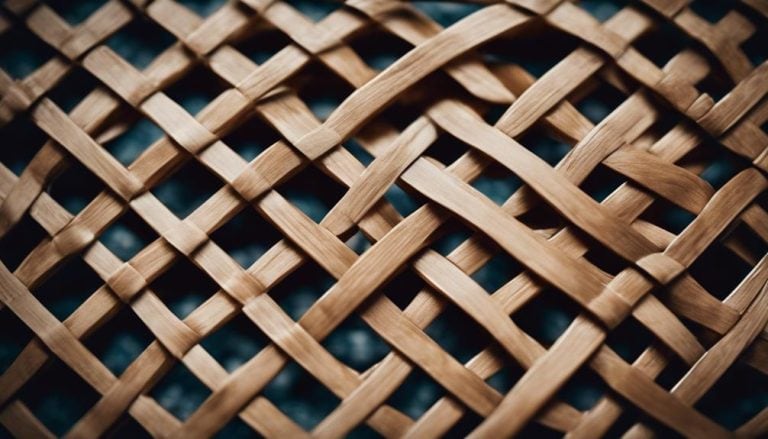
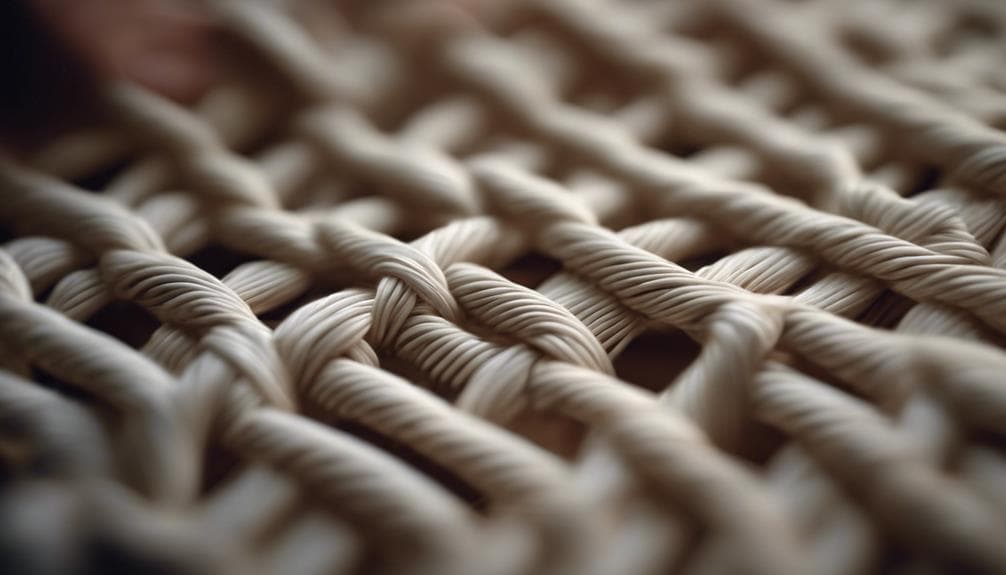
Exploring Danish Cord Weaving Patterns reveals a world of intricate designs and techniques that elevate the craft to an art form. Cord tension is a critical aspect when weaving Danish cord, as it influences the overall look and durability of the final piece. Understanding how different color combinations interact within the weave can lead to stunning visual effects, enhancing the beauty of the finished product.
Pattern variations, such as the envelope weave and Moller weave techniques, offer versatility for creating unique designs that showcase your craftsmanship. Mastering the relationship between warp and weft is essential when delving into Danish cord-weaving patterns. Attention to detail is paramount, ensuring each cord aligns correctly to form the desired pattern.
Troubleshooting techniques may be necessary, especially when intricate designs are involved. Patience and precision are key as you navigate the intricacies of Danish cord weaving, transforming a simple chair into a work of art.
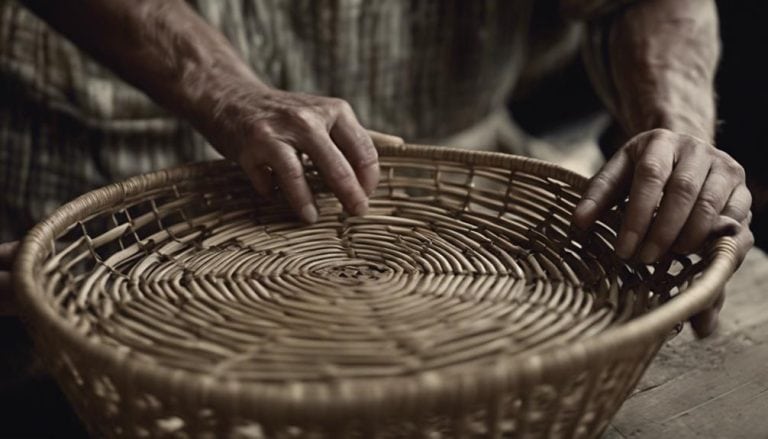
Preparing the Chair for Cord Weaving
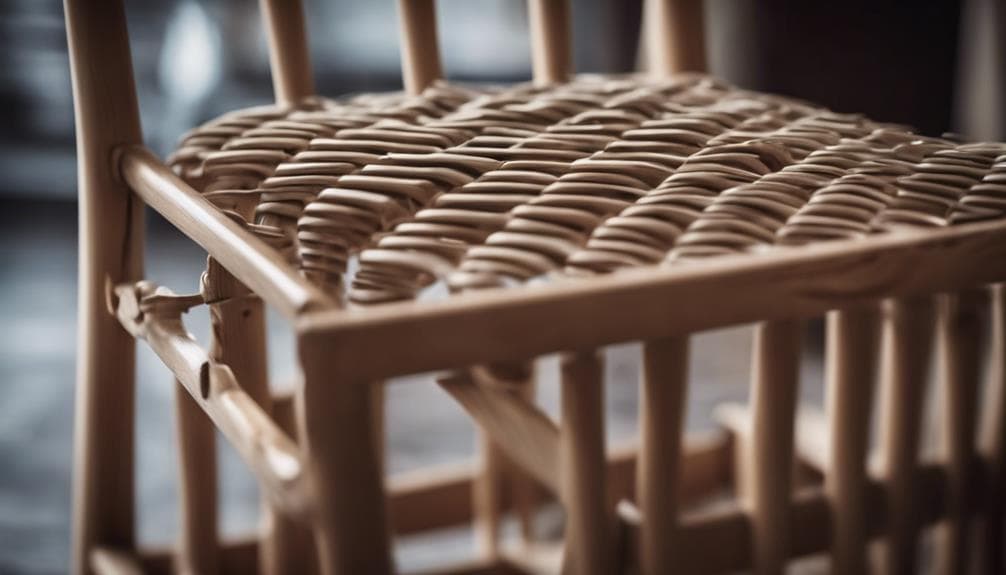
How should one best approach prepare a chair for cord weaving? When getting ready to weave Danish cord onto a chair, there are essential steps to ensure a successful outcome:
- Measuring chair: Before starting the weaving process, take accurate measurements of the chair to determine the amount of cord needed. Measure the length and width of the areas where the cord will be woven to avoid running out of material mid-process.
- Securing frame: To prepare the chair for cord weaving, it is crucial to secure the frame properly. To maintain spacing reference, cut away the original rope cord without removing the original nails/hooks. Ensure the chair frame is stable and in good condition before proceeding with the weaving process.
- Detailed documentation: Take clear pictures and notes of the original weave pattern. This documentation will guide you through the re-weaving process, helping you replicate the original design accurately and achieve a cohesive look once the project is complete.
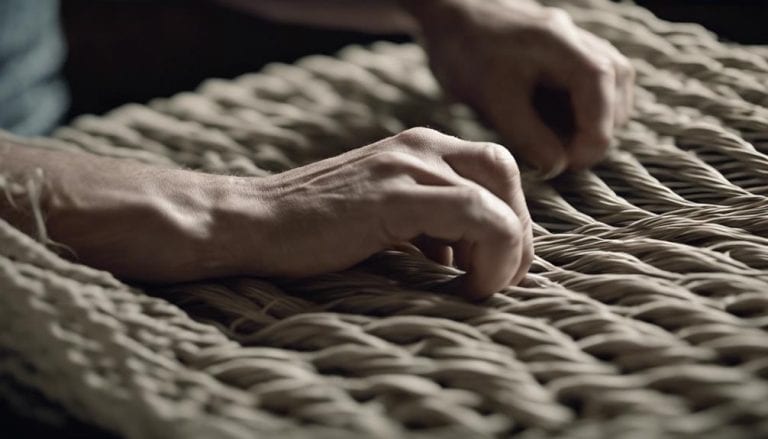
Step-by-Step Guide to Weaving Danish Cord
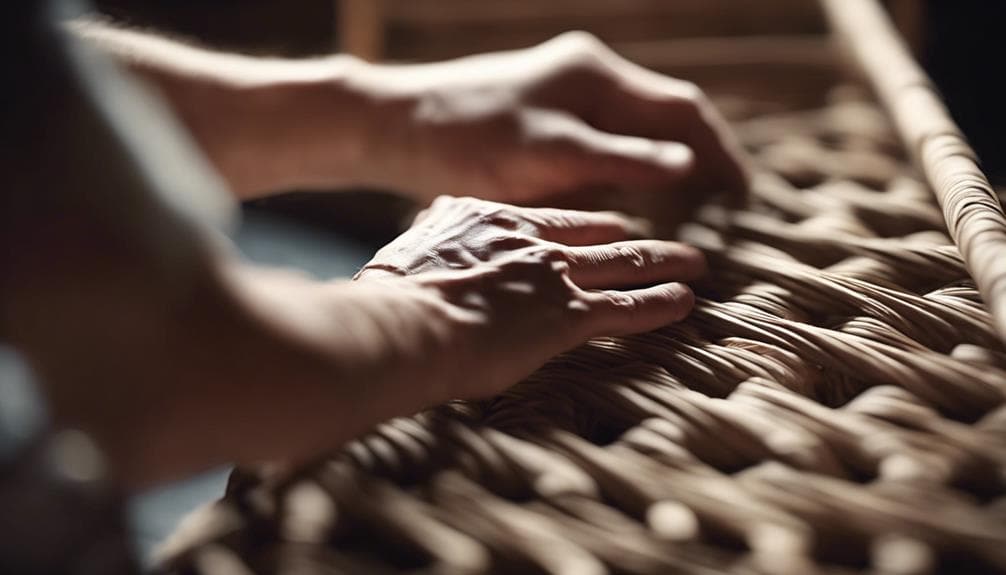
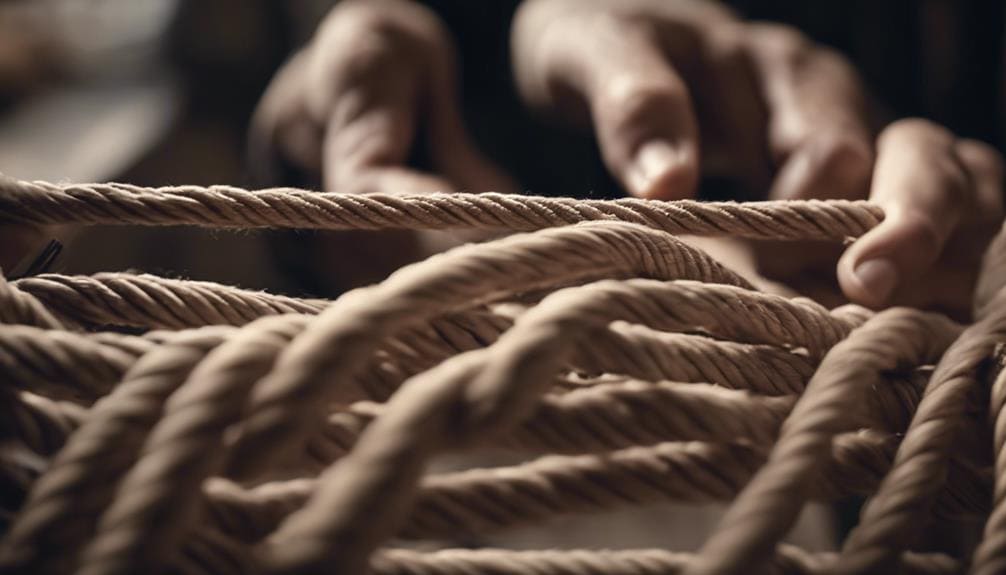
After preparing the chair for cord weaving by measuring, securing the frame, and documenting the original weave pattern, the next step is to start weaving Danish cord following a systematic guide.
To ensure a successful weaving process, paying attention to cord tensioning is crucial, as being prepared for potential troubleshooting scenarios. Proper tensioning guarantees a neat and uniform weave while being able to troubleshoot issues promptly can prevent weaving mistakes.
Weaving Danish Cord Step-by-Step Guide
| Step | Description | Tips |
|---|---|---|
| 1. Starting Point | Begin weaving from the center of the seat to maintain symmetry. | Ensure an even number of strands for weaving. |
| 2. Weaving Technique | Use the chosen pattern (e.g., envelope or Moller weave) consistently for a cohesive look. | Practice consistency in your weaving technique. |
| 3. Cord Customization | Experiment with color combinations to personalize your chair seat. | Consider contrasting or matching colors for a unique touch. |
| 4. Checking Tension | Regularly check the tension of the cords to maintain a consistent weave. | Adjust tension as needed to keep the weave uniform. |
| 5. Troubleshooting | Address any issues like loose cords or uneven weaving promptly to avoid larger problems. | Don’t hesitate to undo and redo sections for a polished finish. |
Weaving Danish cord allows for creativity through color combinations and customization, making each chair a unique piece of functional art.
Finishing Touches and Maintenance Tips
A Danish soap finish is recommended for a traditional look and feel on Danish cord-woven chairs. This finish not only enhances the aesthetic appeal but also protects the cord. Here are some essential tips to help you maintain your Danish cord-woven chairs:
- Regular Dusting: Regularly dusting the woven cord seat can prevent dirt buildup, preserving its appearance and extending its lifespan.
- Avoid Sunlight Exposure: Direct sunlight exposure can lead to fading and weakening of the Danish cord over time. Keep your chairs in shaded areas to maintain their color and strength.
- Prompt Repairs: Repair any loose or damaged cords promptly to ensure the longevity of the woven seat. Neglecting repairs can further damage and compromise the chair’s structural integrity.
Exploring Advanced Danish Cord Weaving Techniques
When delving into advanced Danish cord-weaving techniques, precision and creativity intertwine to elevate the intricacy of woven patterns and designs. Expert tips suggest experimenting with intricate weave structures and combinations to achieve innovative designs. Advanced weavers often employ specialized tools and methods to create complex patterns and textures beyond basic weaving.
The process requires a keen eye for detail and a commitment to achieving decorative results that push the boundaries of traditional Danish cord weaving. In mastering advanced Danish cord weaving techniques, artisans can craft stunning and visually impressive furniture pieces that showcase artistry and craftsmanship.
By delving into the intricacies of advanced weaving, weavers can unlock the potential to create customized designs that stand out for their complexity and beauty. Through skill, patience, and a willingness to explore new techniques, the world of advanced Danish cord weaving offers endless possibilities for those seeking to elevate their craft to new heights.
Showcasing Danish Cord Weaving Projects
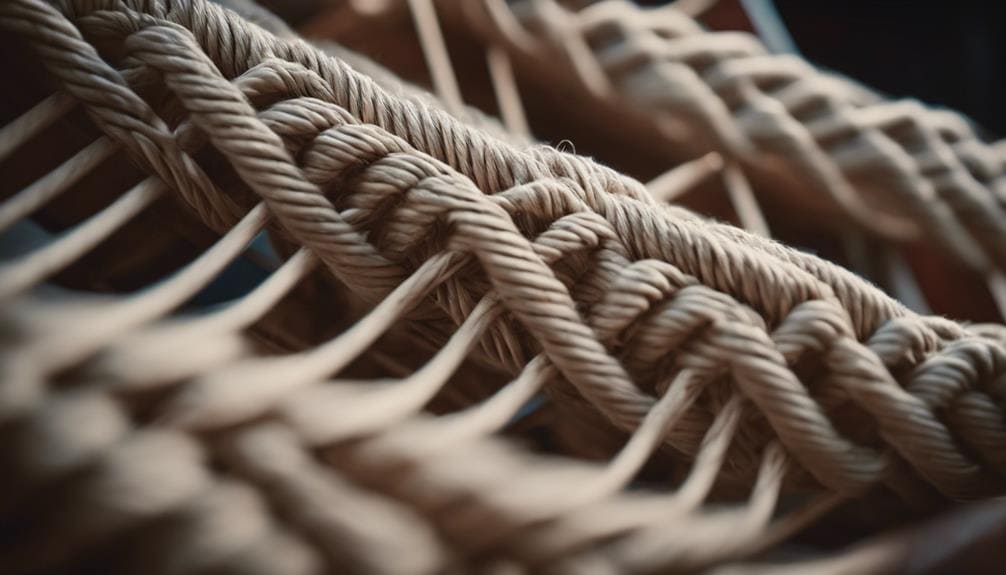
Showcasing Danish Cord Weaving Projects reveals the intricate craftsmanship and skill required to create visually stunning and aesthetically pleasing furniture pieces. The attention to detail and precision in weaving Danish cord result in unique and eye-catching designs that elevate the overall look of the furniture.
Here are three aspects that make these projects stand out:
- Design Inspiration: Danish cord-weaving projects often draw inspiration from traditional Scandinavian patterns and modern designs, blending the old with the new to create timeless and contemporary pieces.
- Color Combinations: The choice of colors used in Danish cord weaving can dramatically impact the final aesthetic of the furniture. From classic monochrome schemes to bold and vibrant palettes, the color combinations play a significant role in enhancing the overall appeal of the woven pieces.
- Craftsmanship Showcase: Projects showcasing Danish cord weaving highlight the beauty of the finished products and the artisans’ dedication, skill, and expertise behind creating these intricate pieces. Each project is a testament to the craftsmanship and artistry involved in Danish cord weaving.
Frequently Asked Questions
What Is the Nail Spacing for Danish Cord Weaving?
Nail spacing for Danish cord weaving typically ranges from 7⁄8 inch to 1 inch apart. It’s crucial to consider weaving tension when determining the optimal nail spacing. This approach ensures a well-balanced and symmetrical weaving pattern.
What’s the Difference Between Laced and Unlaced Danish Cord?
The distinction lies in their weaving patterns when comparing laced and unlaced Danish cords. Laced cord showcases a visible lacing pattern, adding decorative flair, while unlaced cord offers a smoother surface without visible lacing, creating a cleaner look.
How Much Danish Cord Do I Need?
I typically use 2 pounds of Danish rope cord for weaving a chair. It’s crucial to calculate requirements based on the chair design. I enjoy exploring color options to create unique pieces that reflect my style.
Is Danish Cord Comfortable?
Yes, the Danish cord is exceptionally comfortable. Its unique weaving techniques create a supportive yet flexible seat that molds to my body. The comfort level is unmatched, making it perfect for extended sitting periods.
Conclusion
In conclusion, mastering Danish cord weaving techniques is like crafting a symphony of knots and patterns that harmoniously create a beautiful and durable woven seat. With precision and attention to detail, this DIY craft allows you to transform ordinary furniture into works of art that exude elegance and modern design. So grab your materials, follow the steps, and weave your way to a stunning masterpiece that will surely impress. Happy weaving!