Best Practices in Danish Cord Weaving
As the saying goes, “Practice makes perfect,” and when it comes to Danish cord weaving, honing your skills is key. From selecting the right materials to mastering intricate weaving patterns, several best practices can elevate your craft.
But what truly sets a seasoned weaver apart from the rest lies in the subtleties of proper tension and weaving techniques. These nuances can make all the difference between a chair seat that’s merely functional and a true work of art.
“Best Practices in Danish Cord Weaving” can be summarized in two sentences: To achieve high-quality Danish cord weaving, choosing the right materials and following proper techniques is important. Consistency in tension and spacing and attention to detail are key to producing beautiful and durable Danish cord weaves.
Key Takeaways
- Choose durable materials and cohesive colors for longevity and aesthetic appeal.
- Master various weaving patterns like envelope and Moller weaves for design versatility.
- Ensure precise tensioning and weaving techniques for structural integrity and intricate designs.
- Finish carefully, personalize color options, and secure cords properly for a professional look and longevity.
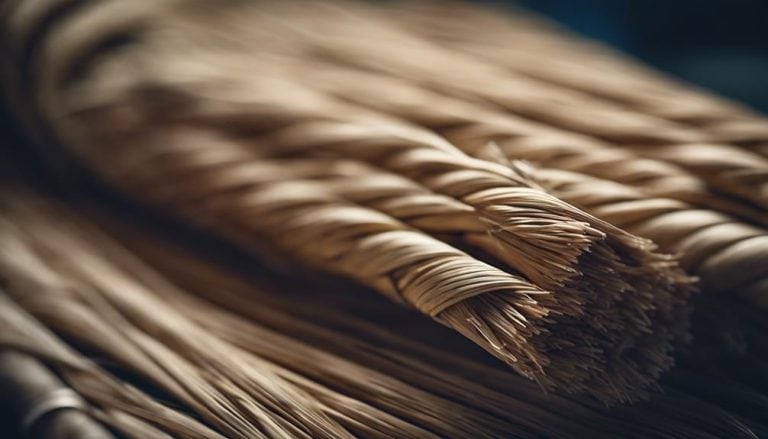
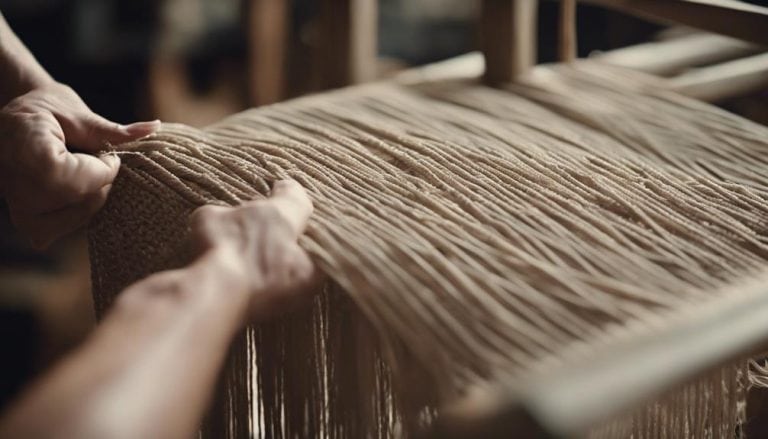
Selecting the Right Materials
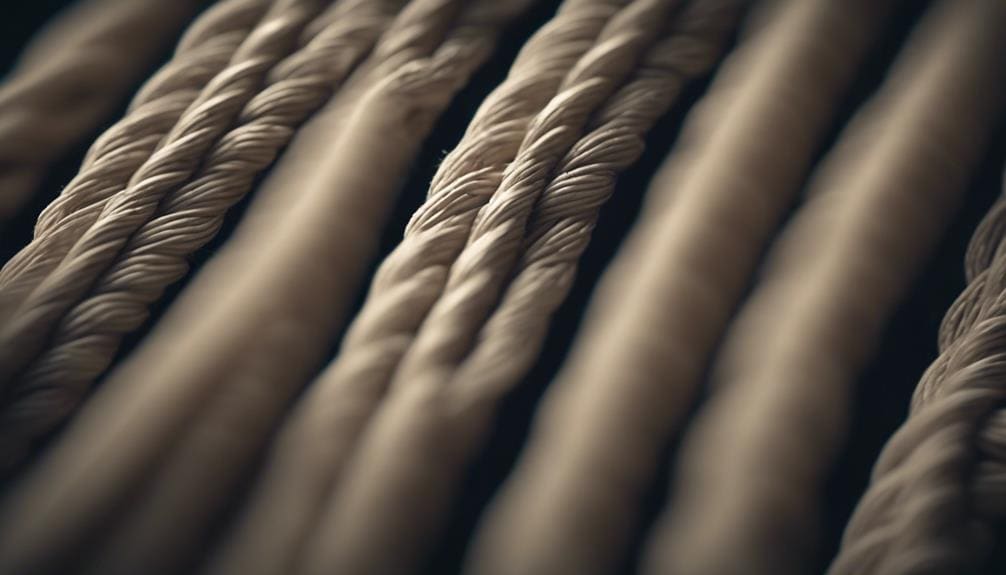
When embarking on a Danish cord weaving project, selecting the right materials is crucial to achieving a durable and visually appealing chair seat. The color options available for Danish cord, such as classic black or pristine white, play a significant role in enhancing the chair’s overall design.
You can create a cohesive and stylish look by carefully considering the color that best complements the chair’s aesthetic. Moreover, thickness considerations are essential when choosing a Danish cord for your weaving project.
Opting for a thicker cord, like the 3.5mm Thick Cut Laced Cord, can add a sense of sturdiness and substance to the seat. This thicker cord provides a more robust look and enhances the chair’s comfort and durability.
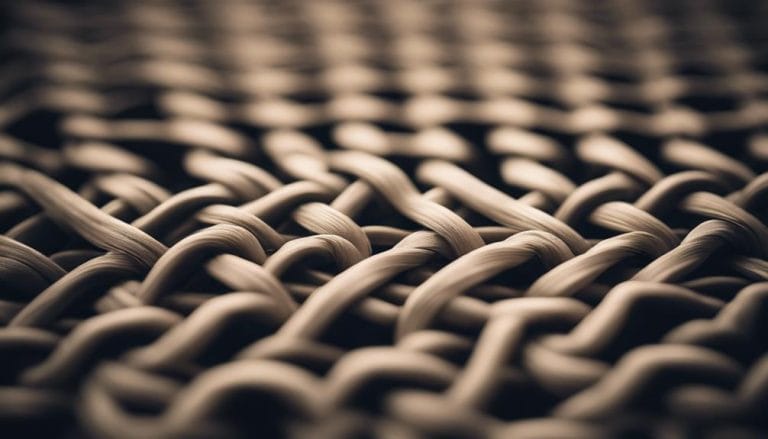
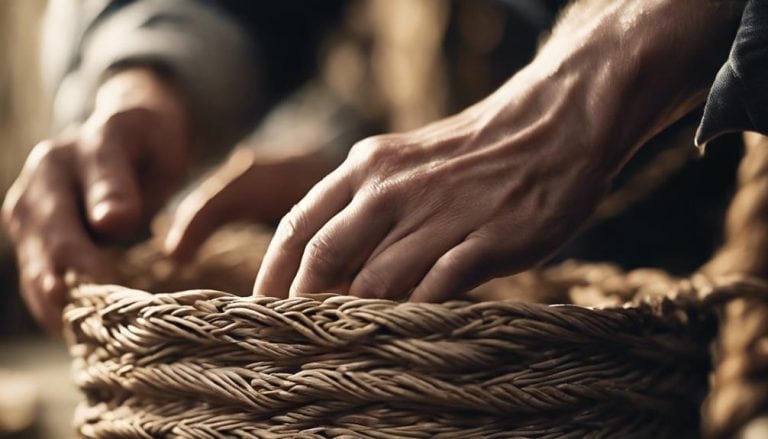
Understanding Weaving Patterns
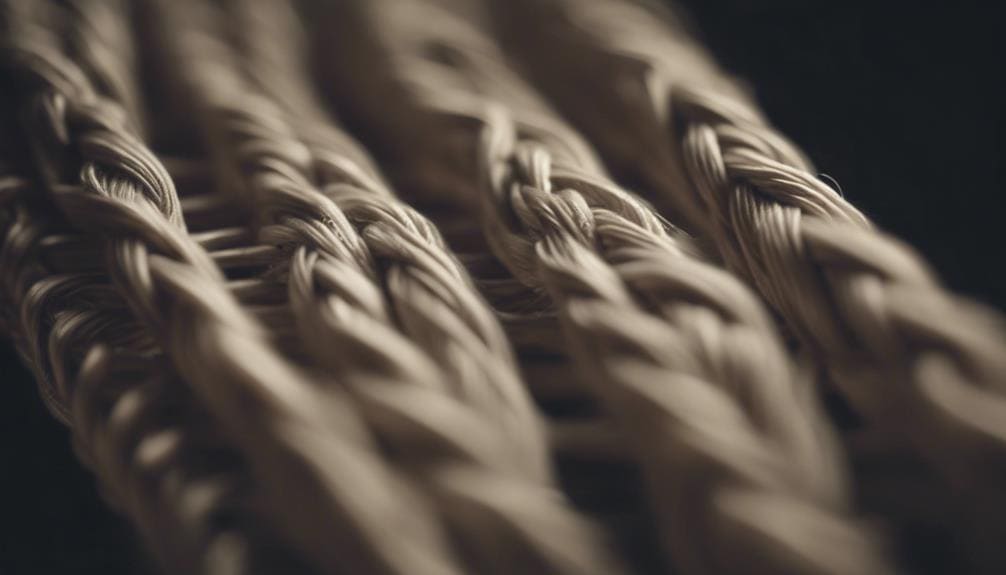
Exploring the intricate weaving patterns of Danish cord reveals a world of craftsmanship and artistry that elevates the essence of traditional chair-making. Understanding pattern variations and symmetry techniques is key to mastering Danish cord weaving. By incorporating advanced weaving tips and troubleshooting techniques, we can enhance our weaving skills and create stunning pieces of furniture.
To delve deeper into the world of Danish cord weaving, let’s explore some essential concepts in the table below:
| Weaving Concepts | Description |
|---|---|
| Pattern Variations | Marking rails with centerlines and ensuring even spacing of warp pairs is crucial for symmetry. |
| Symmetry Techniques | Marking rails with centerlines and ensuring even spacing of warp pairs are crucial for symmetry. |
| Advanced Weaving Tips | Properly twisting the three paper plies of Danish cord and securing warp pairs for a tight weave. |
| Troubleshooting Tips | Address issues like uneven tension by adjusting warp pairs and identifying weaving mistakes early. |
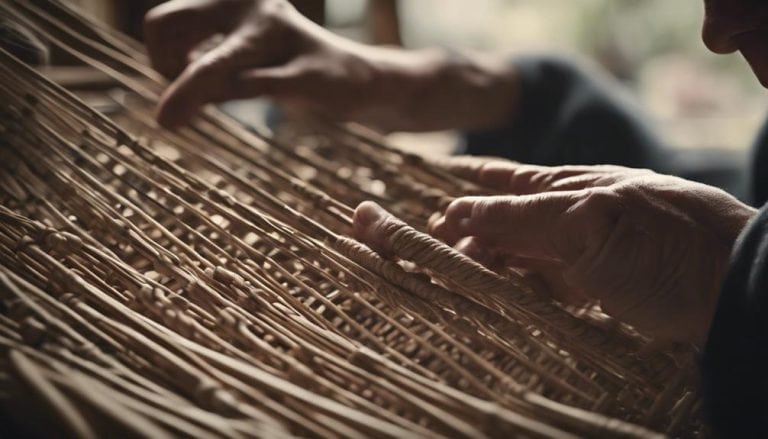
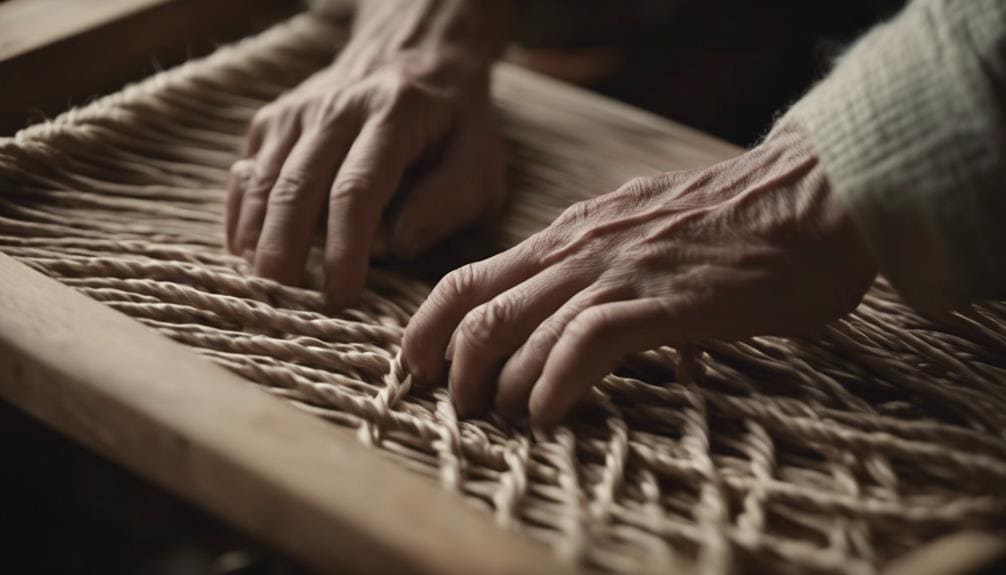
Proper Tension and Weaving Techniques
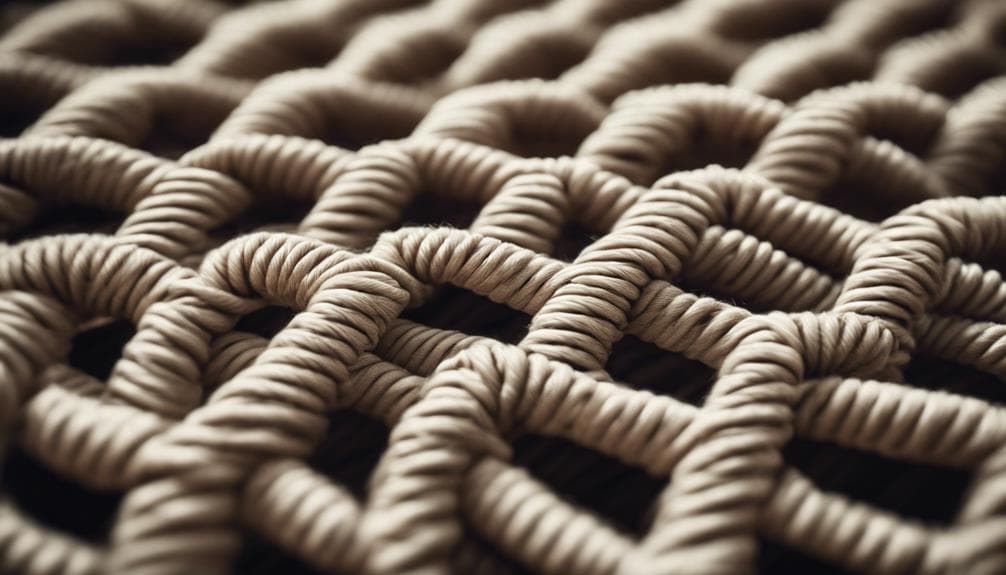
Maintaining precise tension throughout the Danish cord-weaving process is paramount to achieving a flawless and sturdy final seat structure. Tension control is key to ensuring a uniform weave that looks appealing and provides the necessary support. When exploring pattern variations like the envelope or Moller weave, advanced techniques come into play, demanding careful handling to maintain consistency in the design.
Weaving challenges may arise, especially when working on intricate patterns, requiring a steady hand and focused attention to detail. To overcome these obstacles, evenly tensioning the cord along the frame is crucial. This practice guarantees a smooth and professional finish.
Additionally, securing the cord with hidden knots between the front and rear frames is essential to prevent visible gaps in the weave. Tools such as a screwdriver to widen holes can aid in easier weaving and knot placement, facilitating a seamless result. Mastering these techniques not only enhances the aesthetics of the Danish cord weave but also ensures its durability and longevity.
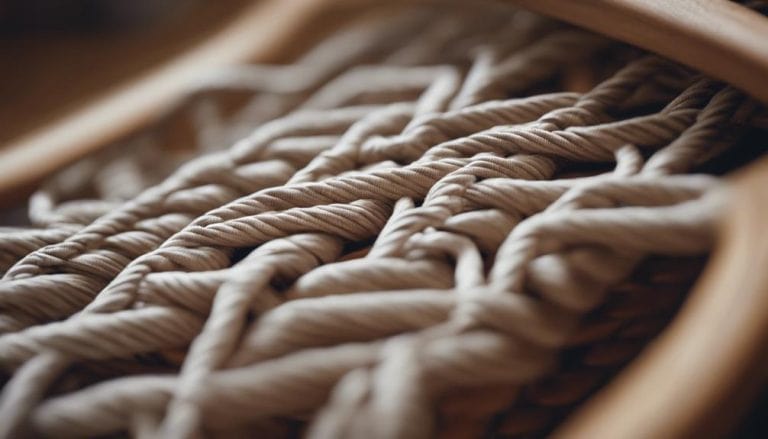
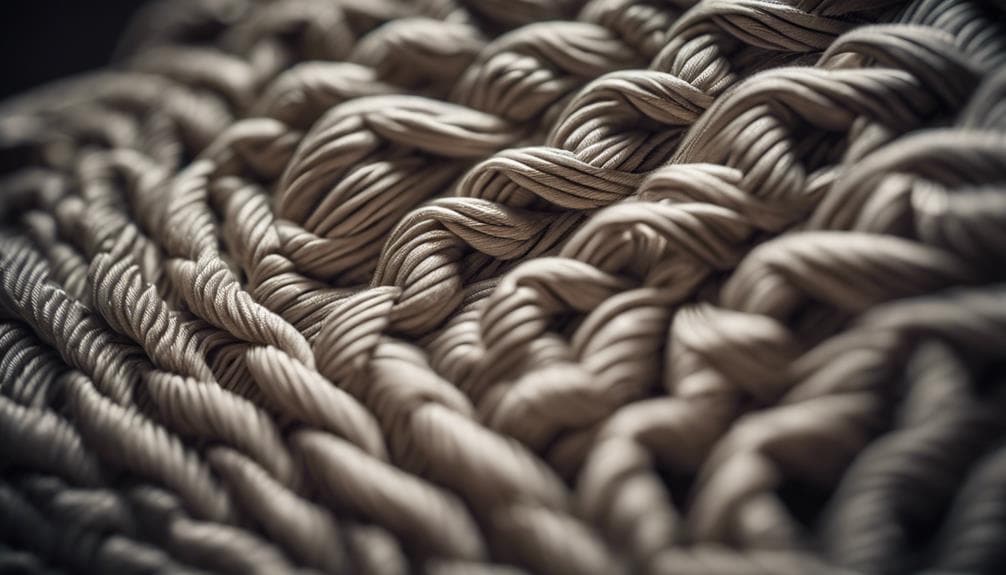
Finishing and Securing the Cord
Mastering the finishing and securing the cord is paramount to achieving a polished and durable finish for Danish cord weaving. When it comes to finishing, exploring different color options can add a touch of personalization to your piece. Applying a traditional soap finish enhances the overall look of the woven seat and contributes to its tactile appeal.
Maintaining consistent tension throughout the weaving process is key for securing the cord. This ensures a tight and uniform appearance, essential for aesthetics and durability. Incorporating decorative elements into the finishing process can elevate the visual interest of the Danish cord seat.
Experimenting with various techniques allows you to achieve the desired aesthetic, adding a unique flair to your work. Proper securing methods are fundamental for the longevity of the woven cord seat. By following specific guidelines and investing time in perfecting the finishing and securing processes, you enhance the quality and craftsmanship of the final product.
Maintenance Tips for Longevity
With the proper care and attention, Danish cord furniture can maintain its beauty and functionality for years. To ensure the longevity of your Danish cord pieces, consider the following maintenance tips:
- Cleaning Techniques: Regular dusting and immediate clean-up of spills with a damp cloth and mild soap can help preserve the woven cord material. Avoid harsh cleaning agents and excessive scrubbing to prevent damage.
- Storage Tips: When not in use, store your Danish cord furniture in a dry, cool environment away from direct sunlight. This can prevent the cord material from weakening and losing its integrity over time.
- Repair Options: Inspect your furniture regularly for signs of wear, such as loose or broken cords. Seek professional repairs when needed to prevent further damage and extend the lifespan of your Danish cord pieces.
- Professional Help: If unsure about the maintenance or repair process, don’t hesitate to seek professional help. Experts can offer guidance on proper care techniques and ensure your Danish cord furniture stays in top condition for years to come.
Frequently Asked Questions
How Far Apart Do You Space Danish Cord?
I space Danish cord 7⁄8 to 1 inch apart for the weaving pattern. Proper spacing ensures tension control, making the weave secure. Utilizing an odd number of warp centerlines maintains symmetry in the weaving process, resulting in a beautiful finish.
Which Is Better Laced or Unlaced Danish Cord?
Laced Danish cord adds elegance and cost, ideal for visible spots. Unlaced, more practical, and budget-friendly for hidden areas. Weigh pros and cons based on aesthetics and finances. Personal preference drives the choice.
How Do You Weave a Danish Cord?
Weaving Danish cord is an art of precision and patience. Starting with securing the cord to the frame, methodically weaving around ensures a tight, even pattern. Smooth corners and splicing for seamless joins create a beautiful finish.
How Much Danish Cord Do I Need?
I observe the chair’s pattern when estimating Danish cord quantity for weaving. Proper spacing techniques are crucial; too tight or loose affects the look. Starting with enough cord ensures a seamless process.
Conclusion
As I finish weaving the Danish cord onto my chair seat, I can’t help but feel like a spider spinning a delicate web of tradition and craftsmanship. Each twist and turn of the cord tells a story of patience, skill, and dedication. Just like a symphony conductor leading his orchestra, I carefully guide the cord into place, creating a beautiful and functional piece of art. The final result is not just a chair, but a masterpiece woven with love and expertise.