Step-by-Step Danish Cord Weaving
As I mastered the art of Danish cord weaving, I discovered that each step in the process held the key to unlocking the intricate patterns and durability of the final piece. Beginning with the seemingly simple act of preparing the chair, I soon realized the meticulous attention to detail required for a successful outcome.
The front rail weaving was just the beginning of a methodical sequence that demanded precision and patience. With every cord tightly secured, a sense of accomplishment intertwined with the anticipation of creating something remarkable.
Step-by-step Danish cord weaving involves weaving a durable and visually appealing seat or surface using a paper cord and a specific pattern. It’s a traditional Scandinavian craft that can be learned and mastered with patience and attention to detail.
Key Takeaways
- Precision in weaving techniques ensures a sturdy and uniform finish.
- Experiment with patterns and weaving styles for a personalized touch.
- Secure the cord tightly for a neat and flawless appearance.
- Apply a protective finish and regular maintenance for lasting beauty.
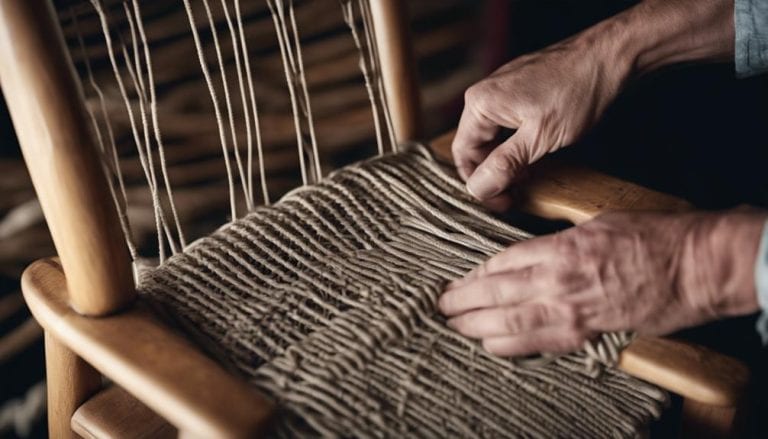
Chair Preparation
In chair preparation for Danish cord weaving, meticulously cutting away the original rope cord while preserving spacing is paramount to maintaining the chair’s structural integrity. The spacing reference serves as a guide, ensuring the new cord aligns correctly, and the weaving pattern remains consistent.
Before diving into the re-weaving process, documenting the original chair details through pictures and notes is crucial. These details act as a blueprint, accurately recreating the chair’s unique characteristics. Maintaining spacing during the cord removal process is not only about aesthetics but also about functionality. Each cut must be precise to prevent structural weaknesses once the new cord is woven.
I can refer back to these notes and images by carefully documenting the chair’s original state to guarantee an authentic restoration. This meticulous approach sets the foundation for a successful Danish cord-weaving project, where attention to detail is key to achieving a beautifully restored chair.
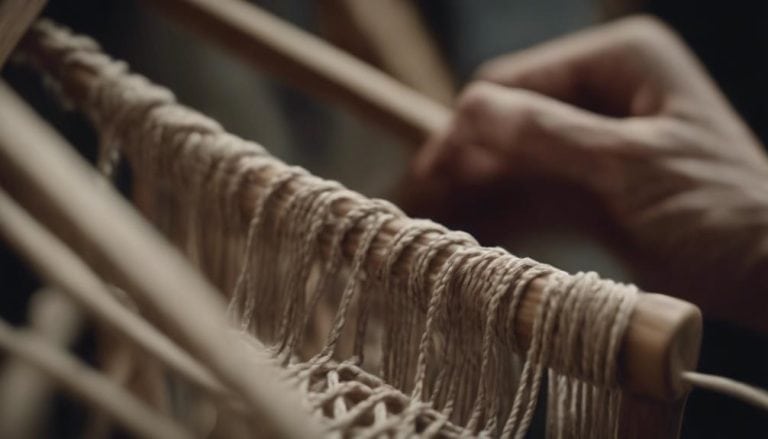
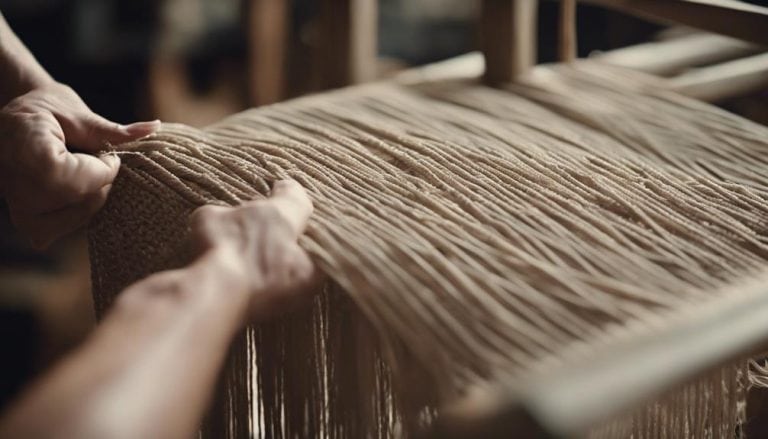
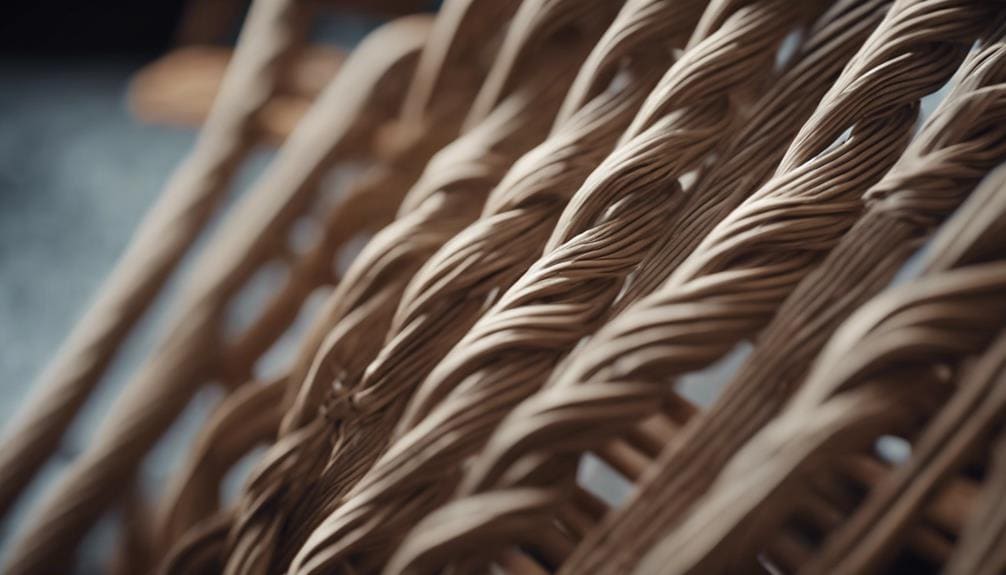
Front Rail Weaving
Commencing the front rail weaving process, I secure the cord to the inside of the left front rail before tightly wrapping it around and transitioning to the back rail. Utilizing a tightening technique is crucial at this stage to ensure the cord is snug and properly anchored, setting the tone for the rest of the weaving process.
Here’s how I approach front rail weaving:
- Precision in Placement: Ensuring the initial attachment of the cord to the front rail is positioned correctly sets the foundation for a neat and even weave.
- Attention to Tension: Maintaining consistent tension while weaving is key to achieving a uniform and sturdy finish, enhancing the chair seat’s aesthetics and durability.
- Exploring Weaving Variations: While adhering to traditional methods is essential, don’t be afraid to experiment with weaving patterns and styles to add a personal touch to your chair-weaving project.
Mastering the front rail weaving technique is a fundamental step in the intricate art of Danish cord weaving, laying the groundwork for a beautifully crafted and resilient chair seat.
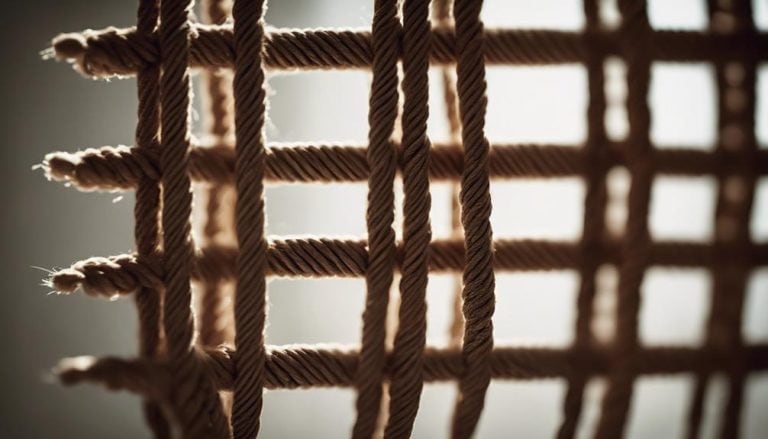
Back Rail Weaving
Securing the Danish rope cord to the inside edge of the back rail is the initial step in the meticulous process of back rail weaving, ensuring a continuous and sturdy weave that complements the chair’s structural integrity. As I begin weaving the back rail, maintaining proper cord tension is crucial to achieve a uniform and neat appearance.
By keeping the tension consistent throughout the weaving process, the cord lays smoothly against the wood, creating a professional finish. When weaving the back rail, paying close attention to the weaving technique is essential. Working directly from the spool without cutting the cord allows for a seamless weave, maintaining the integrity of the design.
Tacking the cord securely to the inside edge of the back rail provides a stable foundation for the weaving pattern. The weaving maintains a consistent and visually appealing pattern by following the same spacing as the front rail. Weaving the back rail enhances the aesthetic appeal of the Danish cord chair and completes the structural support necessary for a durable and comfortable seat.
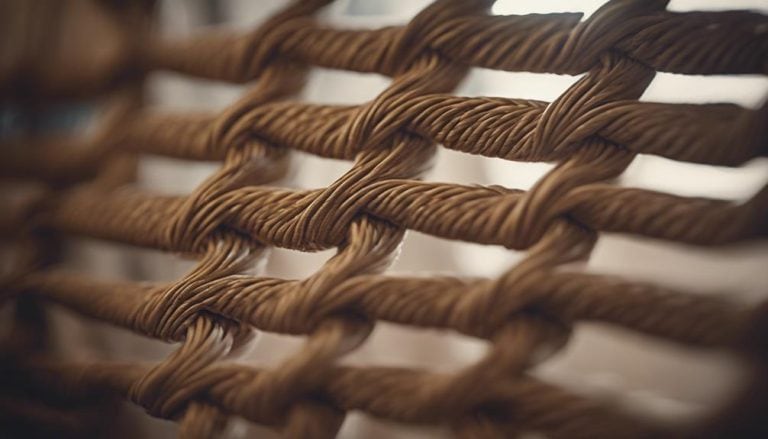
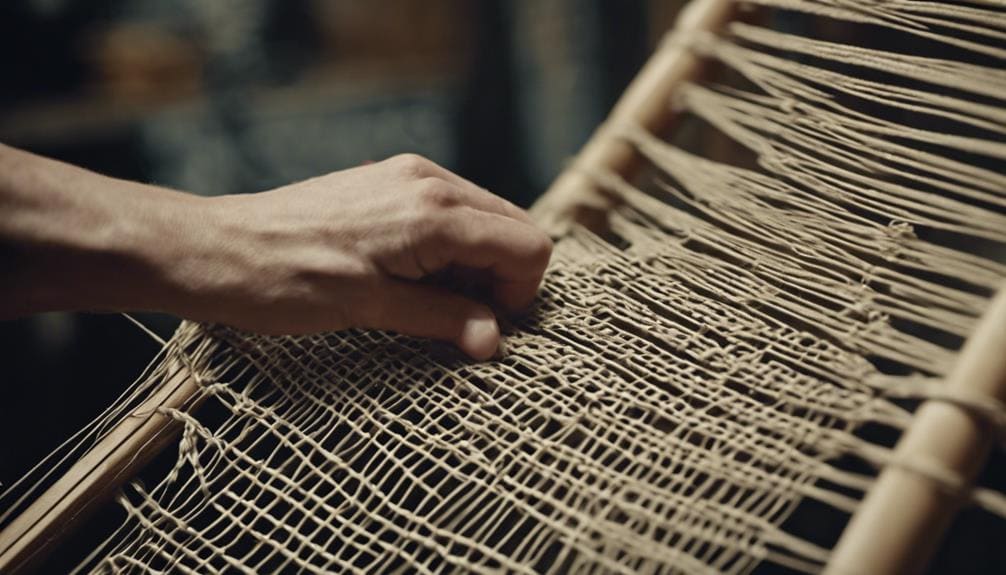
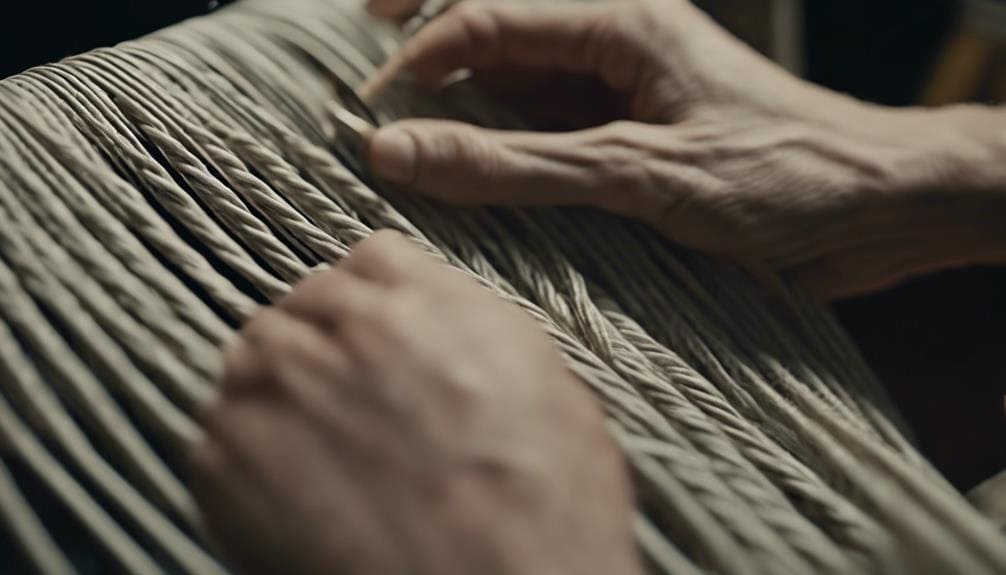
Side-to-Side Weaving
With side-to-side weaving, a meticulous process involving working two pieces of cord simultaneously, the final step in re-weaving a Danish cord chair seat is initiated. This intricate weaving technique requires delicacy and precision to ensure a flawless finish. As I guide the cords back and forth, it’s crucial to prevent tangling and maintain consistent tension throughout the weaving process. Here are some key points to consider:
- Attention to Detail: Each weave must be executed carefully, ensuring the cords lie neatly side by side without any overlapping or gaps.
- Weaving Techniques: Proper weaving techniques are essential for creating a uniform and durable seat. By mastering the art of weaving, the chair seat can withstand years of use without compromising its integrity.
- Securing the Ends: Tacking the ends securely on the inside side rail completes the side-to-side weaving process and reinforces the entire seat structure, guaranteeing longevity and stability.
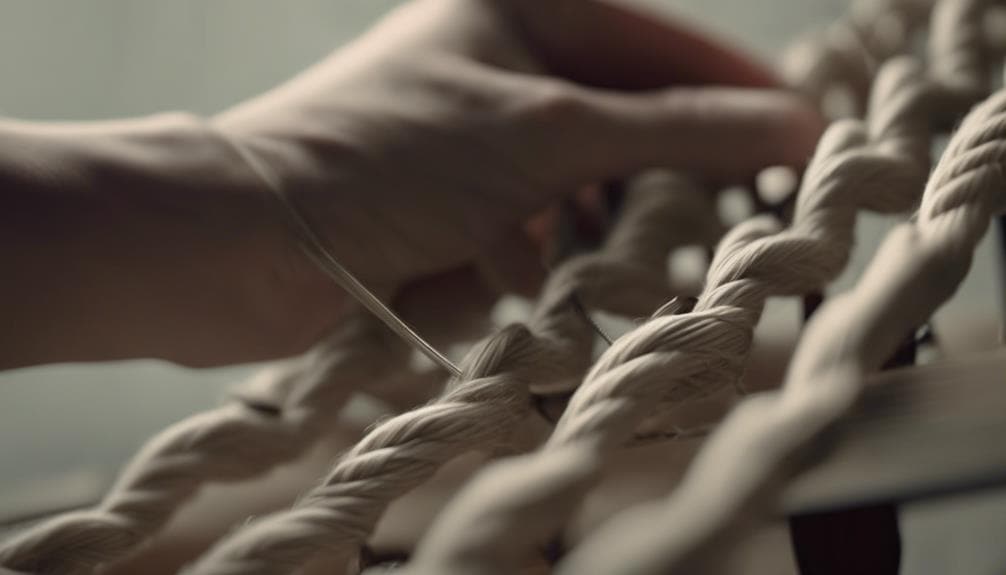
Creating Intricate Patterns
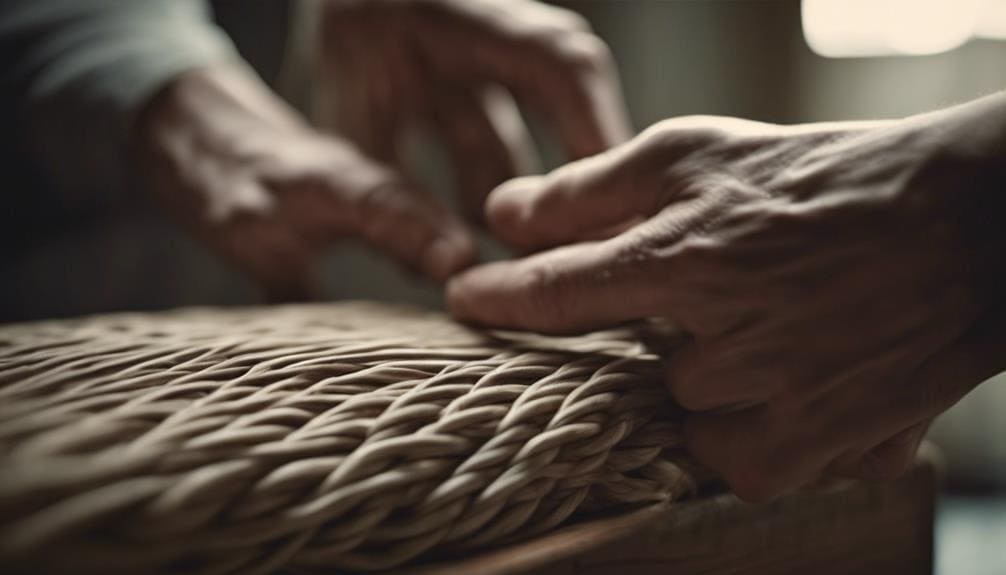
A combination of weaving techniques and meticulous attention to detail is essential to achieve stunning and intricate patterns in Danish cord weaving. When aiming for complexity in your designs, consider experimenting with various weaving styles, changing weaving directions, adjusting cord spacing, and playing with tension. These elements allow for creating unique patterns that can elevate your Danish cord projects.
Color combinations play a crucial role in enhancing the intricacy of your patterns. You can add depth and dimension to your weaving by strategically selecting and combining colors. Bold contrasts or subtle gradients can make a significant difference in the final look of your piece.
Drawing inspiration from patterns in nature, architecture, or traditional Danish designs can provide valuable insights for creating intricate patterns. Pay attention to details, and don’t hesitate to try out new weaving techniques to bring your vision to life. Remember, precision and patience are key when weaving intricate patterns with Danish cord.
Finishing Touches
Enhancing the intricate patterns of Danish cord weaving through meticulous finishing touches is essential for protection and aesthetic appeal. To truly elevate the beauty of your woven seat, consider the following:
- Apply a Protective Finish: A coat of finish not only safeguards the woven Danish cord from wear and tear but also enhances its natural beauty, bringing out the richness of the fibers.
- Even Distribution: Use a soft brush to ensure the finish is evenly spread across the entire surface of the cord. This meticulous step protects every inch of the weaving and adds a professional touch to the final look.
- Regular Maintenance: To maintain the pristine look of your Danish cord weaving, periodic finish maintenance may be necessary. By staying on top of upkeep, you can ensure that your woven seat continues to impress with its aesthetics for years to come.
Frequently Asked Questions
What Is the Nail Spacing for Danish Cord Weaving?
Maintaining proper nail spacing in Danish cord weaving, about 1 inch apart, is critical for tension control. Consistent spacing ensures support and a visually pleasing pattern. Replicating original chair nail placement accurately enhances design authenticity and structural integrity.
Which Is Better Laced or Unlaced Danish Cord?
Honestly, when it comes to laced versus unlaced Danish cord, it’s all about personal preference. Laced gives a classic touch with visible stitches, while unlaced offers a sleek, seamless look. Both have their charm; it’s all about the vibe you’re going for.
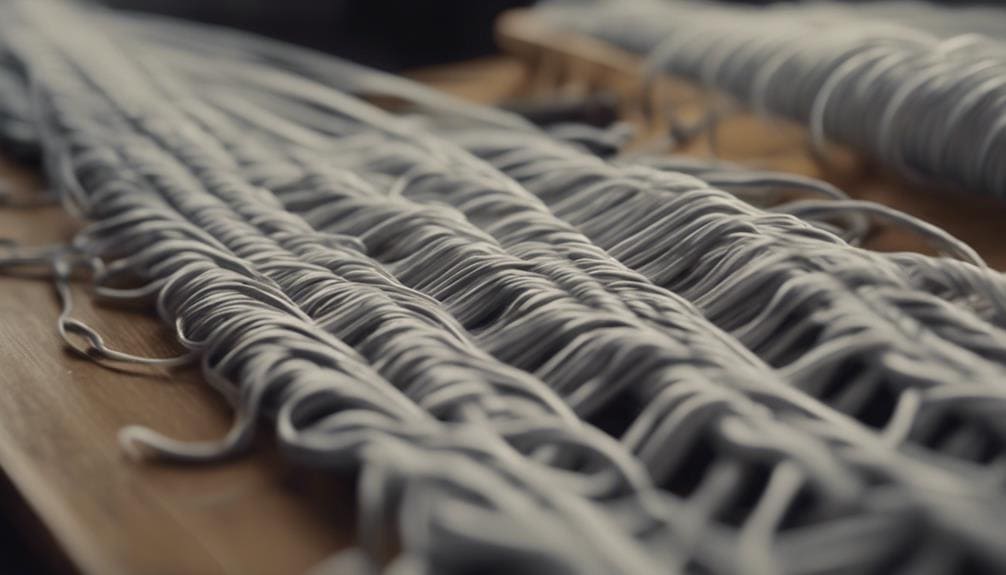
How Much Danish Cord Do I Need?
Estimating Danish cord needs for re-weaving involves considering chair size, weave pattern, and original details. I recommend having an extra cord on hand for errors. Color options can enhance the final look. Calculating requirements accurately ensures a successful project.
How Is Danish Paper Cord Made?
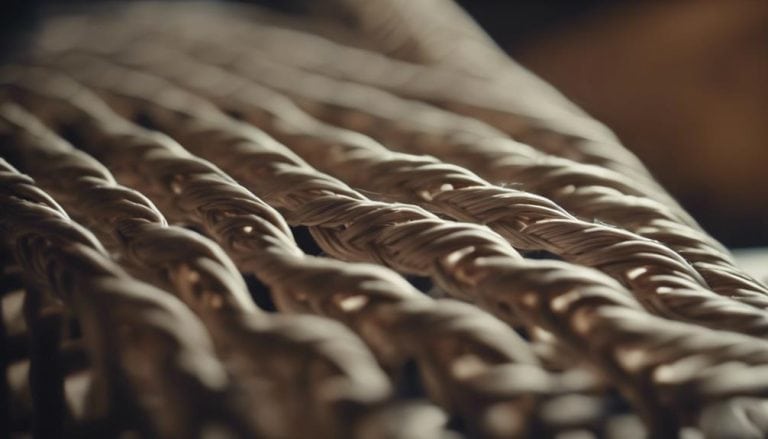
I craft Danish paper cords precisely, intertwining three plies to create a durable, eco-friendly material. Sustainability is key to Danish cord production, making it a versatile choice for weaving intricate designs in furniture.
Conclusion
In the intricate process of Danish cord weaving, attention to detail is key to achieving a professional result. Each step requires precision and skill, from chair preparation to creating intricate patterns. It is a labor of love that produces a beautiful and durable finish, showcasing the artistry of this traditional technique. So next time you see a Danish cord woven chair, appreciate the craftsmanship and dedication that went into creating such a masterpiece.